In this tutorial we will make a tee shirt and pants for your elf. This patten fits your standard Elf on the Shelf. Have fun customizing by choosing fabrics to catier to your families interests.

What will you need
- Sewing Machine
- Scissors
- Pins
- Elf shirt pattern
- Elf pants pattern
- Thread
- Ruler
- 1/8″ Elastic
- Small sew on snap
- knit fabric remnant for shirt
- remnant for pants
Print and cut the patterns. The block should measure 1″
Let’s start with the Tee. You will only need a small amount of knit. This pattern works best with a 4 way stretch but it is possible to use it for most fabrics.
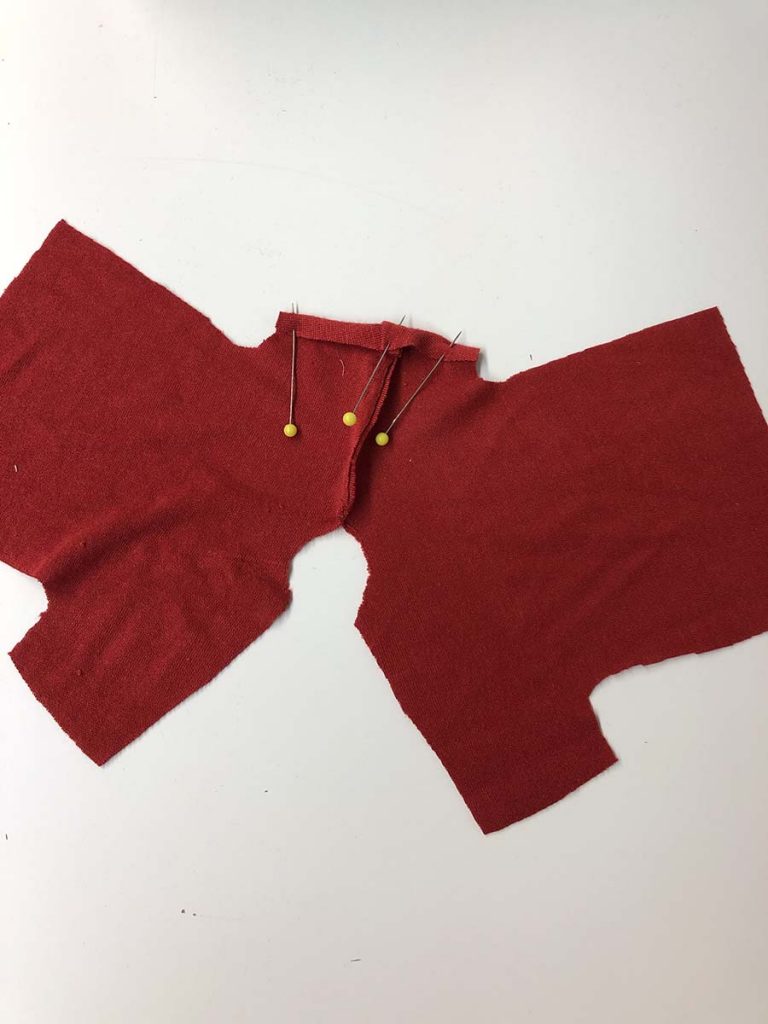
Cut 2 out of your fabric

Pin right sides together at one shoulder seam.

Sew with a straight stitch 1/8″ seam allowance. If is a little wider its not a big deal. but it should be less than 1/4″ seam allowance.

Pin sleeve hem 1/8″ to the wrong side of the shirt on the seamed side only.
Sew with a zigzag stitch.

Here is what it should look like.

Pin neck area to the wrong side of the shirt with 1/8″ seam allowance.

Sew with a zigzag stitch. Stretch slightly as you sew because it helps it to lay better.


Pin along the same side as the finish arm hem.

Sew with a straight stitch and be sure to back stitch.

Next hem the bottom by turning up 1/8″ to the wrong side and zigzag stitching across the whole shirt.

Pin the remaining shoulder seam but only 3/4″ from the sleeve over.

this is what it should look like when finished.

Hem the remaining sleeve just like the first.
Pin the open side seam.

Stitch with a straight stitch and clip at the arm pit of the shirt, being careful not to snip the seam.


Sew the snap in the 1/8″ seam allowance.

Sew the mate to the snap folding over the 1/8″ seam allowance.
Your shirt is finished and time to move on to the pants
Pants
Cut out 2 of the pants patten piece from a remnant of fabric. I am using flannel.

Pin right sides together at the inseam as shown.

Sew with a straight stitch at 1/4″ seam allowance.

Pin up 1/2″ to the wrong side of the pants at the bottom hem. Sew with a zigzag stitch.
Open the center inseam and fold the elastic in as you fold down 1/2″ to the inside of the pants.

You don’t need to cut the elastic just yet. you will use less of it if you cut it later.

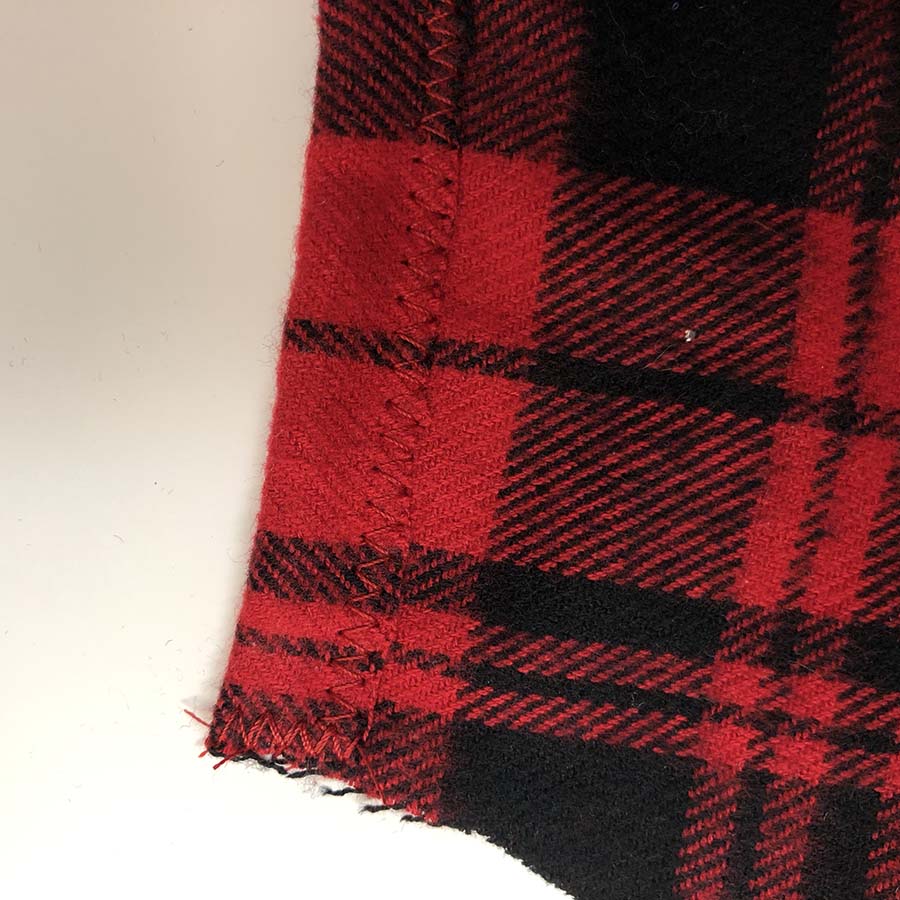
Zigzag with the stitches covering the raw edge of the fabric.

Stitch the elastic in place on just one side, then trim it back.
Here is a close up of what it should look like.
Pull the elastic till the top go the pants measure about 5 inches.
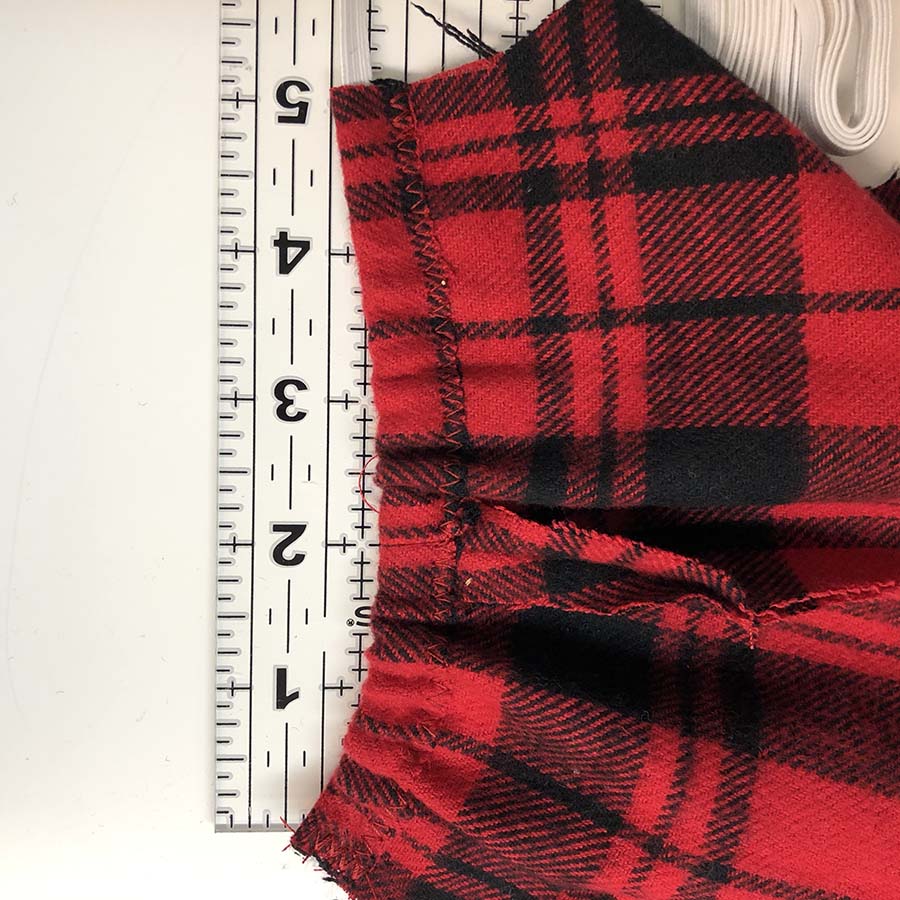
ZigZag stitch the elastic into place very close to the edge.

Trim second side off now.

Fold right sides together and pin at back seam.

Use a straight stitch at 1/4″ to sew the back seam.
Fold right sides together so you see 2 legs.

Pin as shown.

Sew with a straight stitch a 1/4 seam allowance. Pivot in the center were the two legs meet.

This is how it should look.

Turn right side out and you are finished!


