Ten Minute Toddler Tie Tutorial, Low Sew
Ten Minute Toddler Tie Tutorial, Low Sew. This adorable toddler tie is very easy! Just a few minutes you will have an accessory to match any outfit. Please do not leave child under three unattended while wearing the tie as is has small parts.
What you need
Scrap of fabric
thread
needle
pins
iron
Lets get started

Cut 2 regtangles
One at 5″ x 9 1/2″
One at 5″ x 2″
 Take the small rectangle and press long sides to the center overlapping just slightly finished width is just a bit less than an inch.

Take the larger rectangle and fold left side in 2″

Lay a section on stitch witchery in the center and cut to length.

Press the right side over 1″. Raw edge should be in the center.

With raw side facing up fold over right side 2 1/2″.
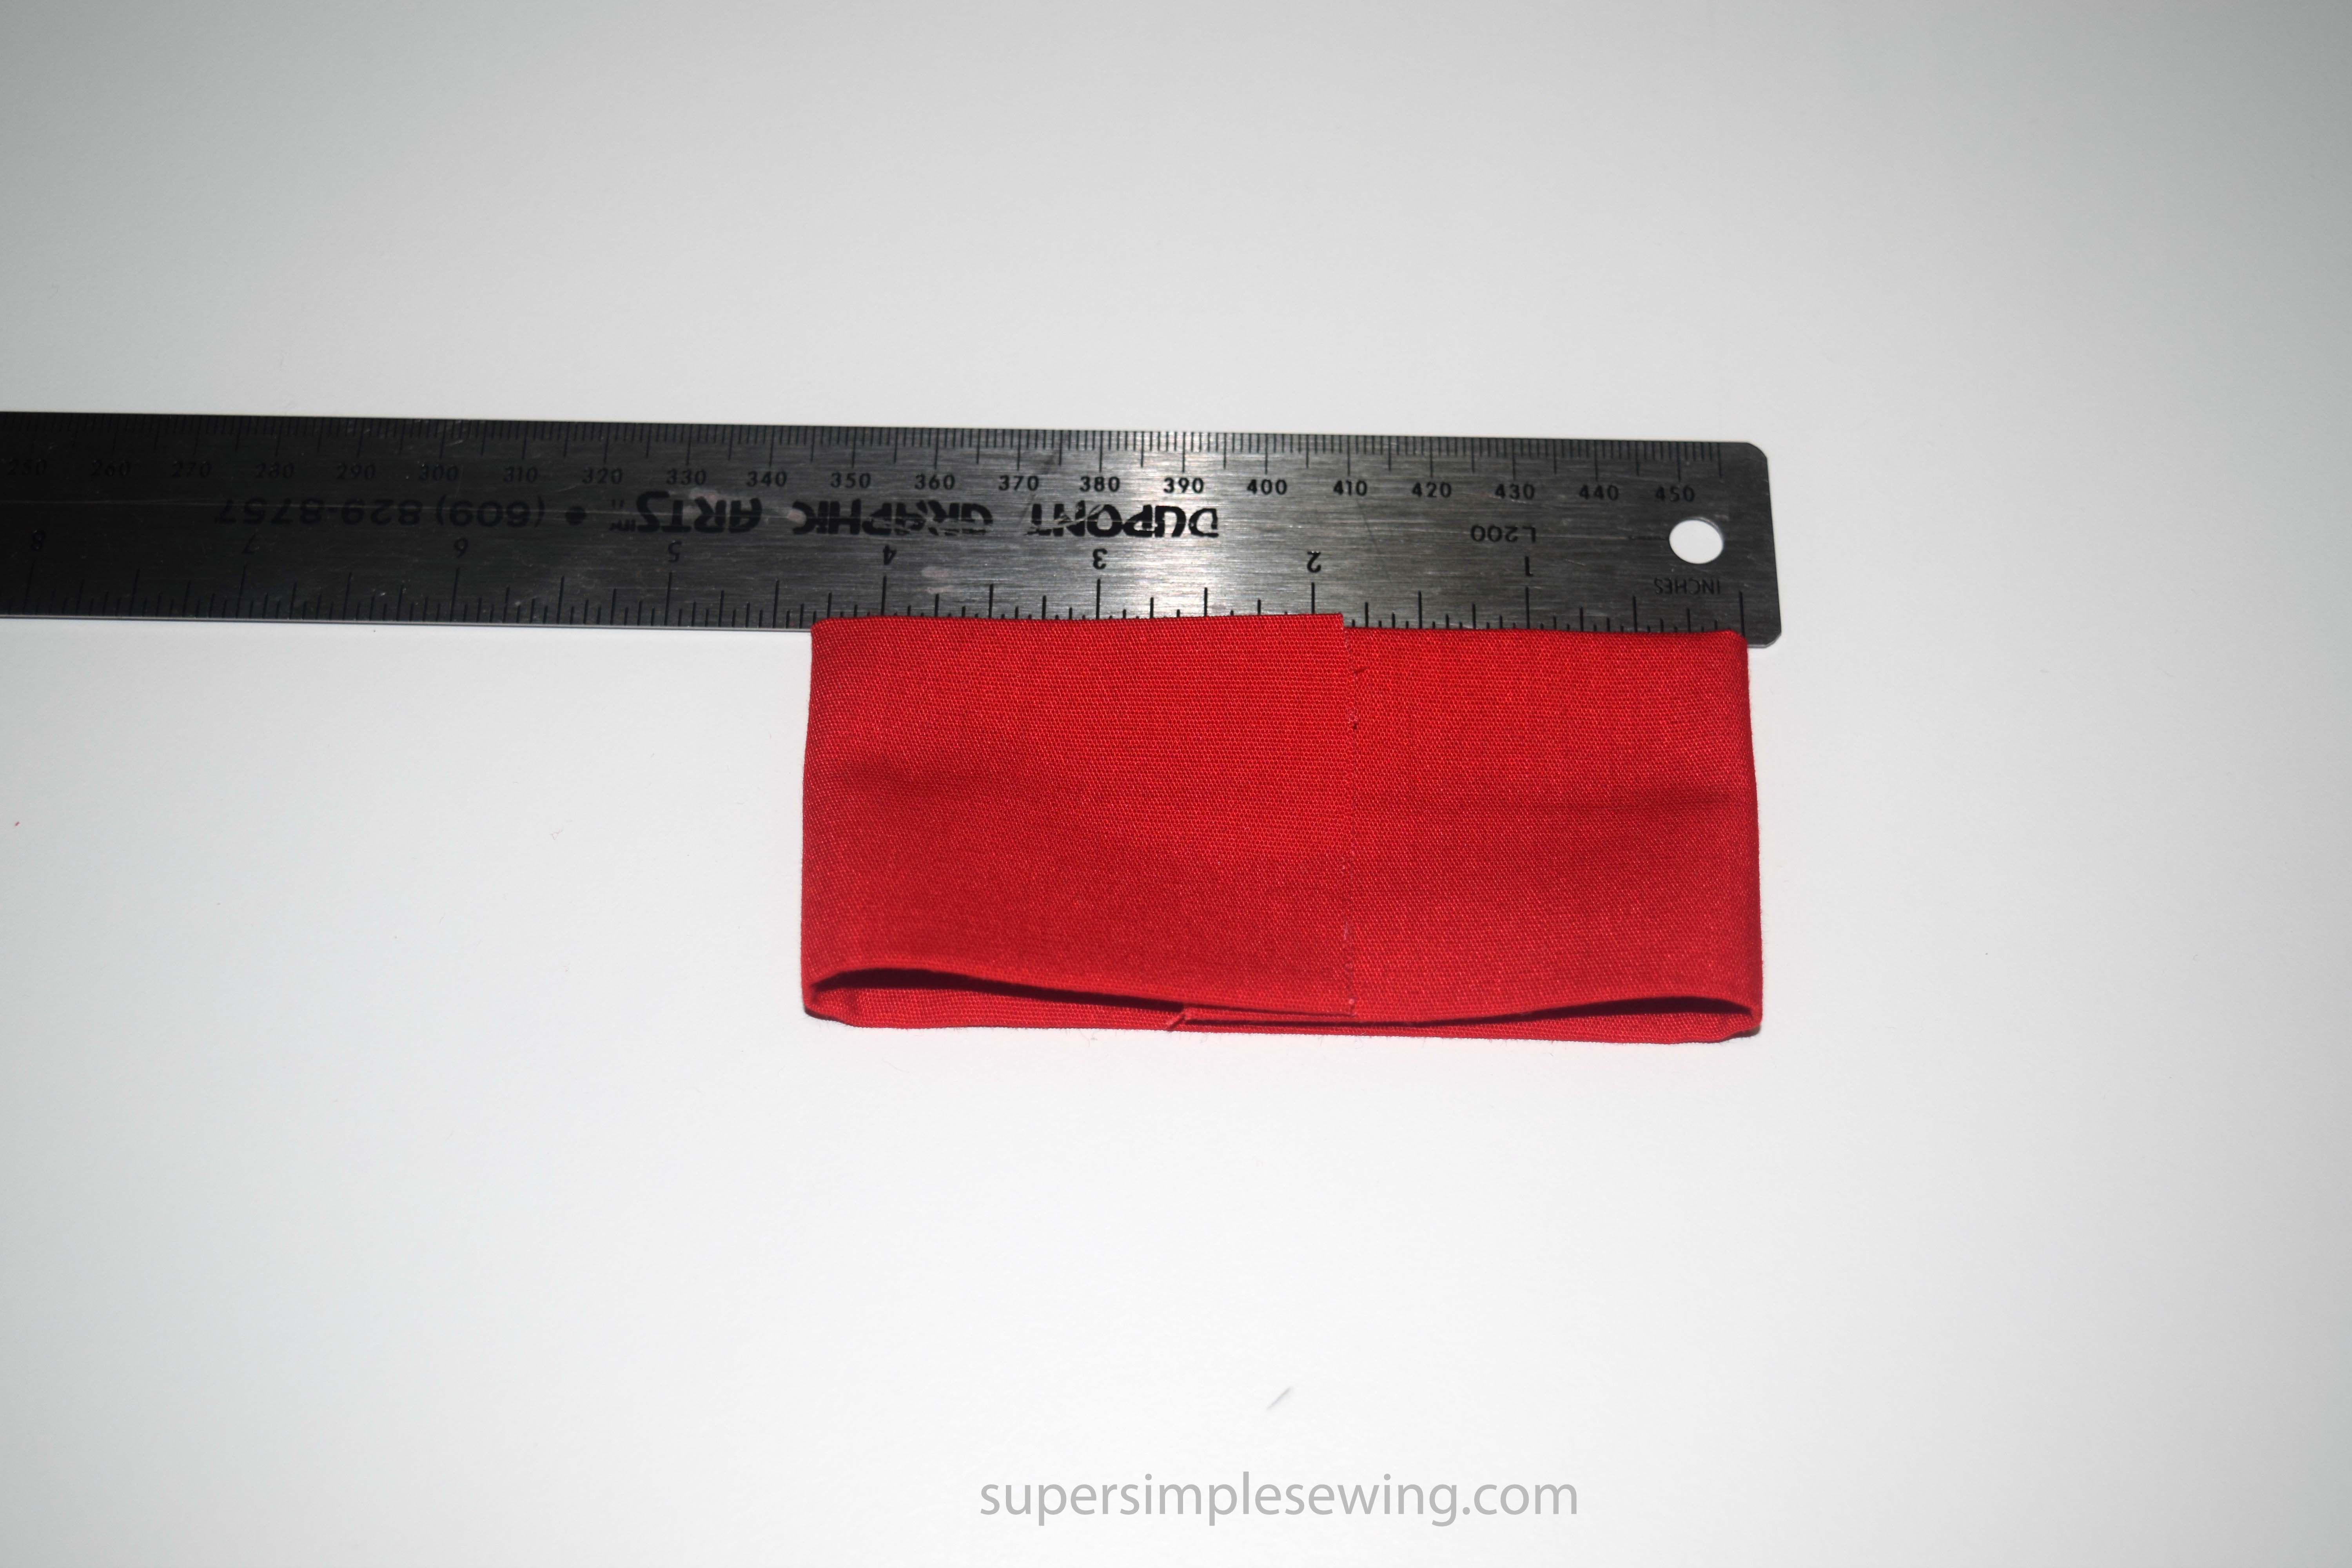
Fold left side over 2 1/4″/
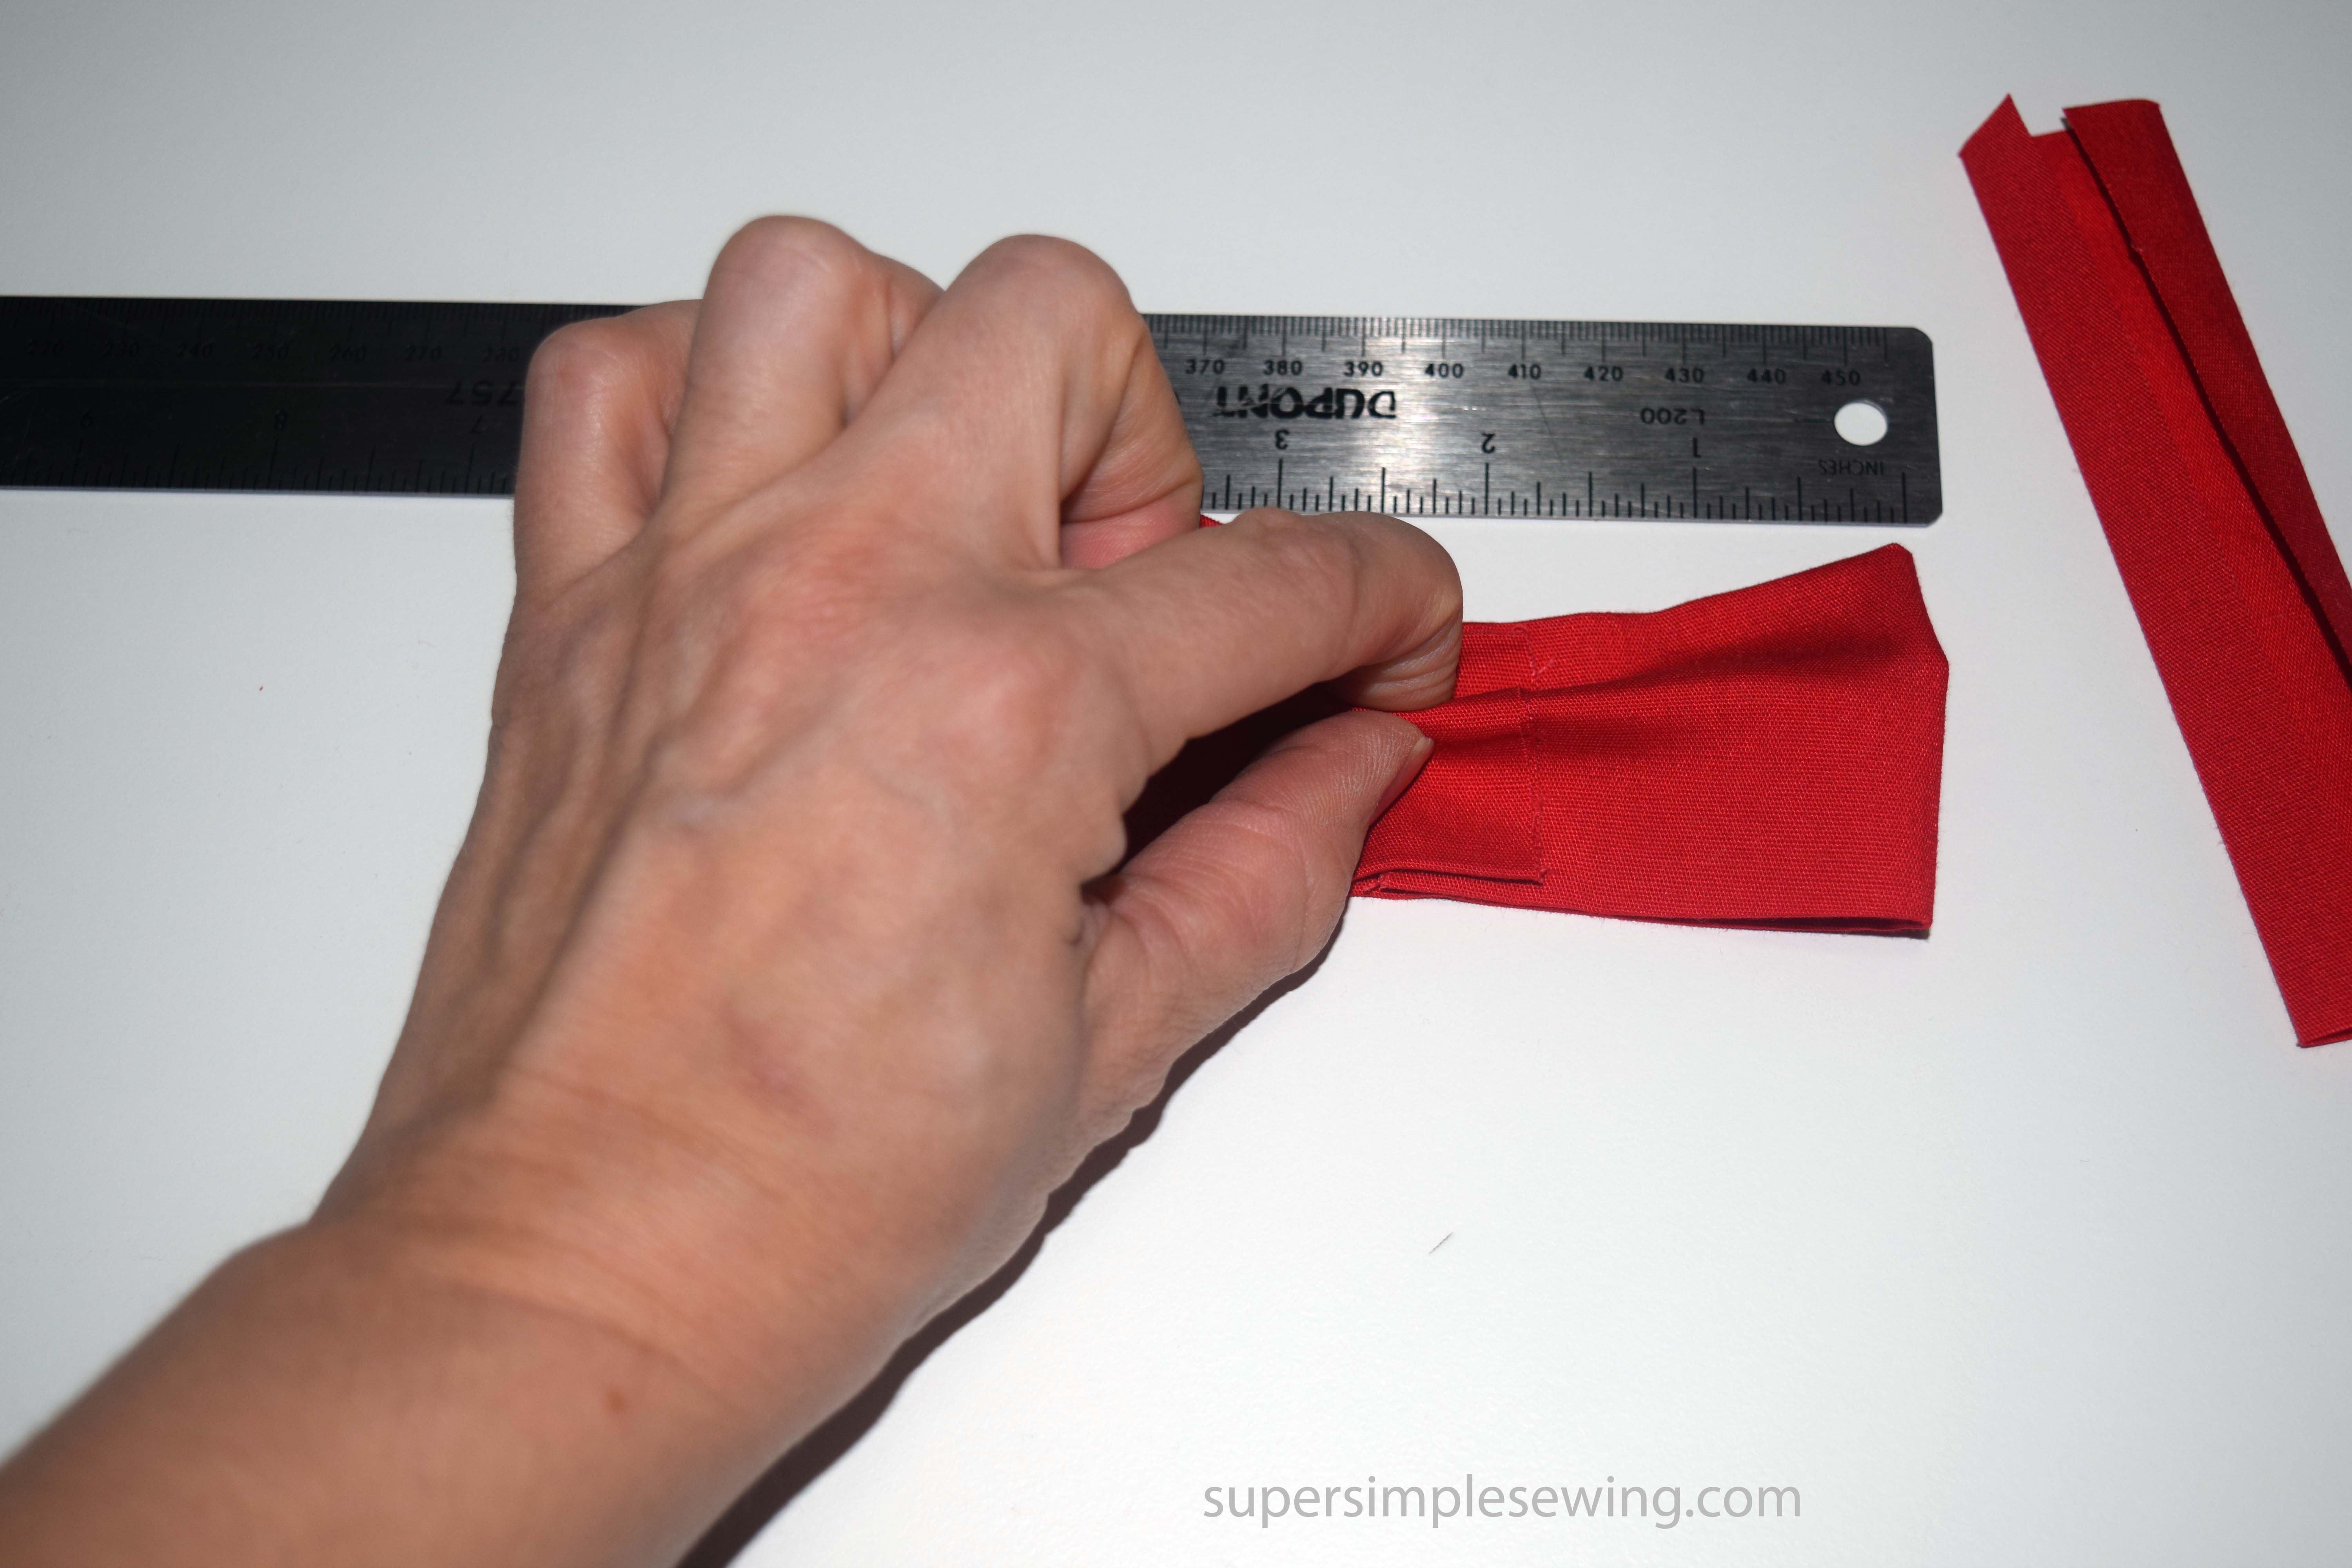
To start pinch the center.

Second pinch the outer edges to the center.
 Here is the time saving tip, hold the thread while pinching the center. Wrap the thread to hold all the layers together. This works so much better than trying to pin or hold everything at the same time.

When you get enough thread around it will stay put. you can give it a quick knot and it will stay while you sew on the band.

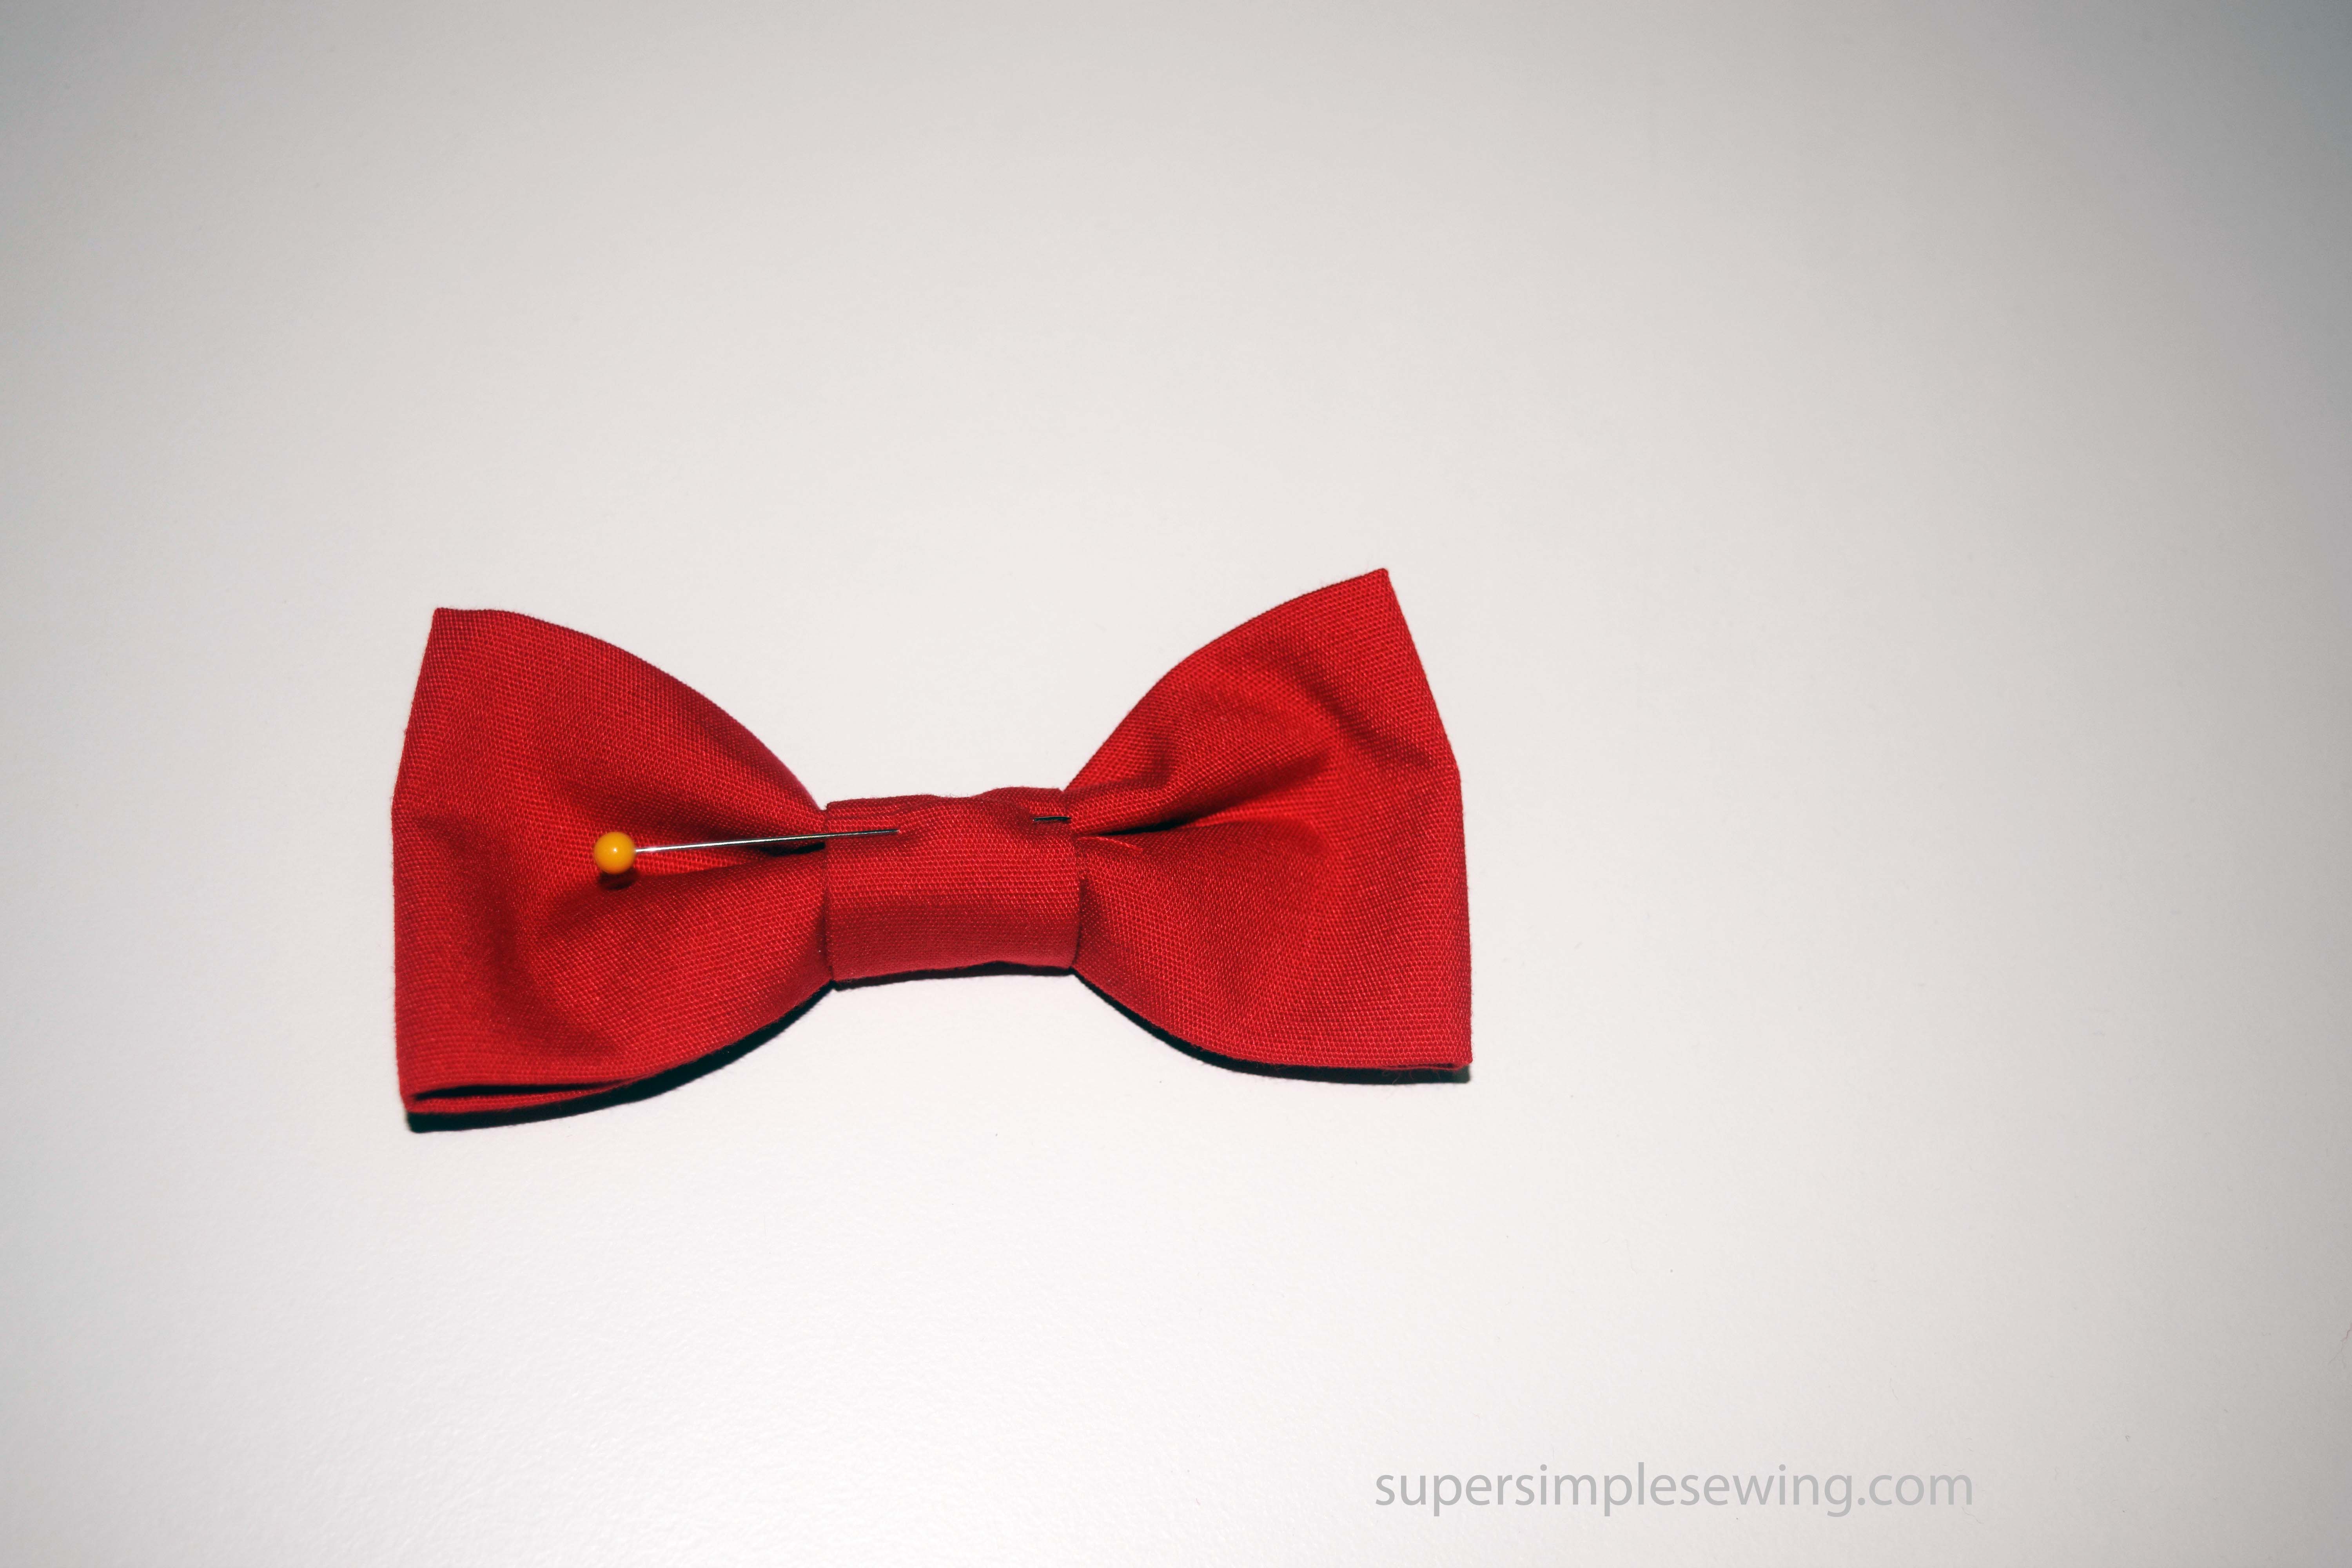
Wrap the small rectangle around the bow. It will be long.

Trim leaving about 1″ more than where it meets.
Fold the raw edge in and pin.

Hand sew closed.

Tie a knot and bury the thread. this is so you don’t see the tail after you trim the thread.

Done sewing!

Slide in the Alligator clip.

Ready to wear!

