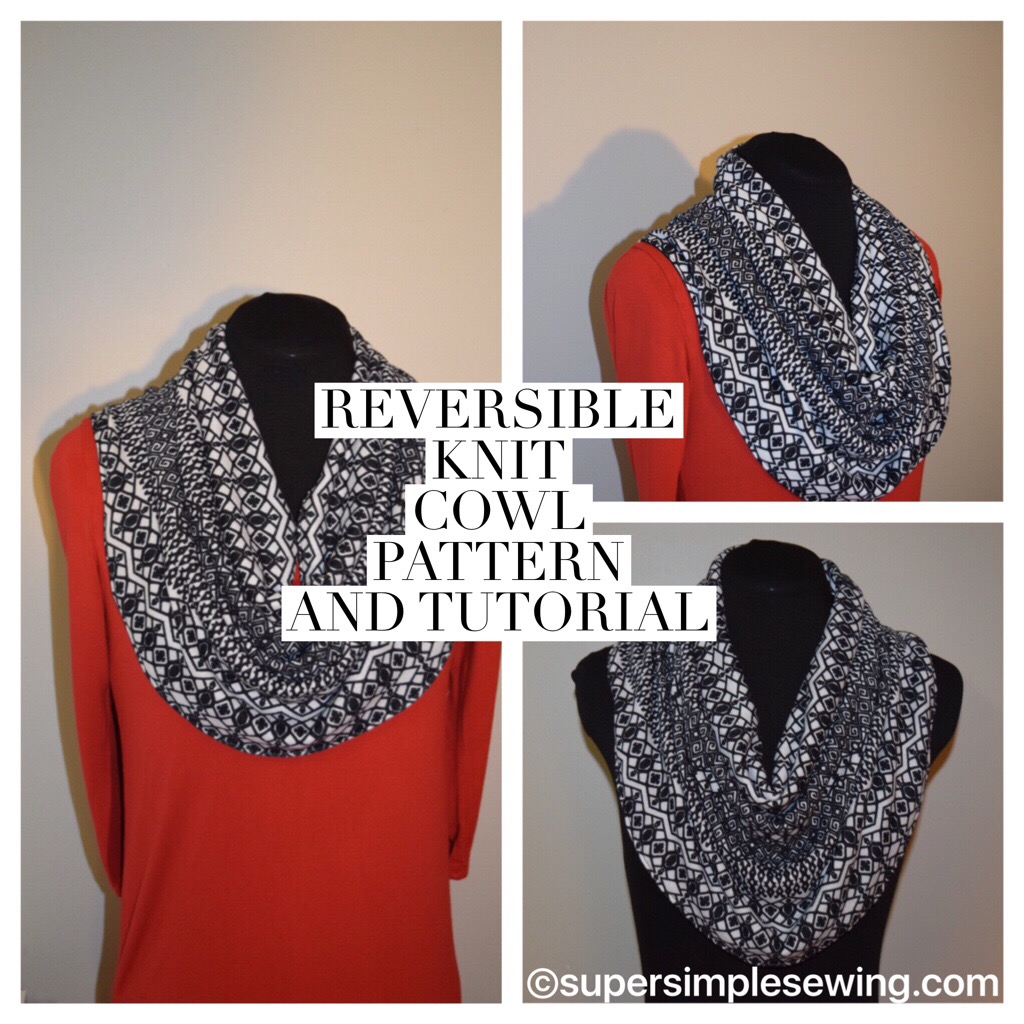
Reversible Knit Cowl Pattern And Tutorial

Reversible Knit Cowl Pattern and Tutorial

Cowl sewing Pattern

reversible cowl pattern

sewing with knits cowl

cowl sewing pattern
Reversible Knit Cowl Pattern And Tutorial. This project is a quick one. Sewing with knits can be a bit challenging but worth the effort .the cowl has only 2 seams that are not exposed so it is great for learning to work with knits. This would make a great gift for someone without knowing their size.
Tools:
Sewing machine
Ball needle for sewing machine
Scissors
Pins
Hand Sewing needle
Material:
1/2 yard of knit fabric for face
1/2 yard of knit for lining.
Thread
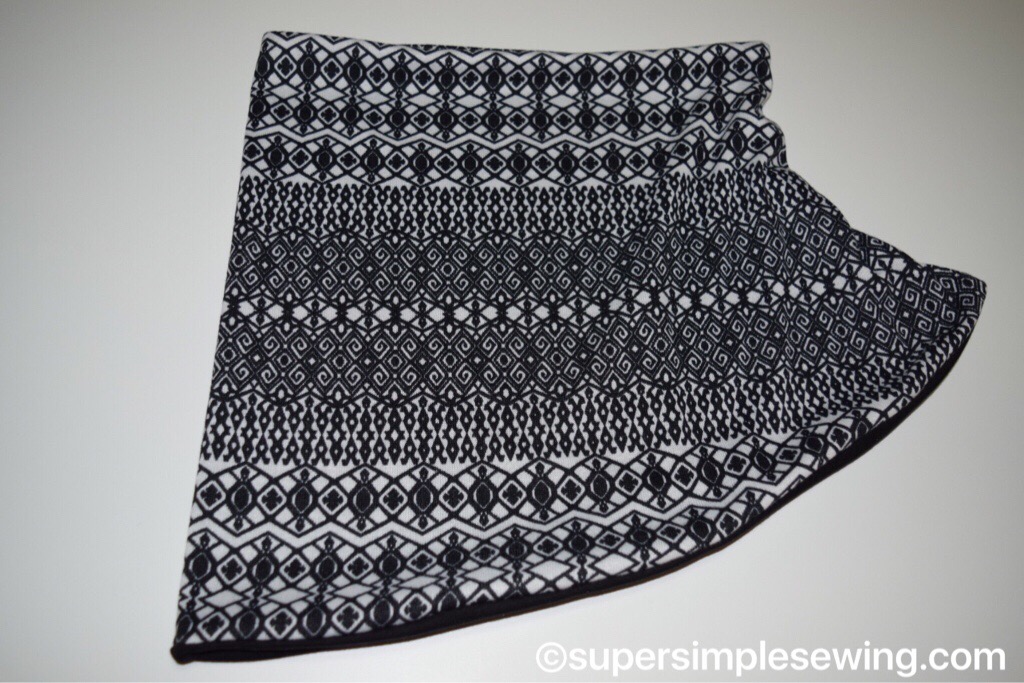
cowl pattern
Tips for sewing with knits:
Use the correct needle. A ball needle or a jersey needle make a big difference.
Lessen the pressure of the presser foot if you have the option. My machine has a dial of the left to turn to 1 ( normal pressure is 4)
Slightly stretch the fabric as you sew. The seam will lay flatter and not break the threads as easily. To stretch the fabric as you sew pull slightly both in front and from behind the needle as you sew.
Lengthen your stitch. About a 4 on most home machines will work well.
Let’s get started
The first step is to print and assemble the pattern.

Next fold the fabric and cut face one the fold.

If you have stripes make sure they match before you pin and cut.
Next fold and cut the lining. Be sure the fold runs the same direction as the factory edge of the fabric.

Pin face and lining right sides together.

Sew with 1/2″ seam allowance at the top and the bottom of the cowl. They are marked on the pattern piece.


This is the result.
The next step is to bring the left unsewn edge through the middle and match it with the right unfinished edge.
Hopefully this picture give you the idea.

Pin the edges together. It should be right sides pinned facing each other.

Sew around leaving a 3″ gap for turning your work right side out.

Pin the opening closed and hand sew shut. You can machine sew it but it may be visible.

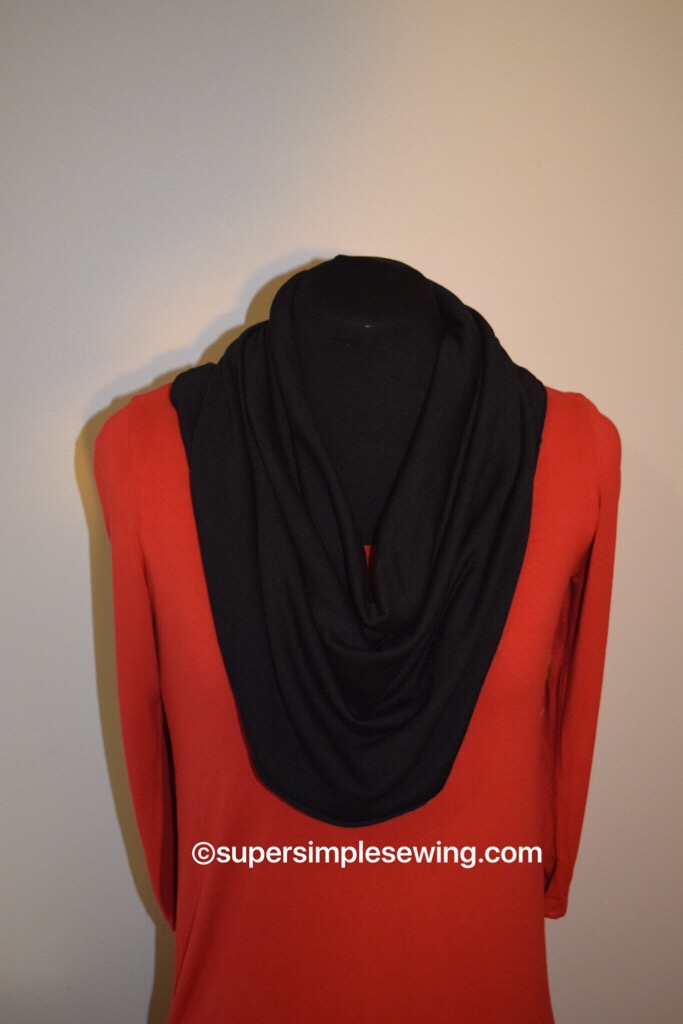
This is what it will look like but it’s not quite done yet.
 Press the seam so it lays flat.

Top stitch at the bottom and the top.
Now it’s done!