 Vintage Lace Diy Ornament Sewing Tutorial
I LOVE vintage lace. I know the countless hours spent hand making these little works of art from a bygone era. I have to admit I end up hording it because there are very few things that can be done with it. with this project I will be able to appreciate it’s beauty instead of it sitting in a box someplace. Regular commercial flat lace will work as well.
Tool:
sewing machine
scisors
marking tool
pins
Materials:
thread
scrap of fabric ( I’m using linen)
scrap of lace
scrap of ribbon
scrap of batting (low loft)
pattern heart orniment
Lets get started
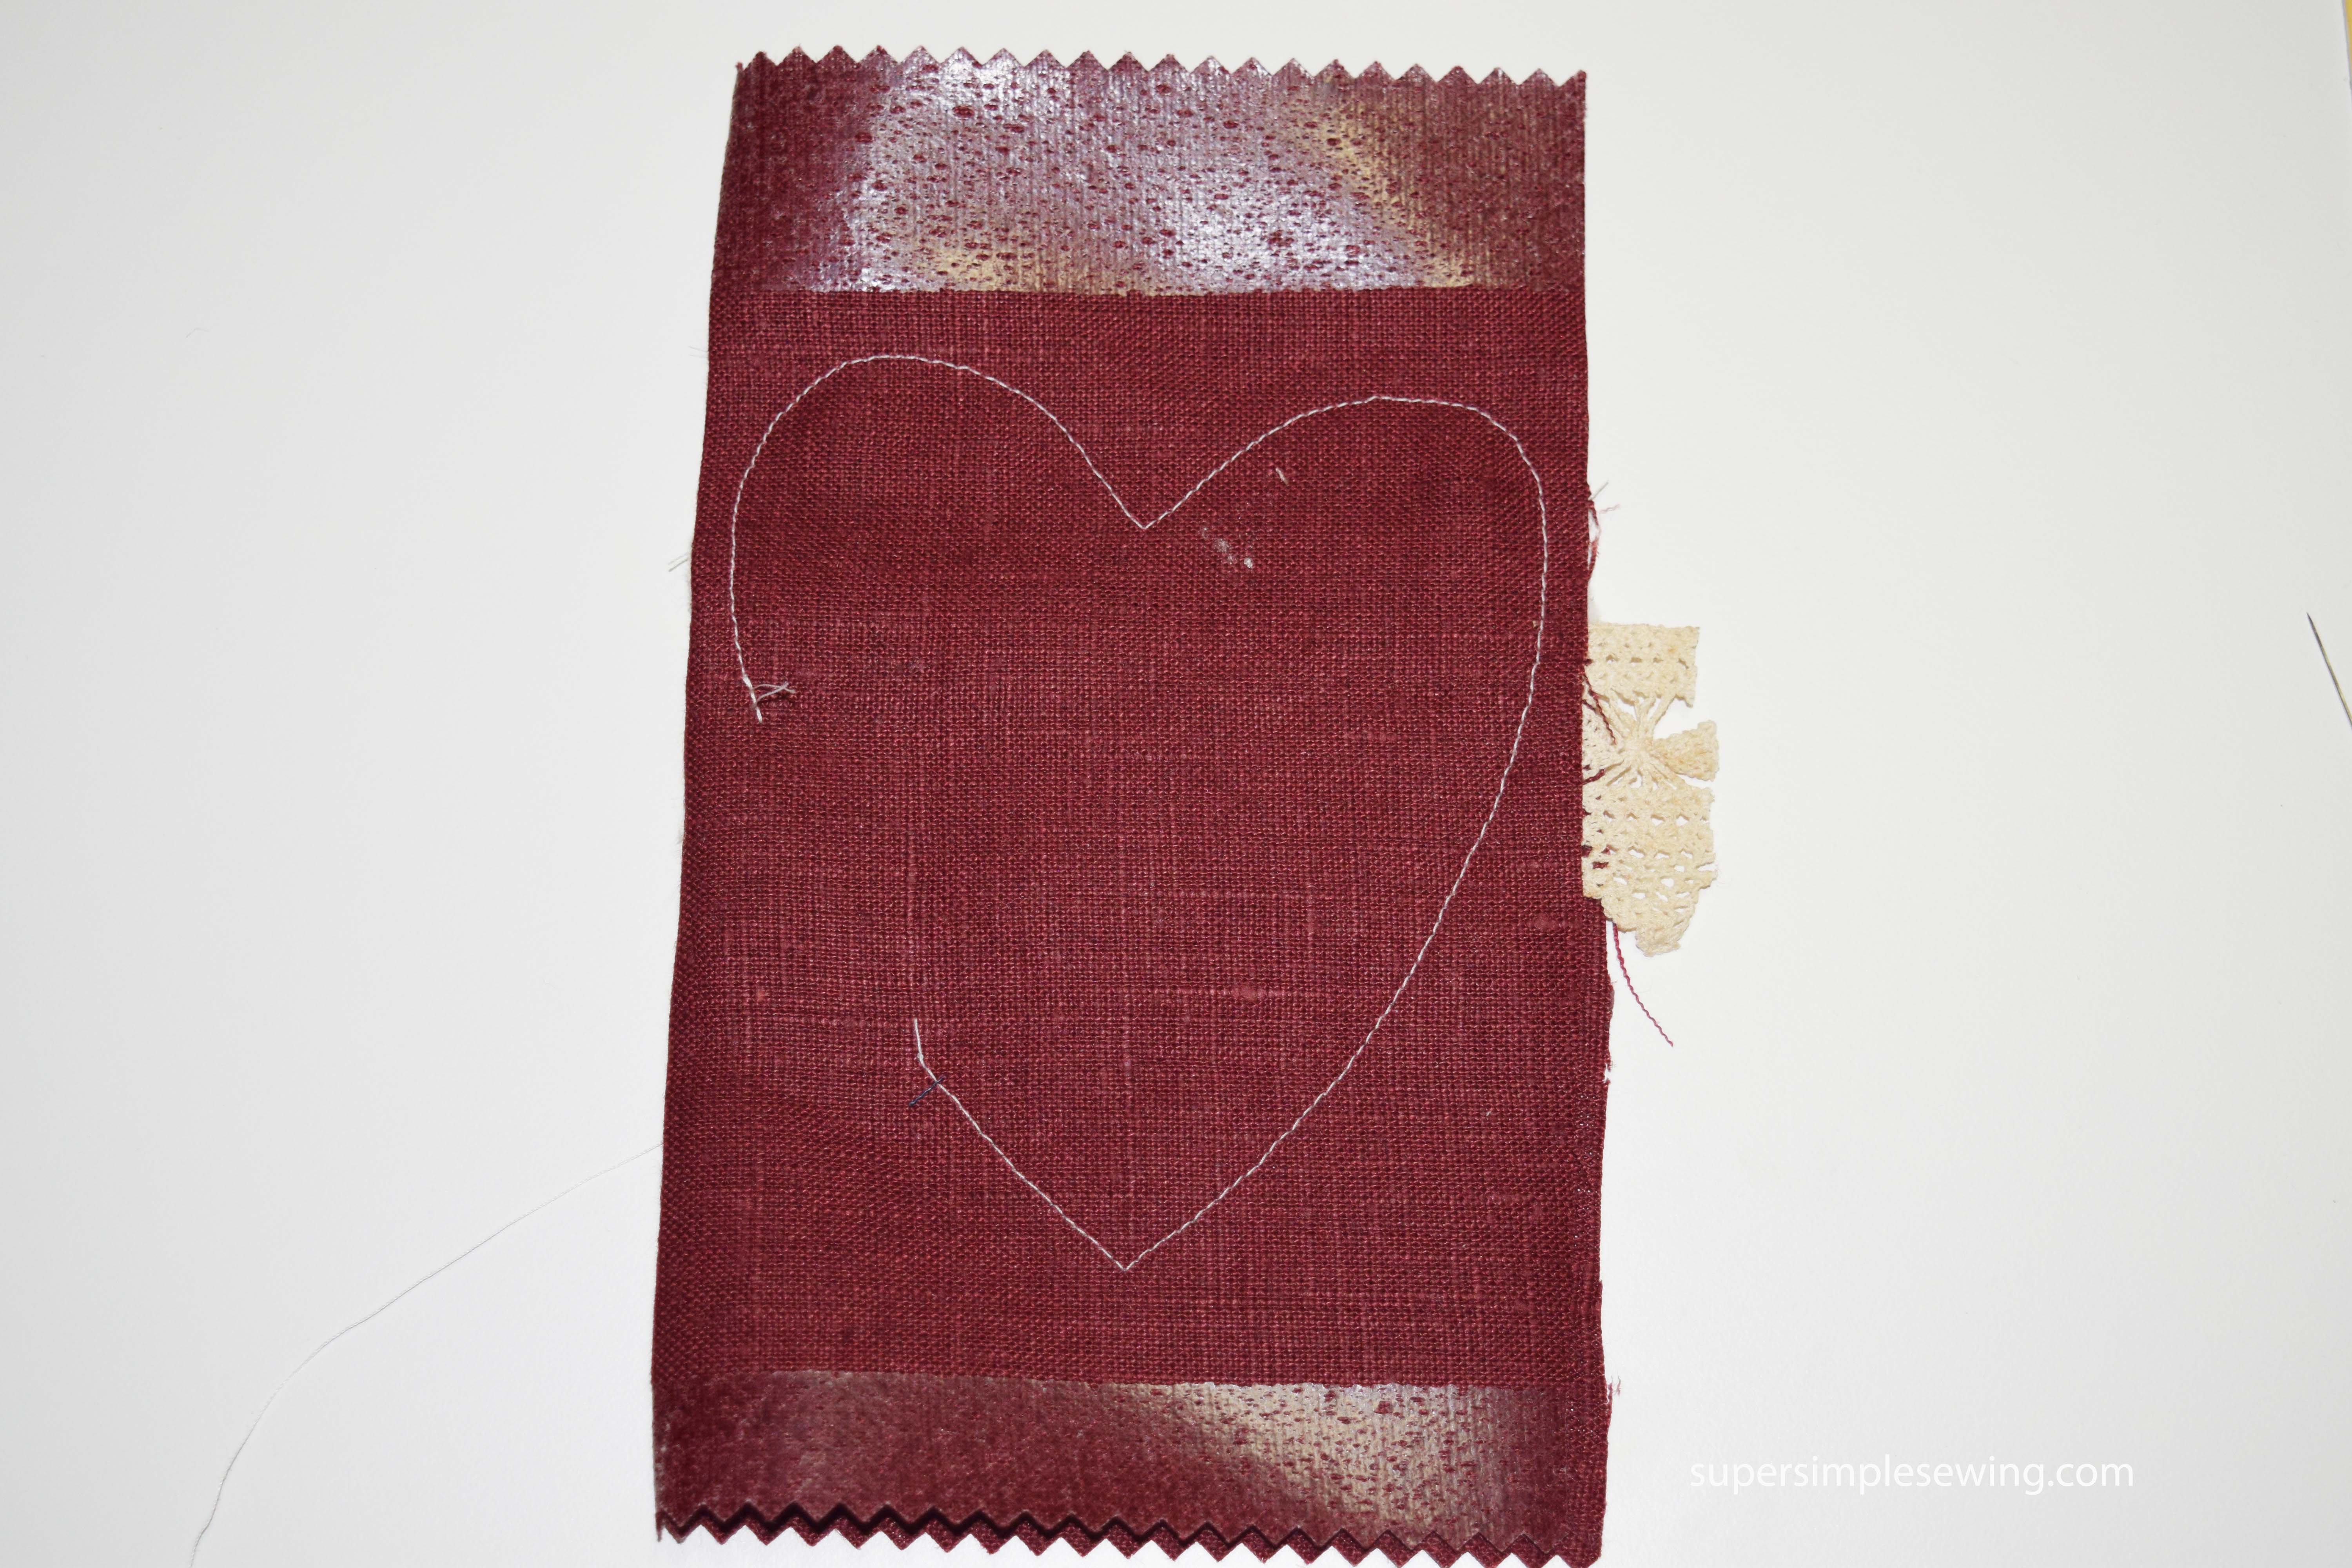
cut out just the pattern piece and use it to trace the heart onto the fabric.
You will need a scrap of fabric twice as wide as the heart and a little taller, about 10″ x 6″ or bigger.
Fold the piece of fabric in half so you know where to trace.
This method of construction keeps the pieces from distorting as you are working with them. Sometimes when you have multiple small pieces it can be difficult to cut them out and match them back up together. tracing and cutting after you sew will save time and aggravation.

Pin lace into desired location. It can be anywhere you like.

With a tiny zigzag , stitch down along the top edge of the lace. Use a thread that will match the lace, not the fabric.
 then zigzag on the opposite side of the lace. Notice I did not fallow the angled section, I sewed along the last straight section. this is much easier and the idea is just to hold the lace in place.

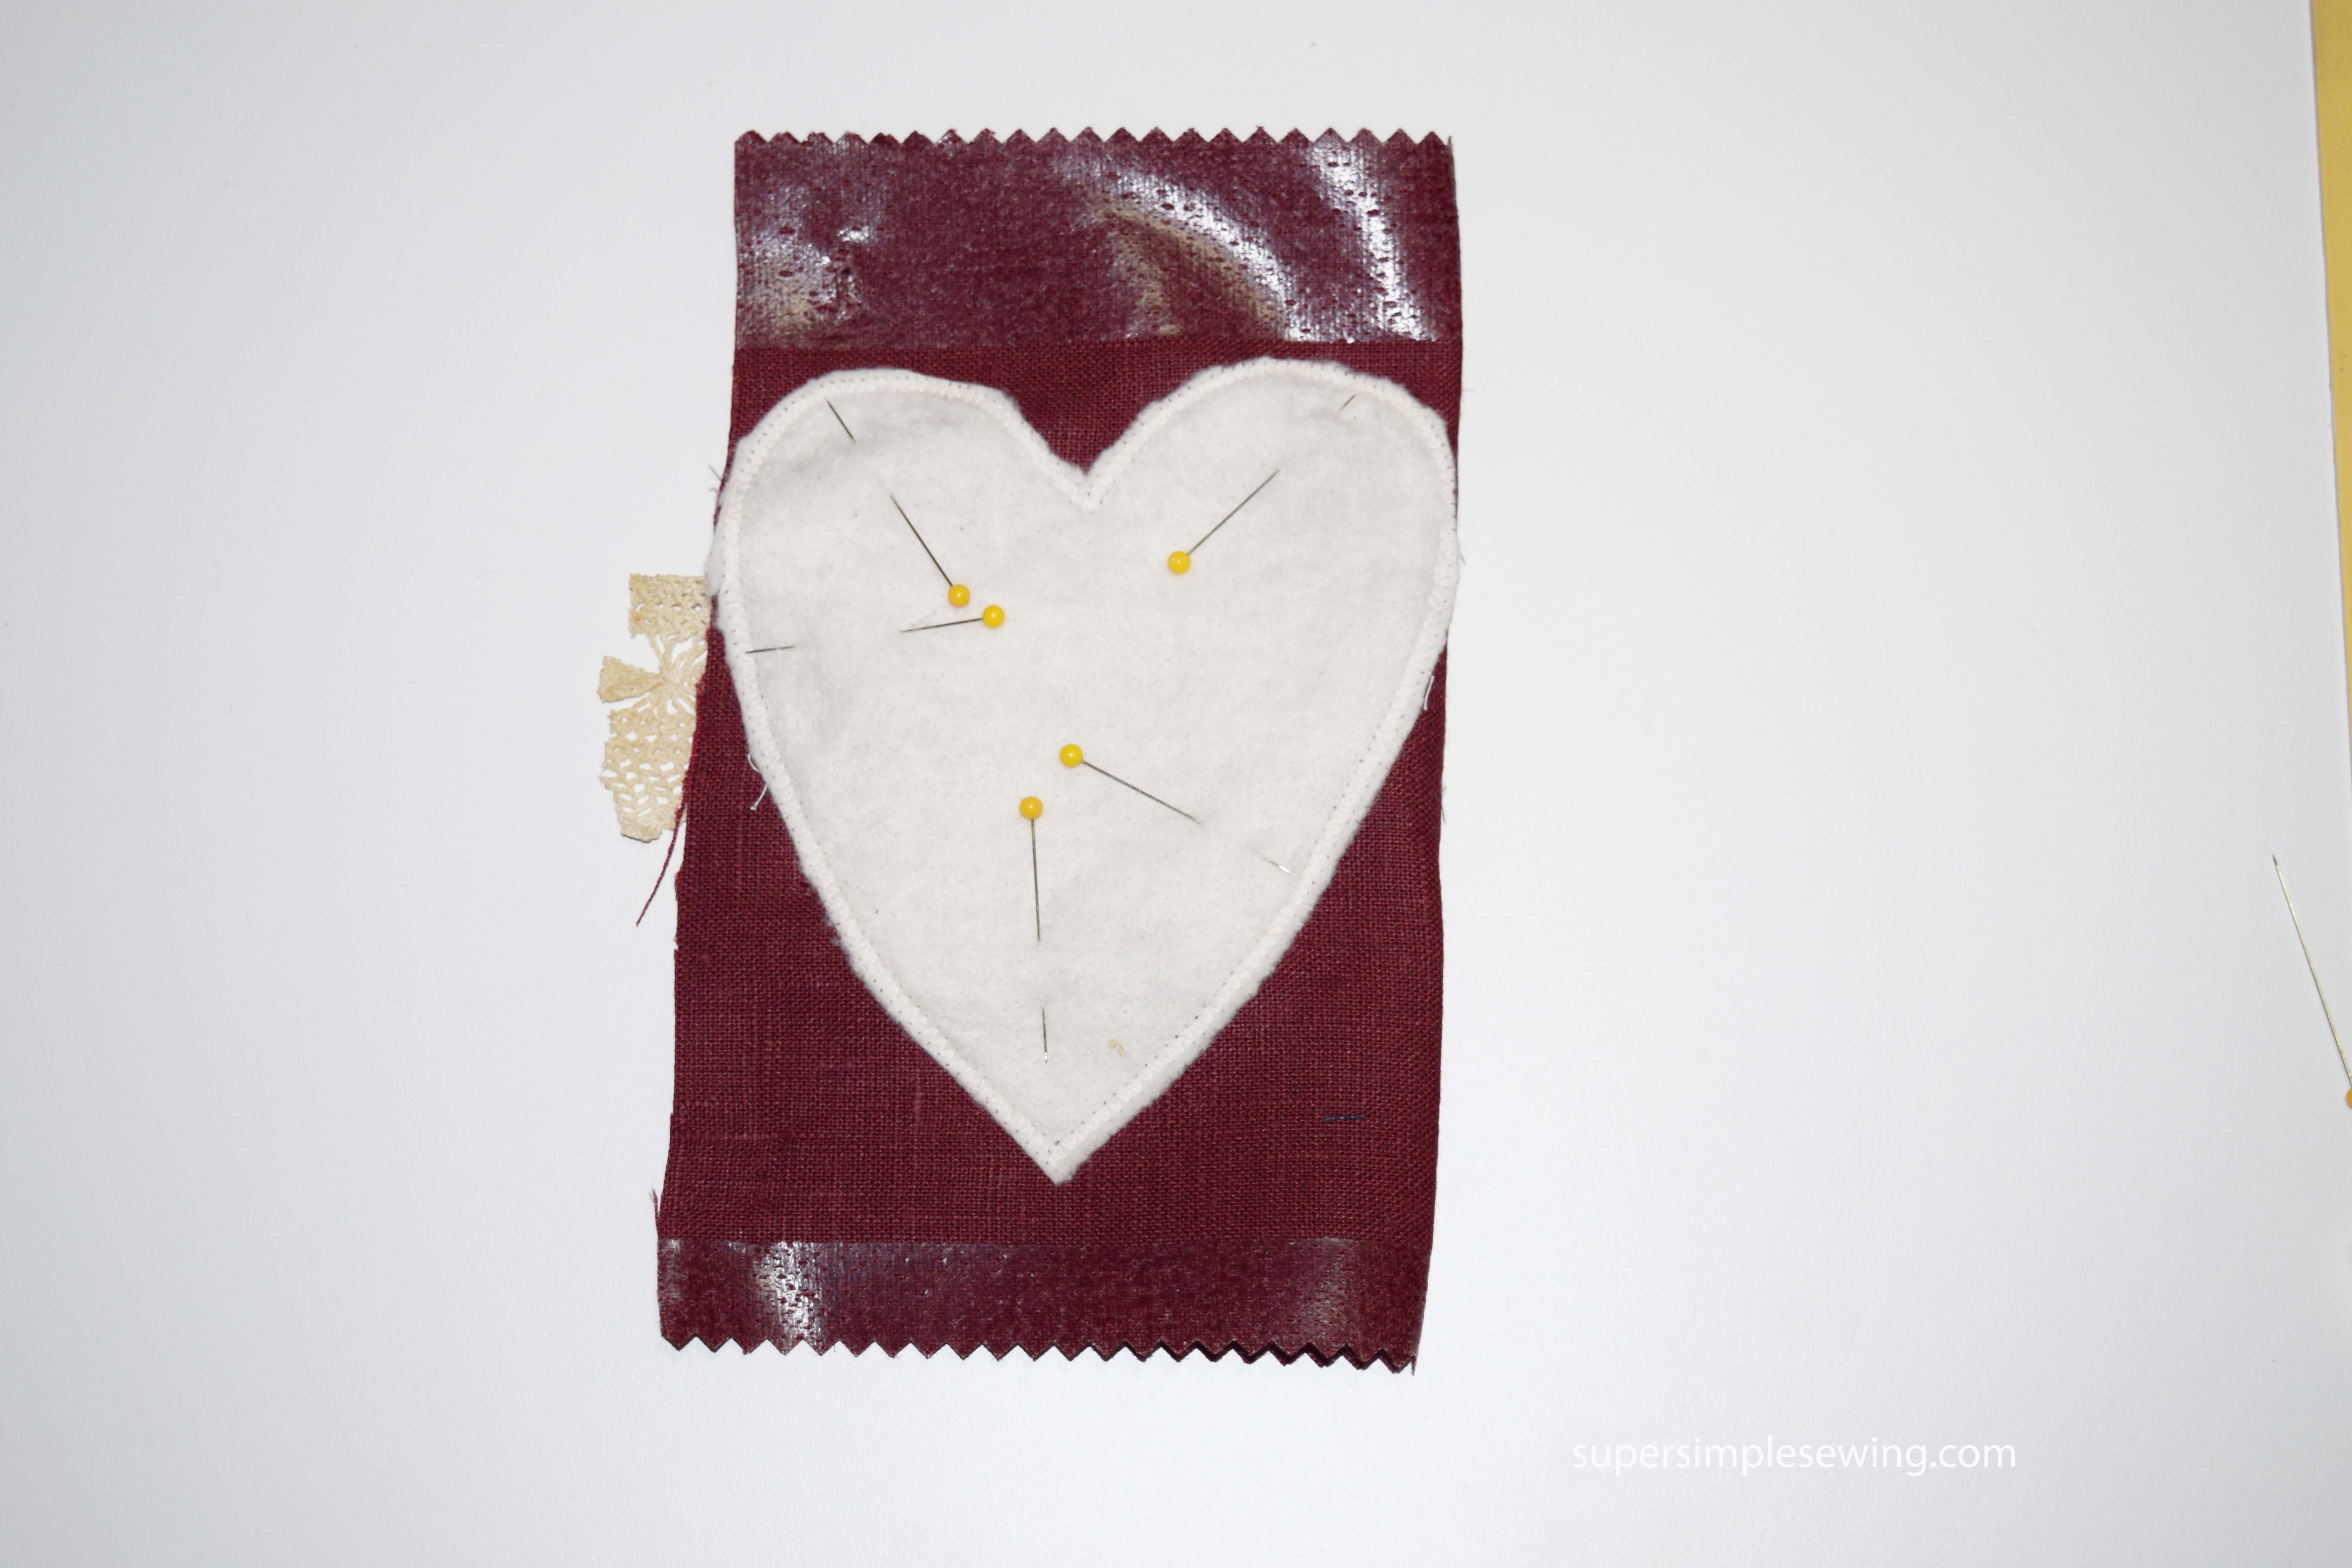
Cut a piece of batting bigger than you need.

Pin to the back of the heart shape.

Zigzag stitch over the traced line. I like using the zigzag to keep my loosely woven fabric from fraying as I work with it.

Trim away the batting close to the stitch line. Trim back the lace to the stitch line as well. the back of the fabric look a bit shiny because it is a swatch from a sample book. Gotta use up those scraps.
Fold the fabric in half again and pin.

Straight stitch inside the zigzag stitch. leave open a 2″ or 2 1/2″ inch section for turning along one of the straight parts on the left or right bottom. this is for turning.
 This is the view from the back after you have sewn.
 Trim away leaving at leave a 1/4″ seam alowance

Snip the corner for a clean V when it is finished.

I want back and reinforced the stitches here.

Trim the bottom for a sharper point.

Turn the heart right side out.

Tuck in the area let for turning and press.

Whip stitch closed with matching thread.
 Pin a piece of ribbon forming the loop to hang it from.

Stitch in place.
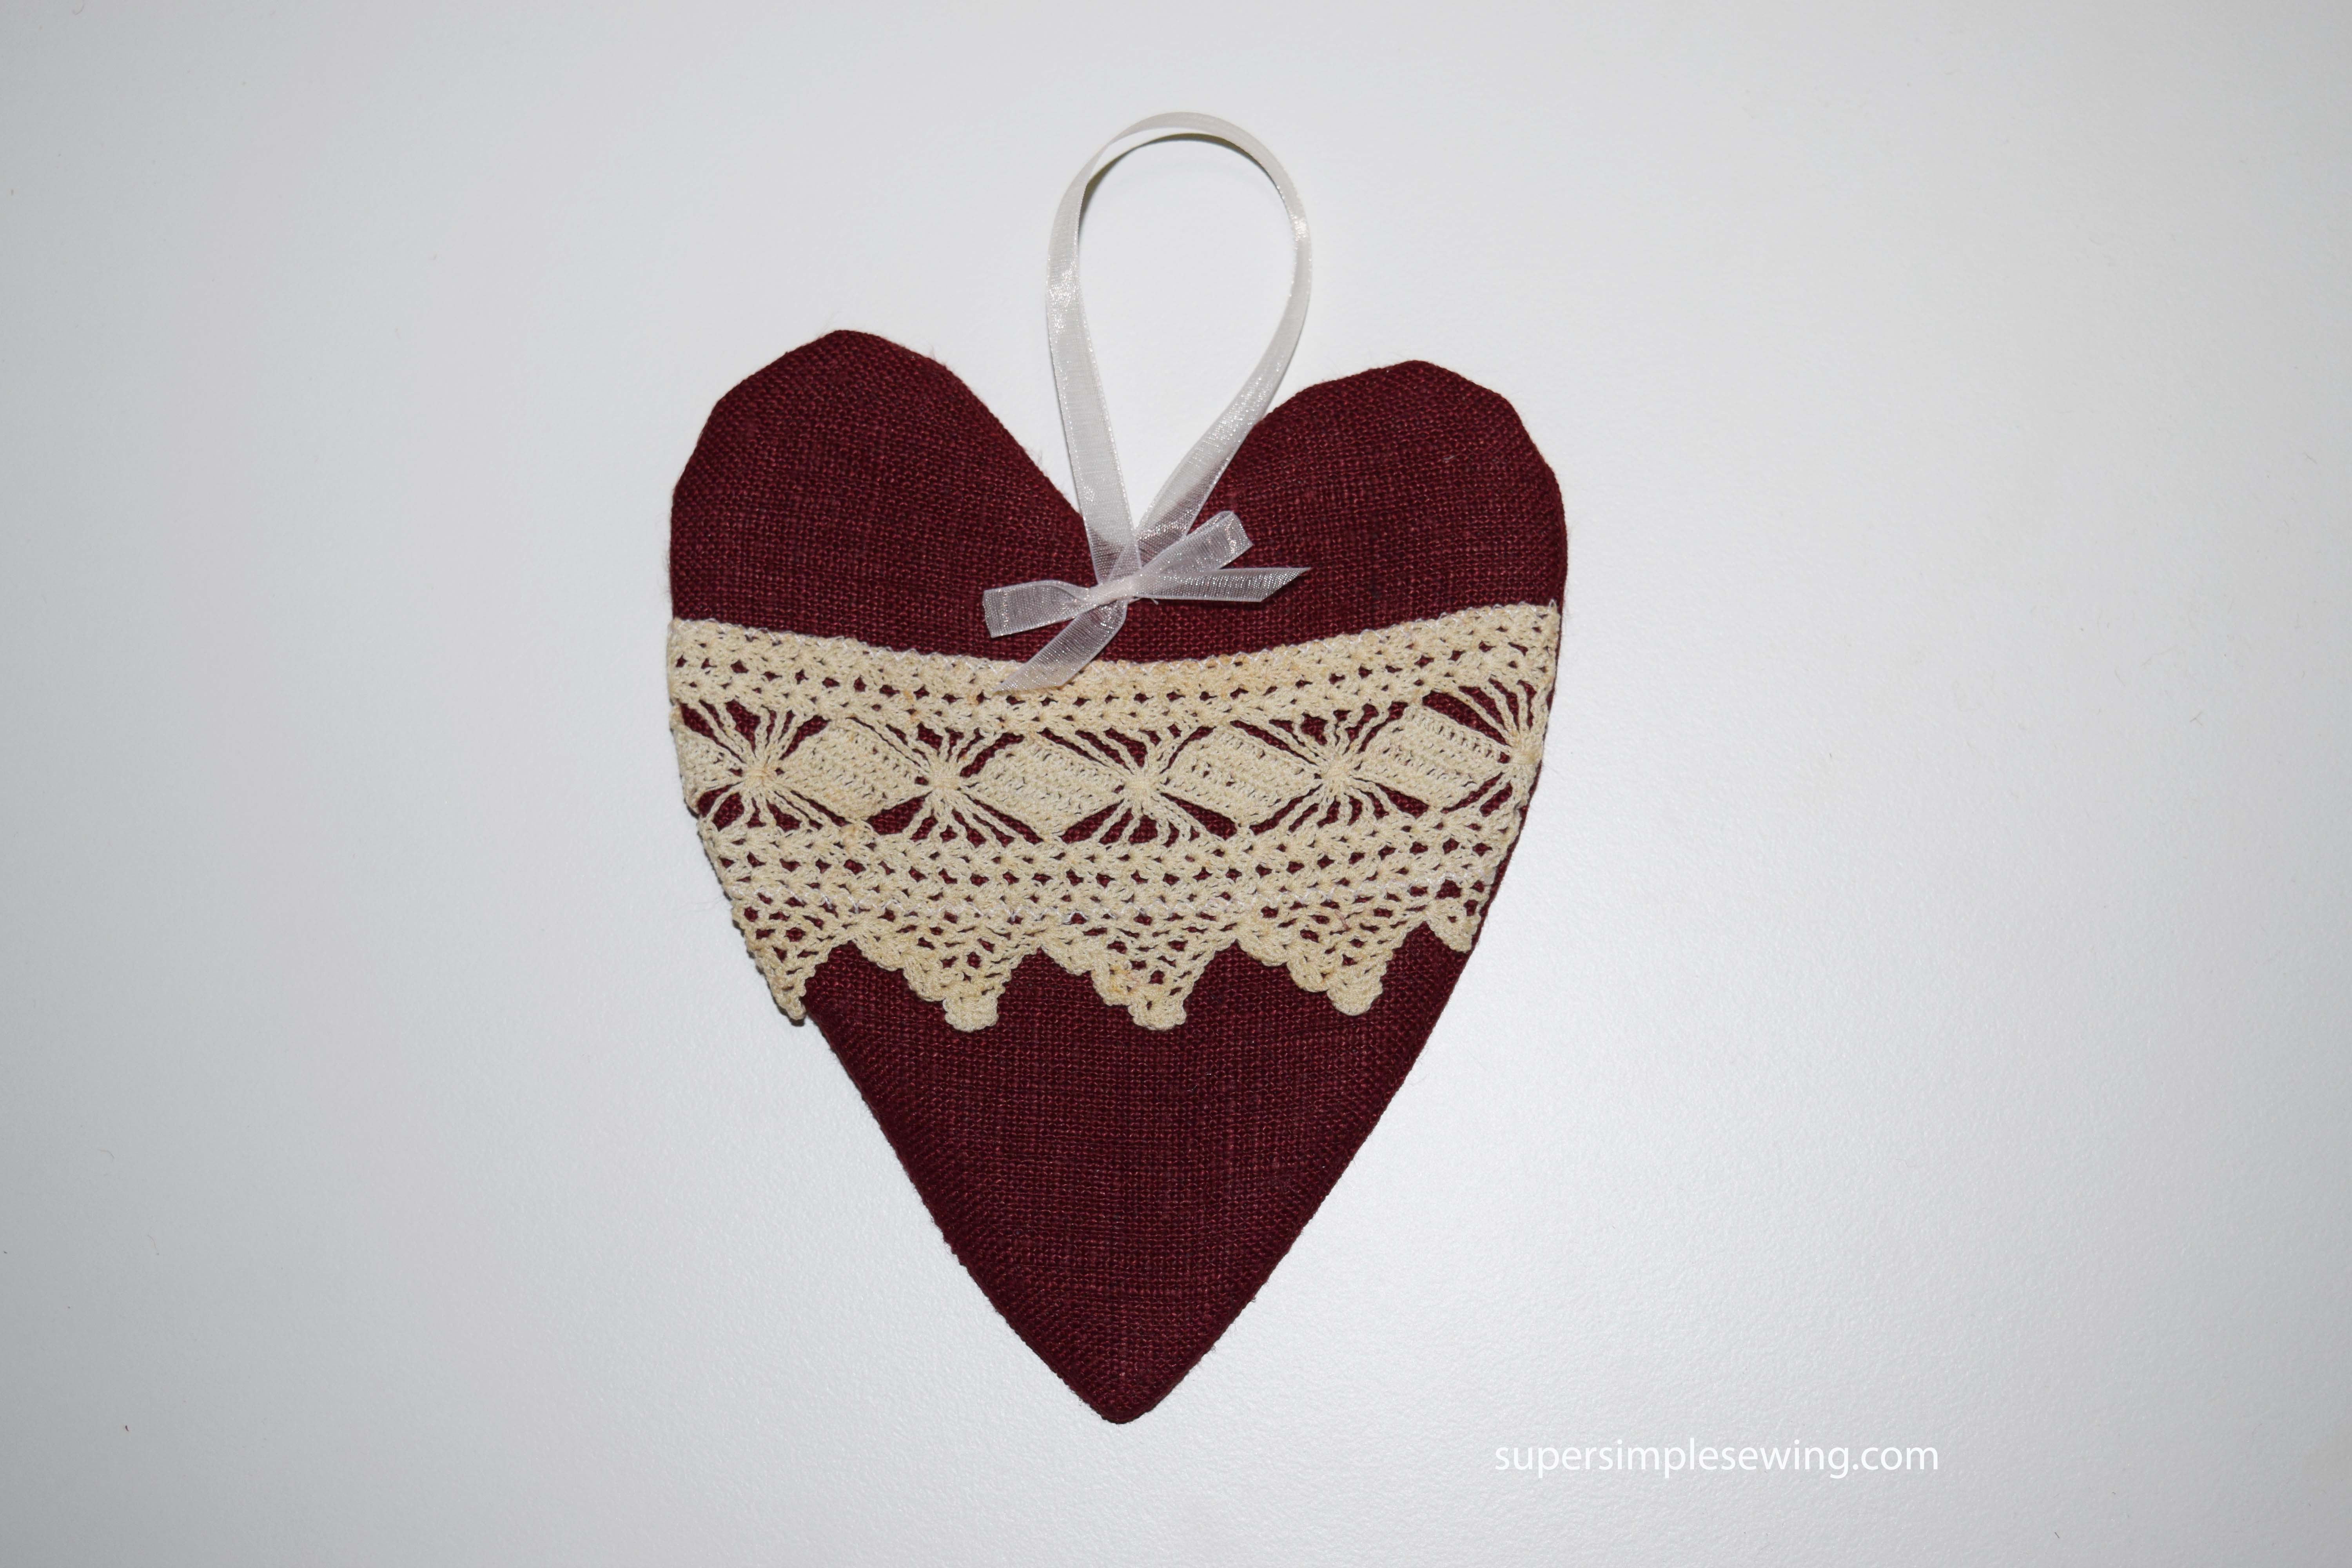
Tie a bow with the ribbon.
It’s ready to hang up on your tree!


