How to Replace a Zipper on a Coat.
Step by step instructions will show you how to remove old zipper and put in a new one. It will not be a factory finish but it will be undetectable to most.

I sew every day and I put off making this repair. I always think it will be worse that it actually is. I am very picky on the coats I choose to repair. It has to be in very good condition for me to work on it. The time it takes is just too long for something that has seen better days. This hand-me-down was in excellent condition and I am guessing it made it’s way to me because I could fix it. I have zippers hanging around the house so it was worth a go. As you will see I did not take the time or effort to add back in all the extra detail, I was just looking for function here. this does not look like a factory finish but it is clean and looks goo from the outside. I’m sure there are lots of ways to tackle this problem but I wanted to give an idea of what a fix like this would look like. Different types of coats may need alternative sewing methods, but the last few I have done were very similar to this. I hope it helps to give confidence to try.
If you need to purchase a zipper measure the length of the old one before you buy. If you can’t find an exact fit go with one that is too long. It is always possible to tuck the extra in at the top. You need it to be a Separating zipper .

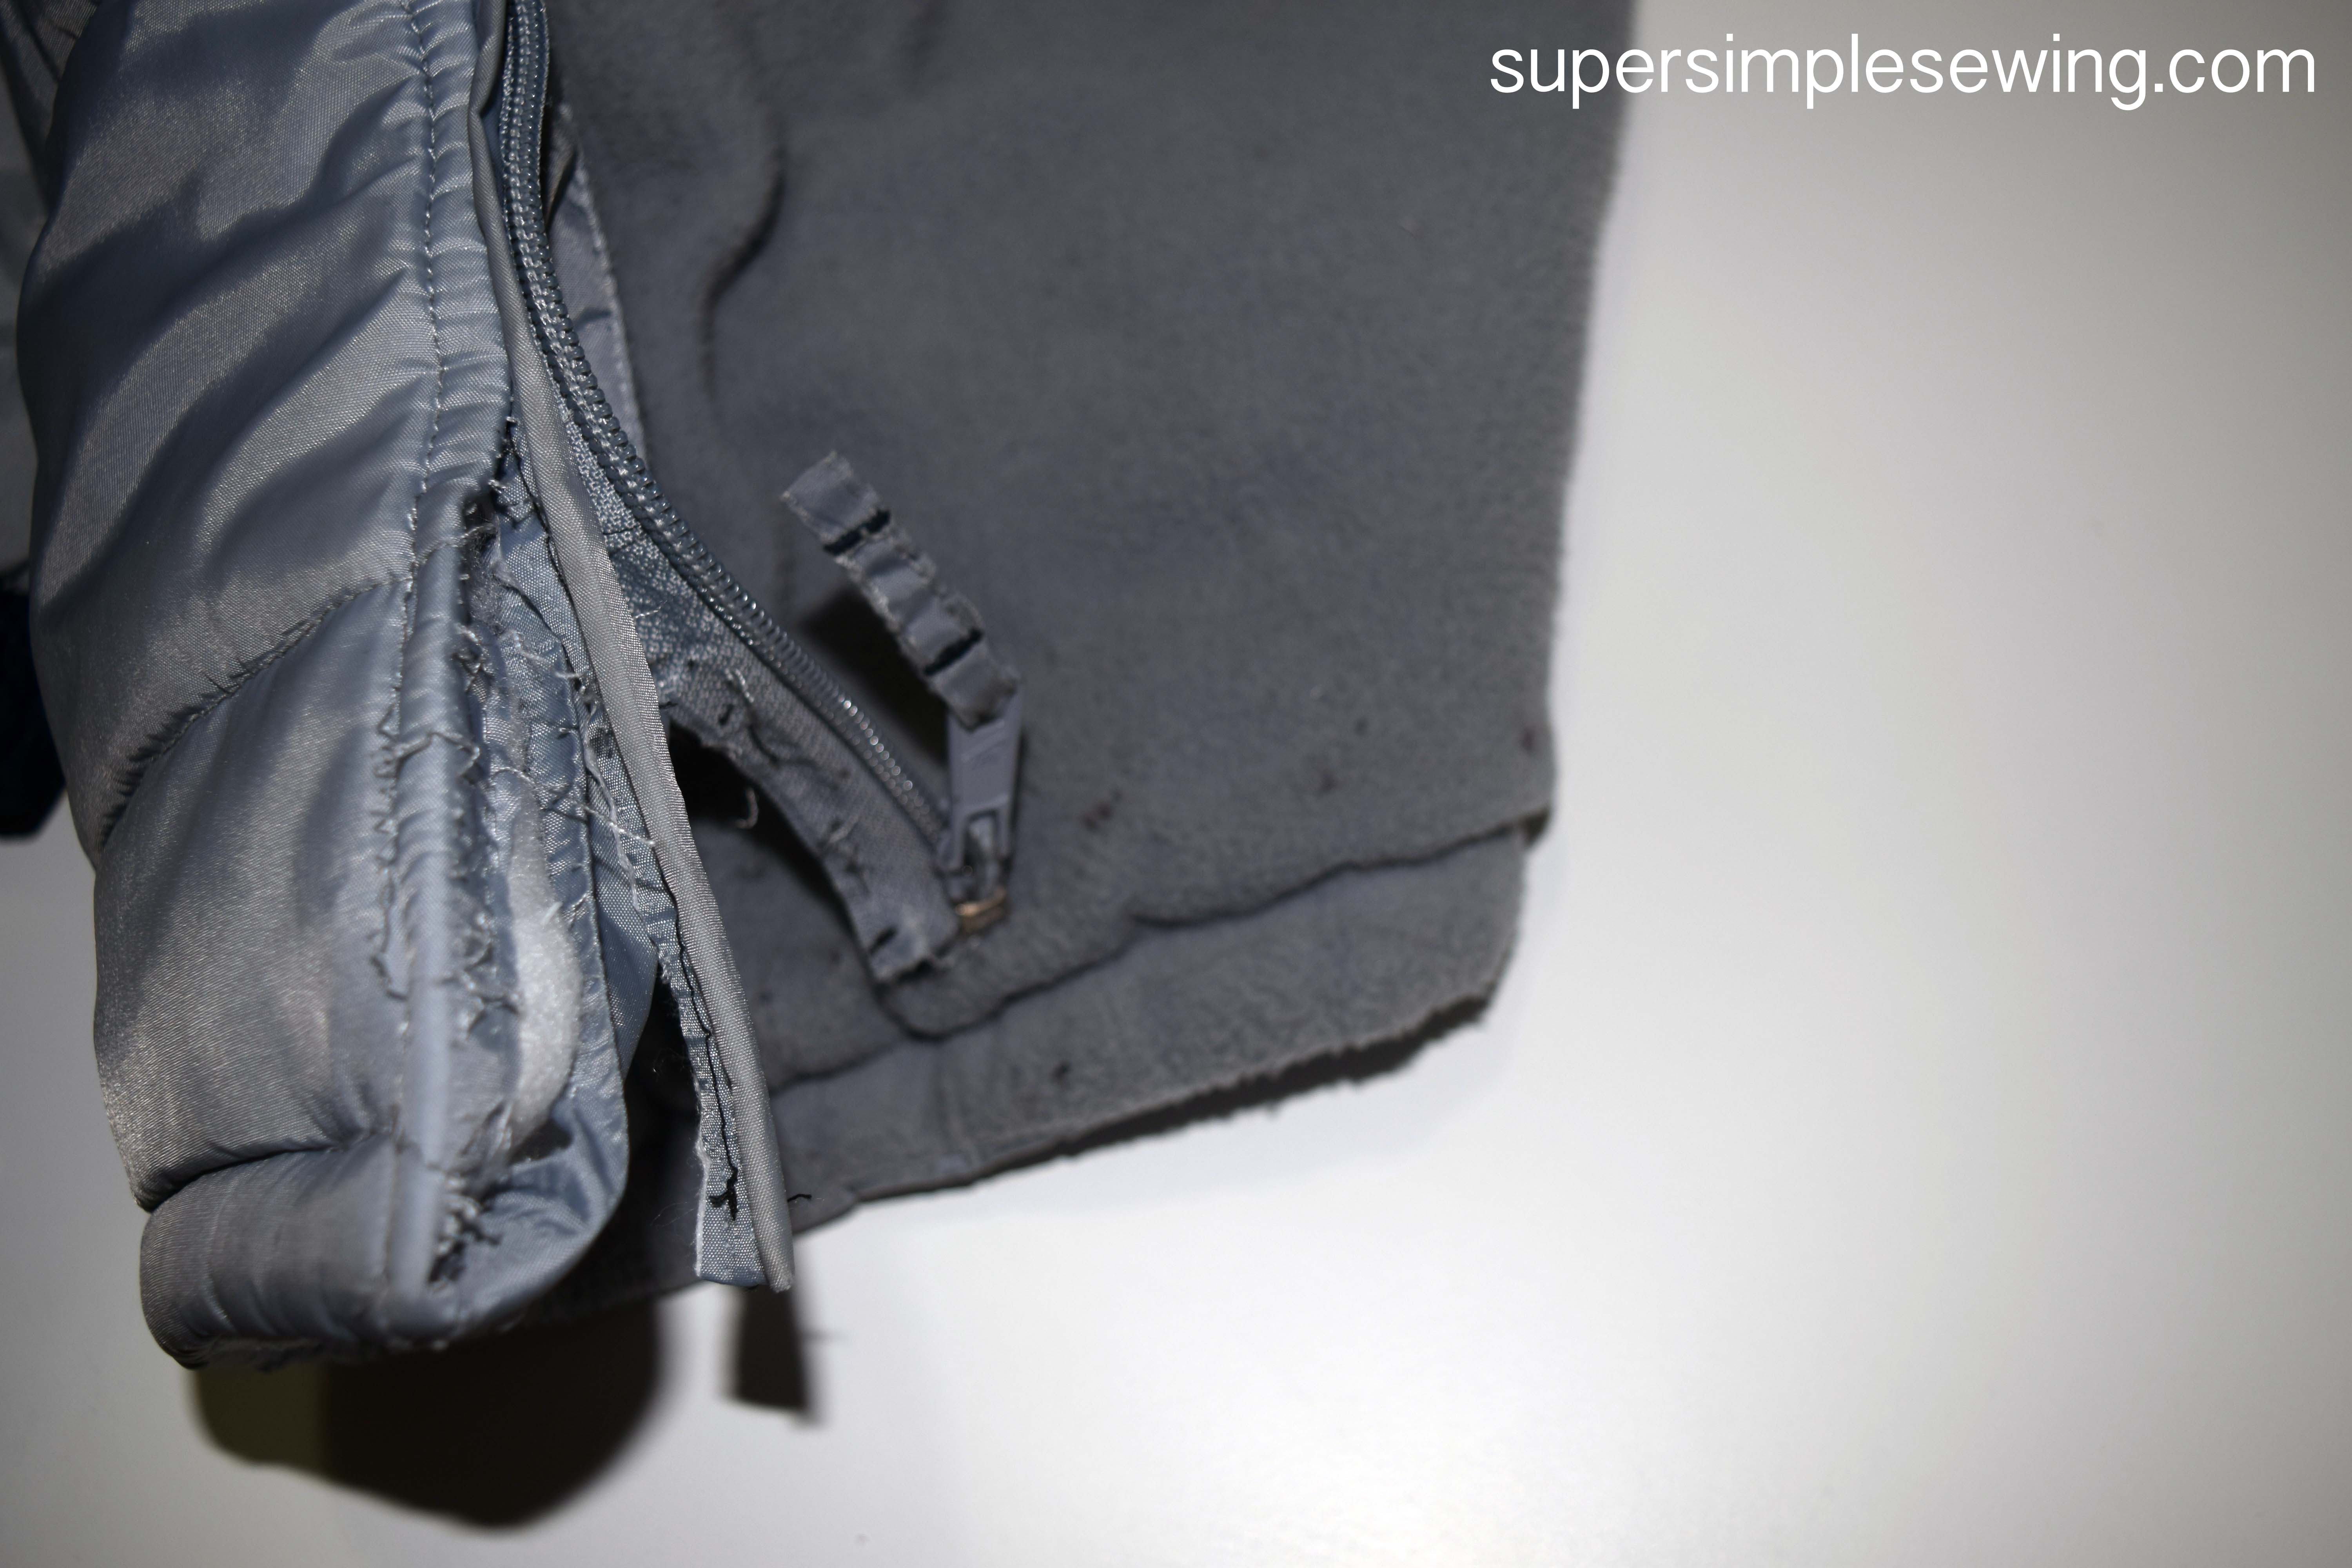
Start by pulling out the old zipper.

Don’t be surprised when it is sewn up to 4 times!
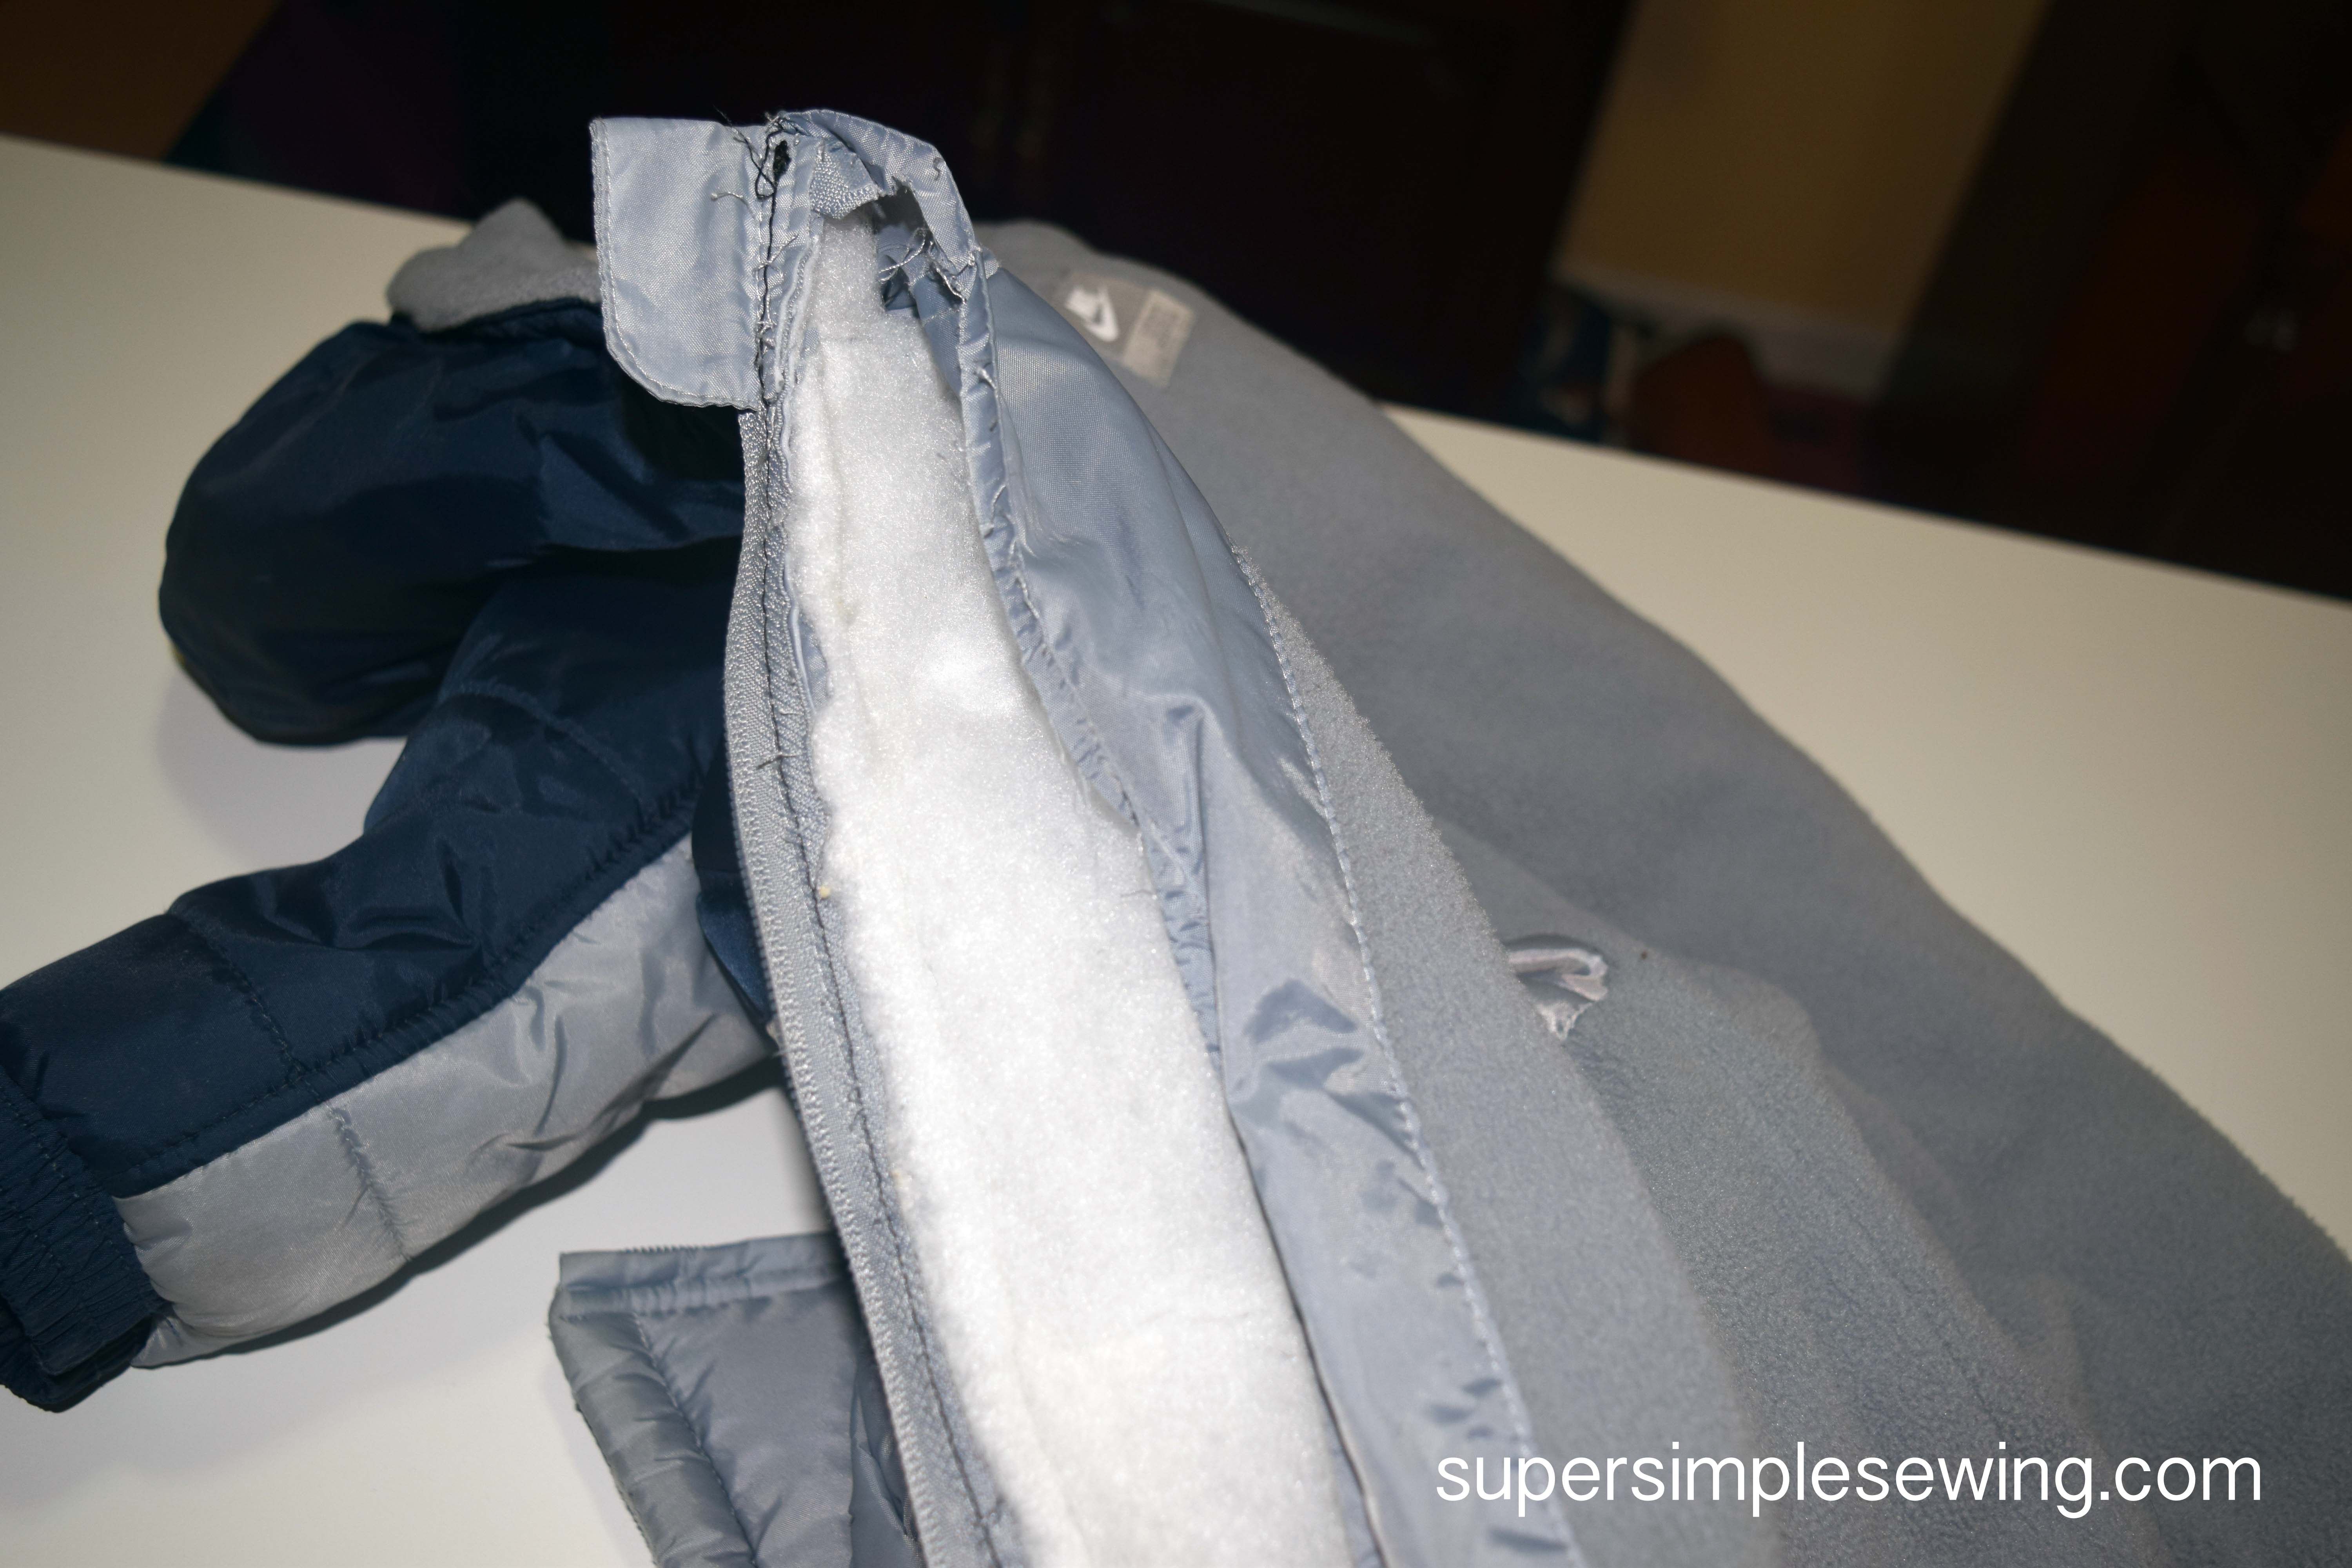
I started with the liner. It is more forgiving part to get started.

As you can see it may be challenging to get all the stitches out without damaging the pieces. Try to be more careful than I was.
At this stage I am disassembling the face. I will not be putting this lap detail back on. I am working on a home machine and I don’t want to push past it’s limits. My zipper will be more visible that it was previously. It’s shouldn’t affect the function.
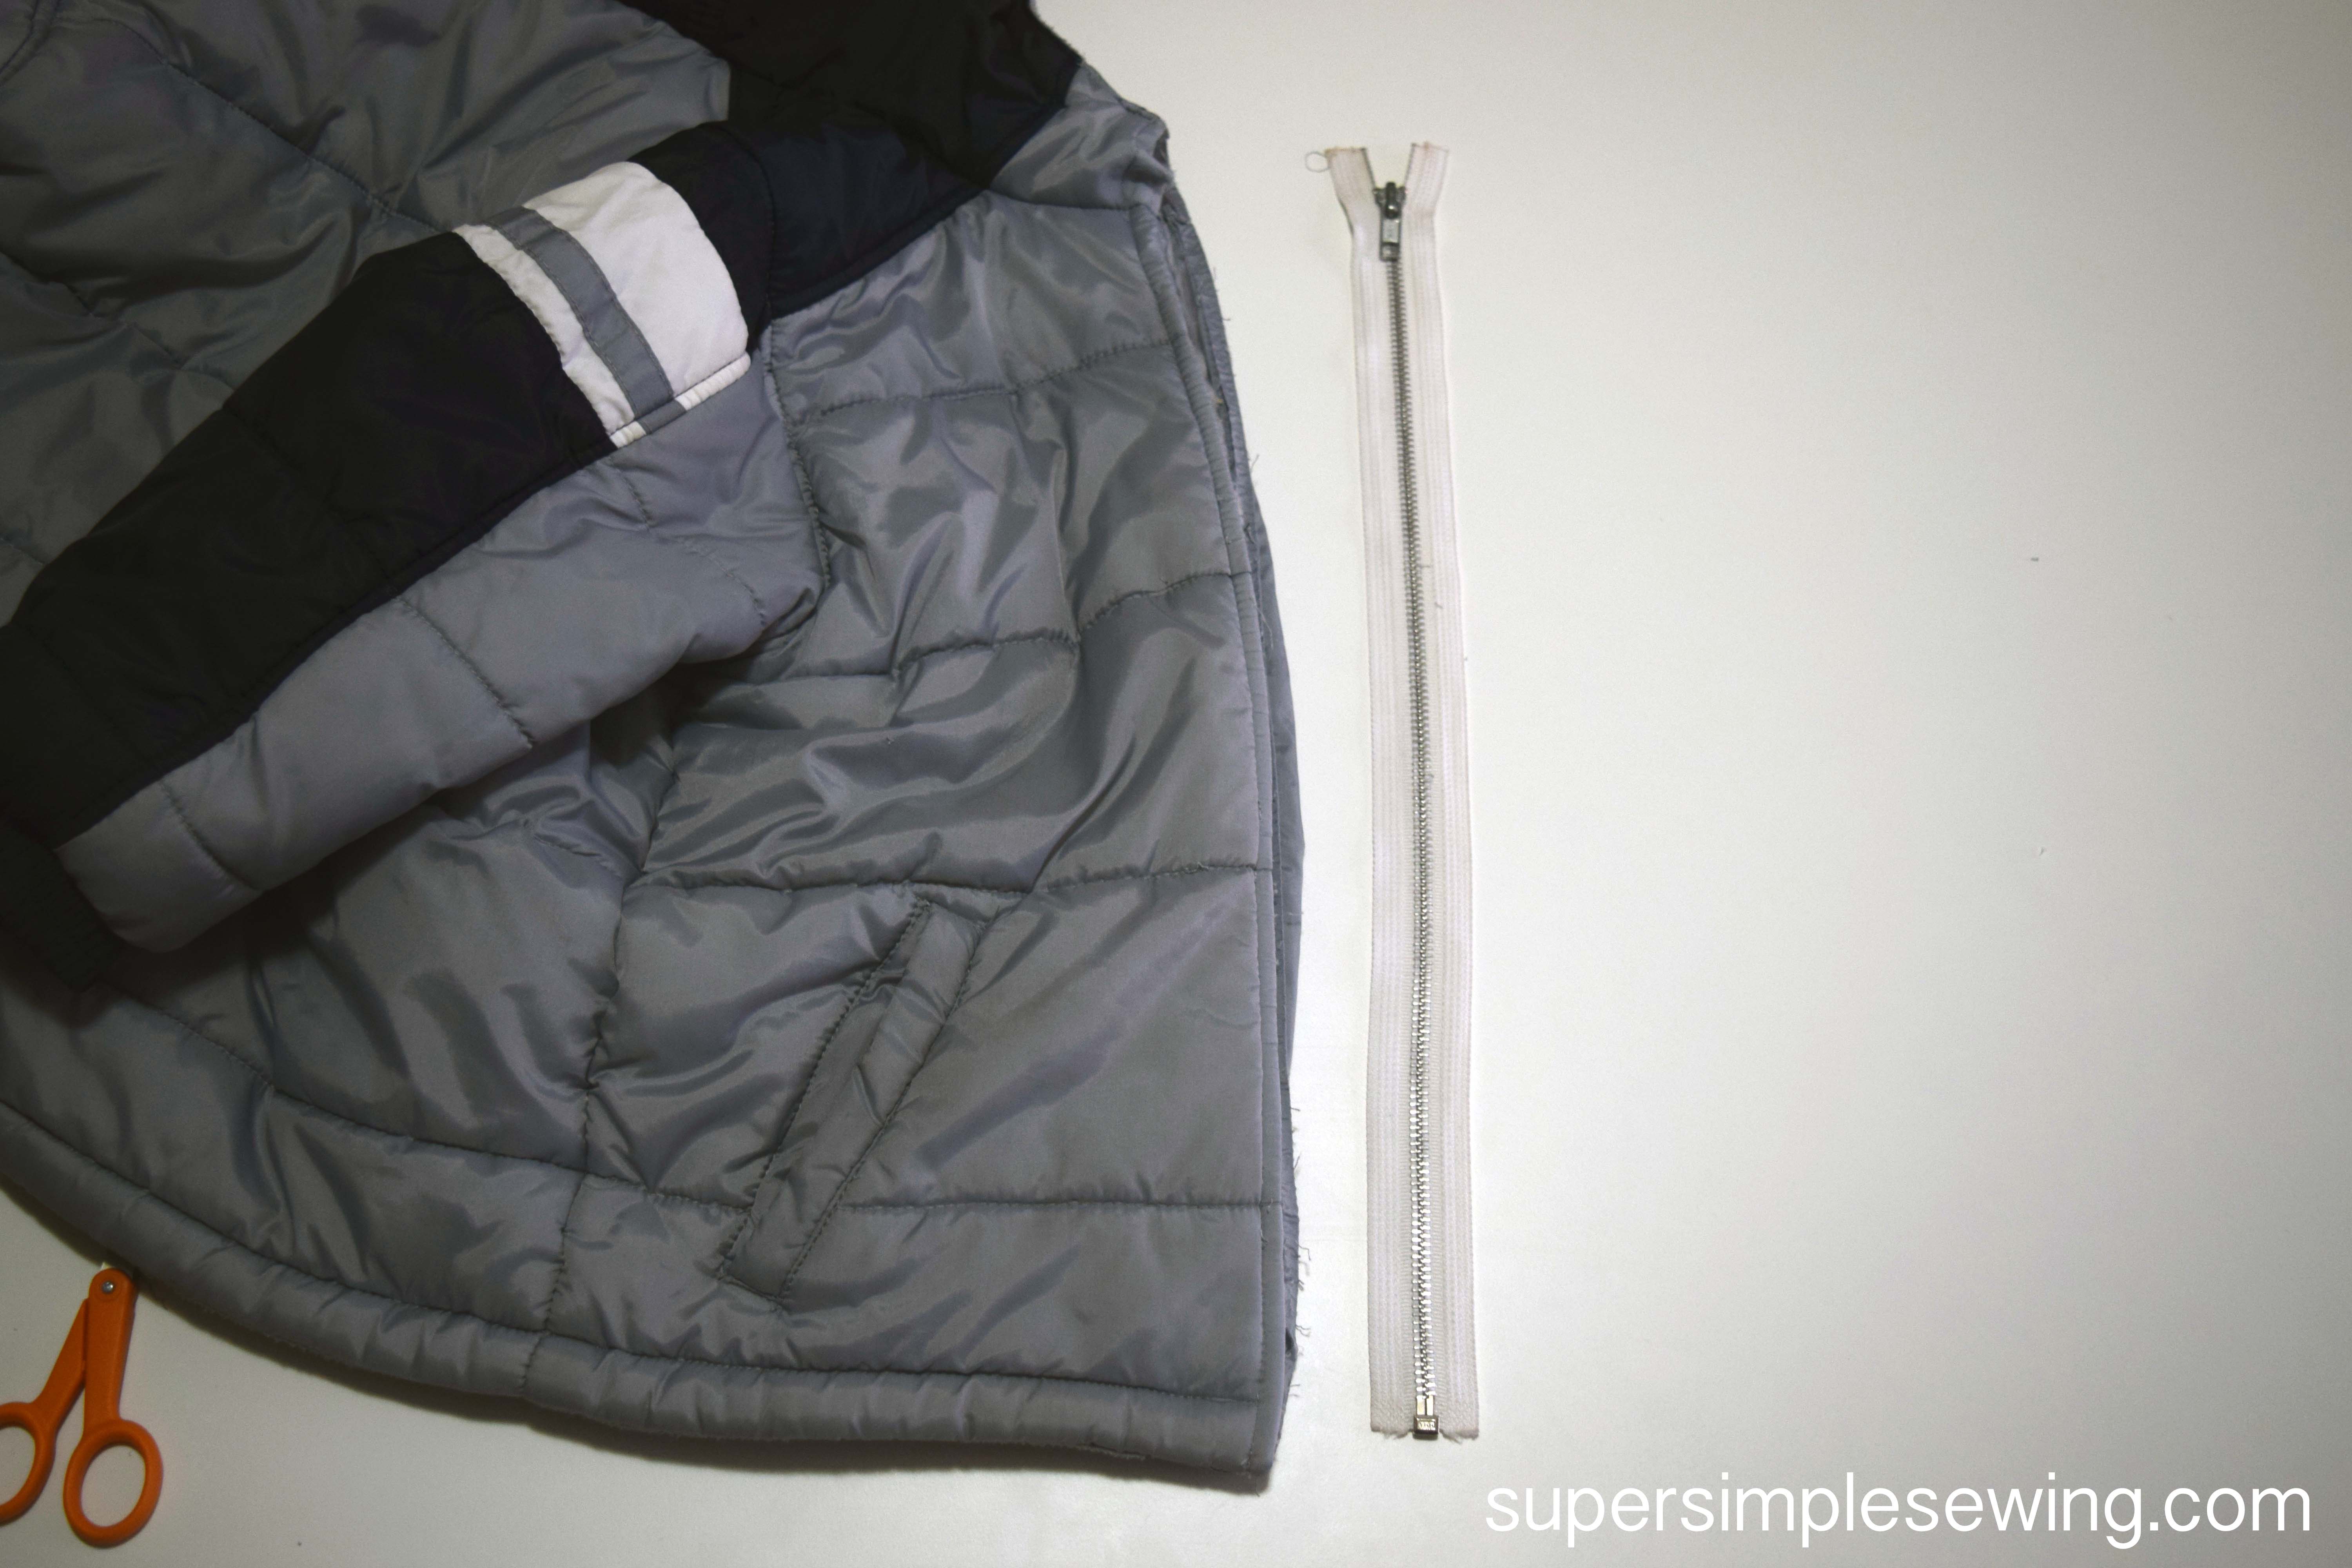
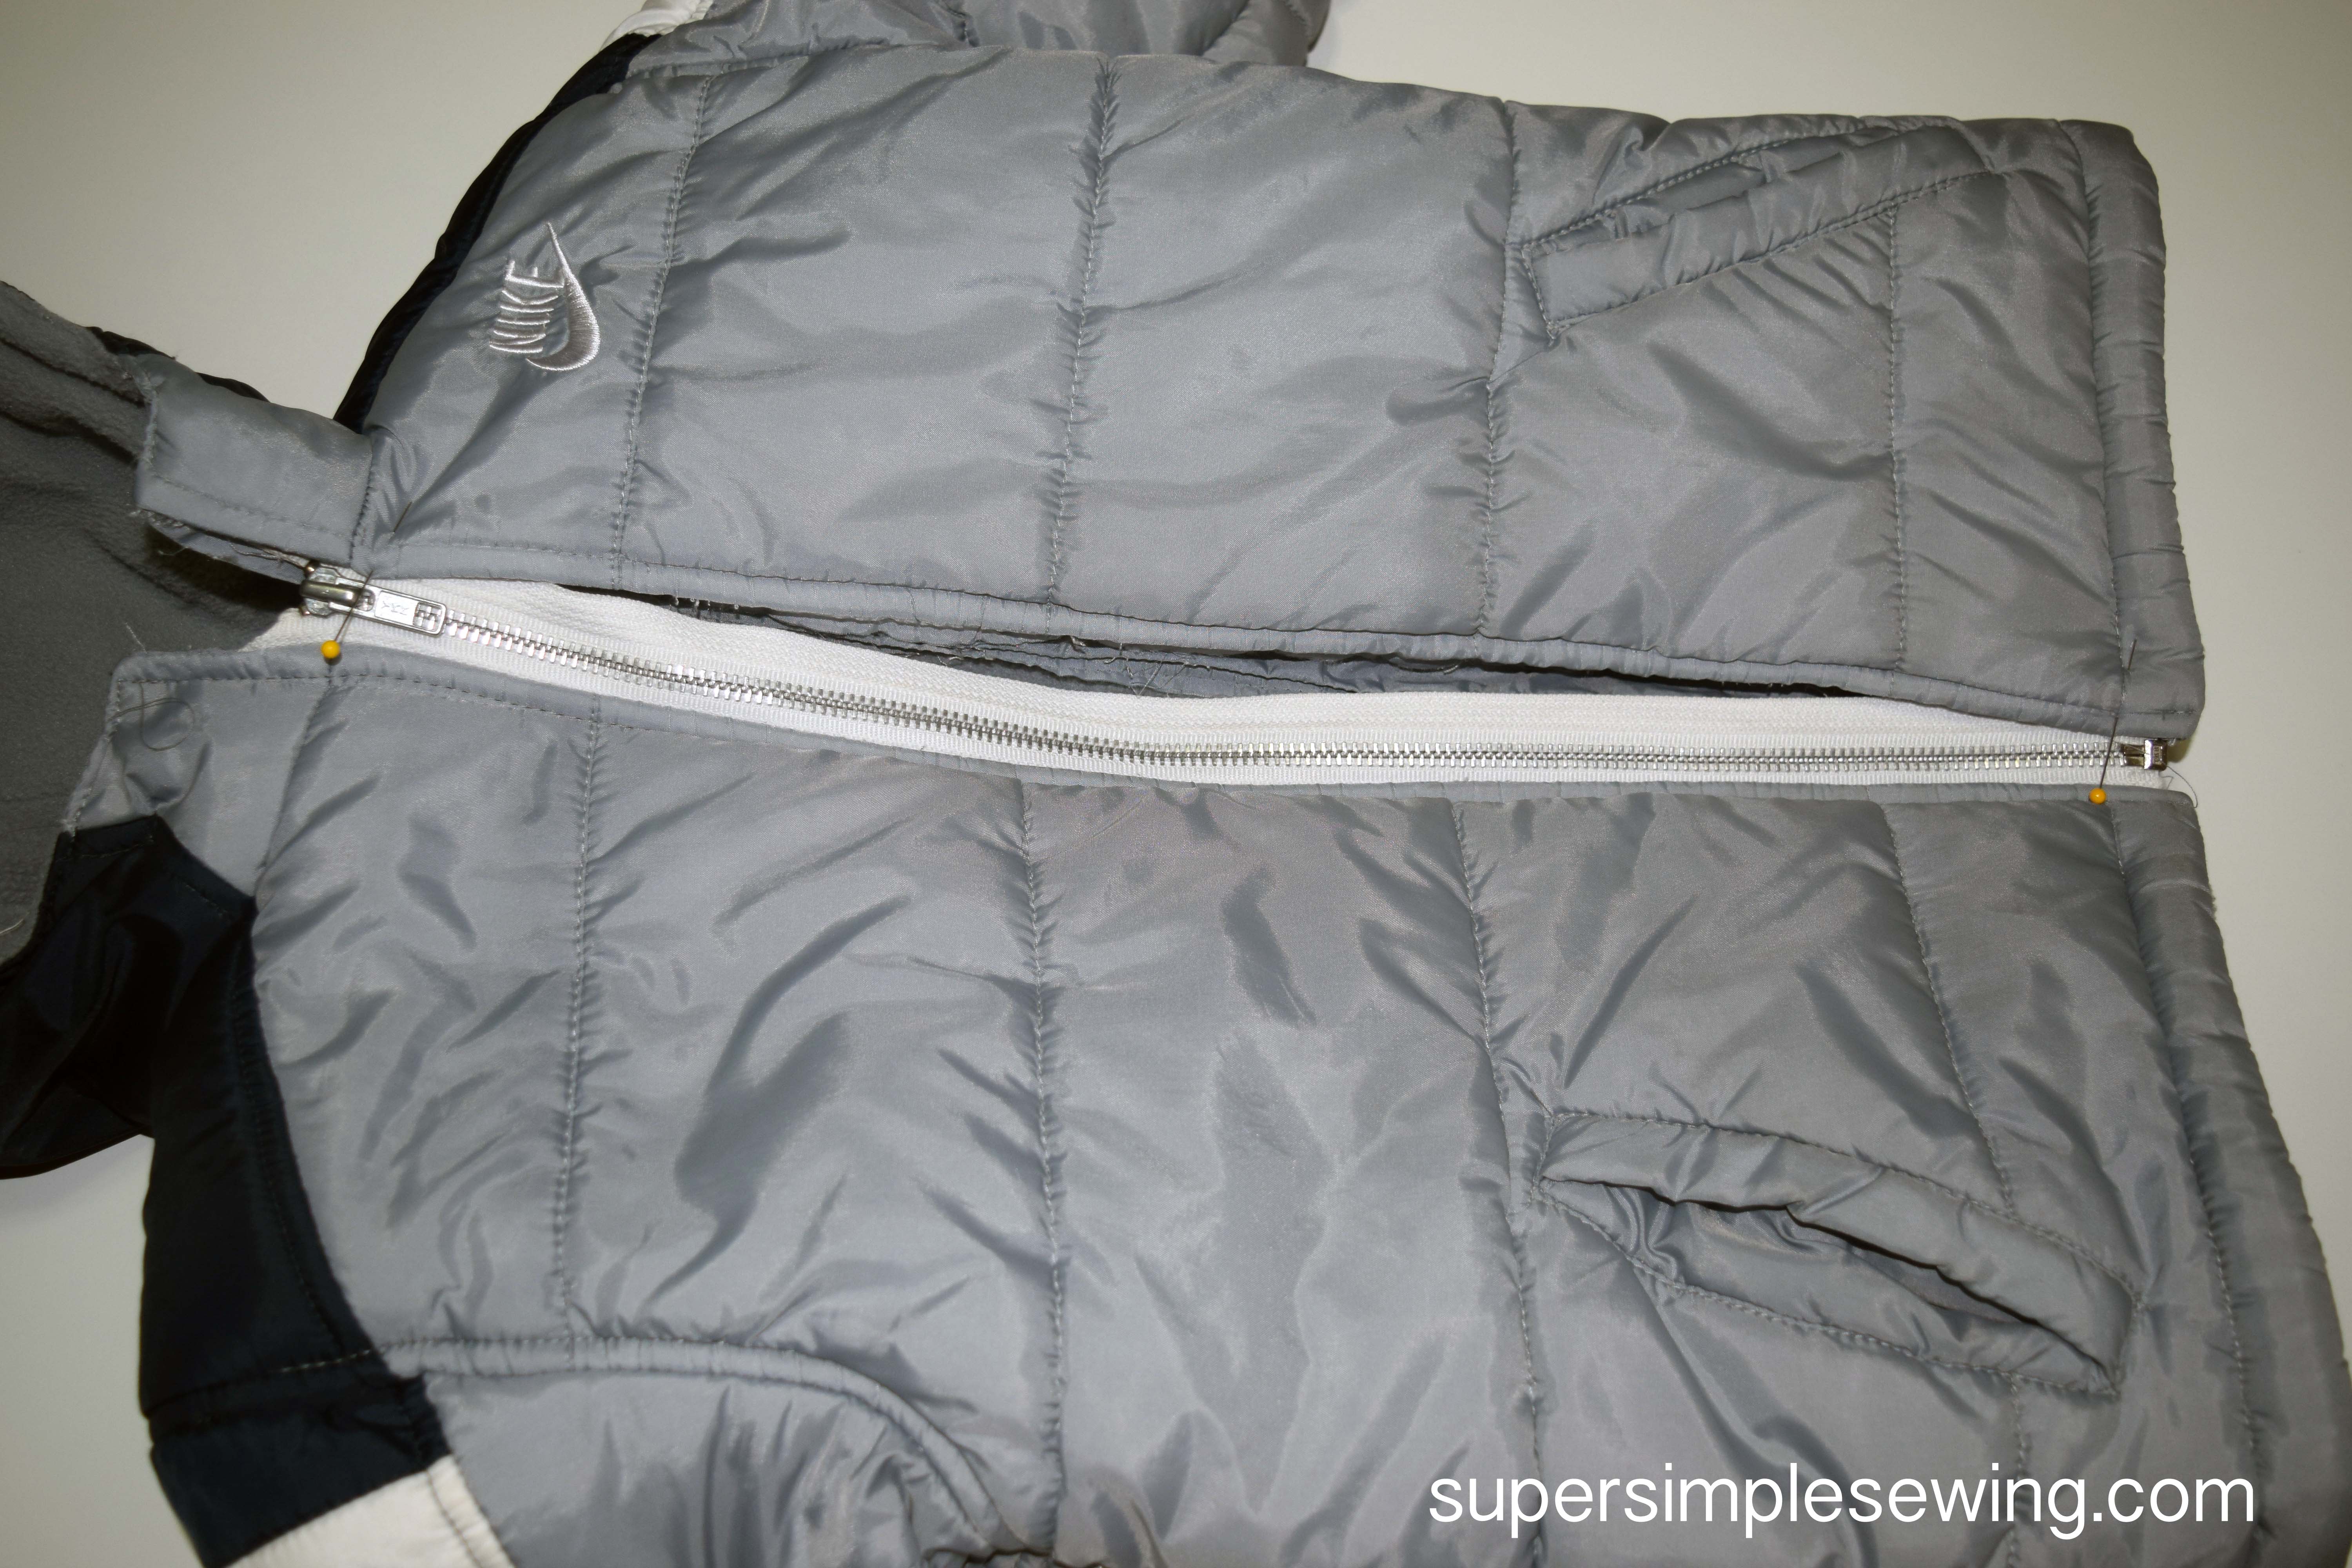
This is the zipper I chose to use. It is just slightly shorter than the old one. I am not bringing it all the way up to the hood section.

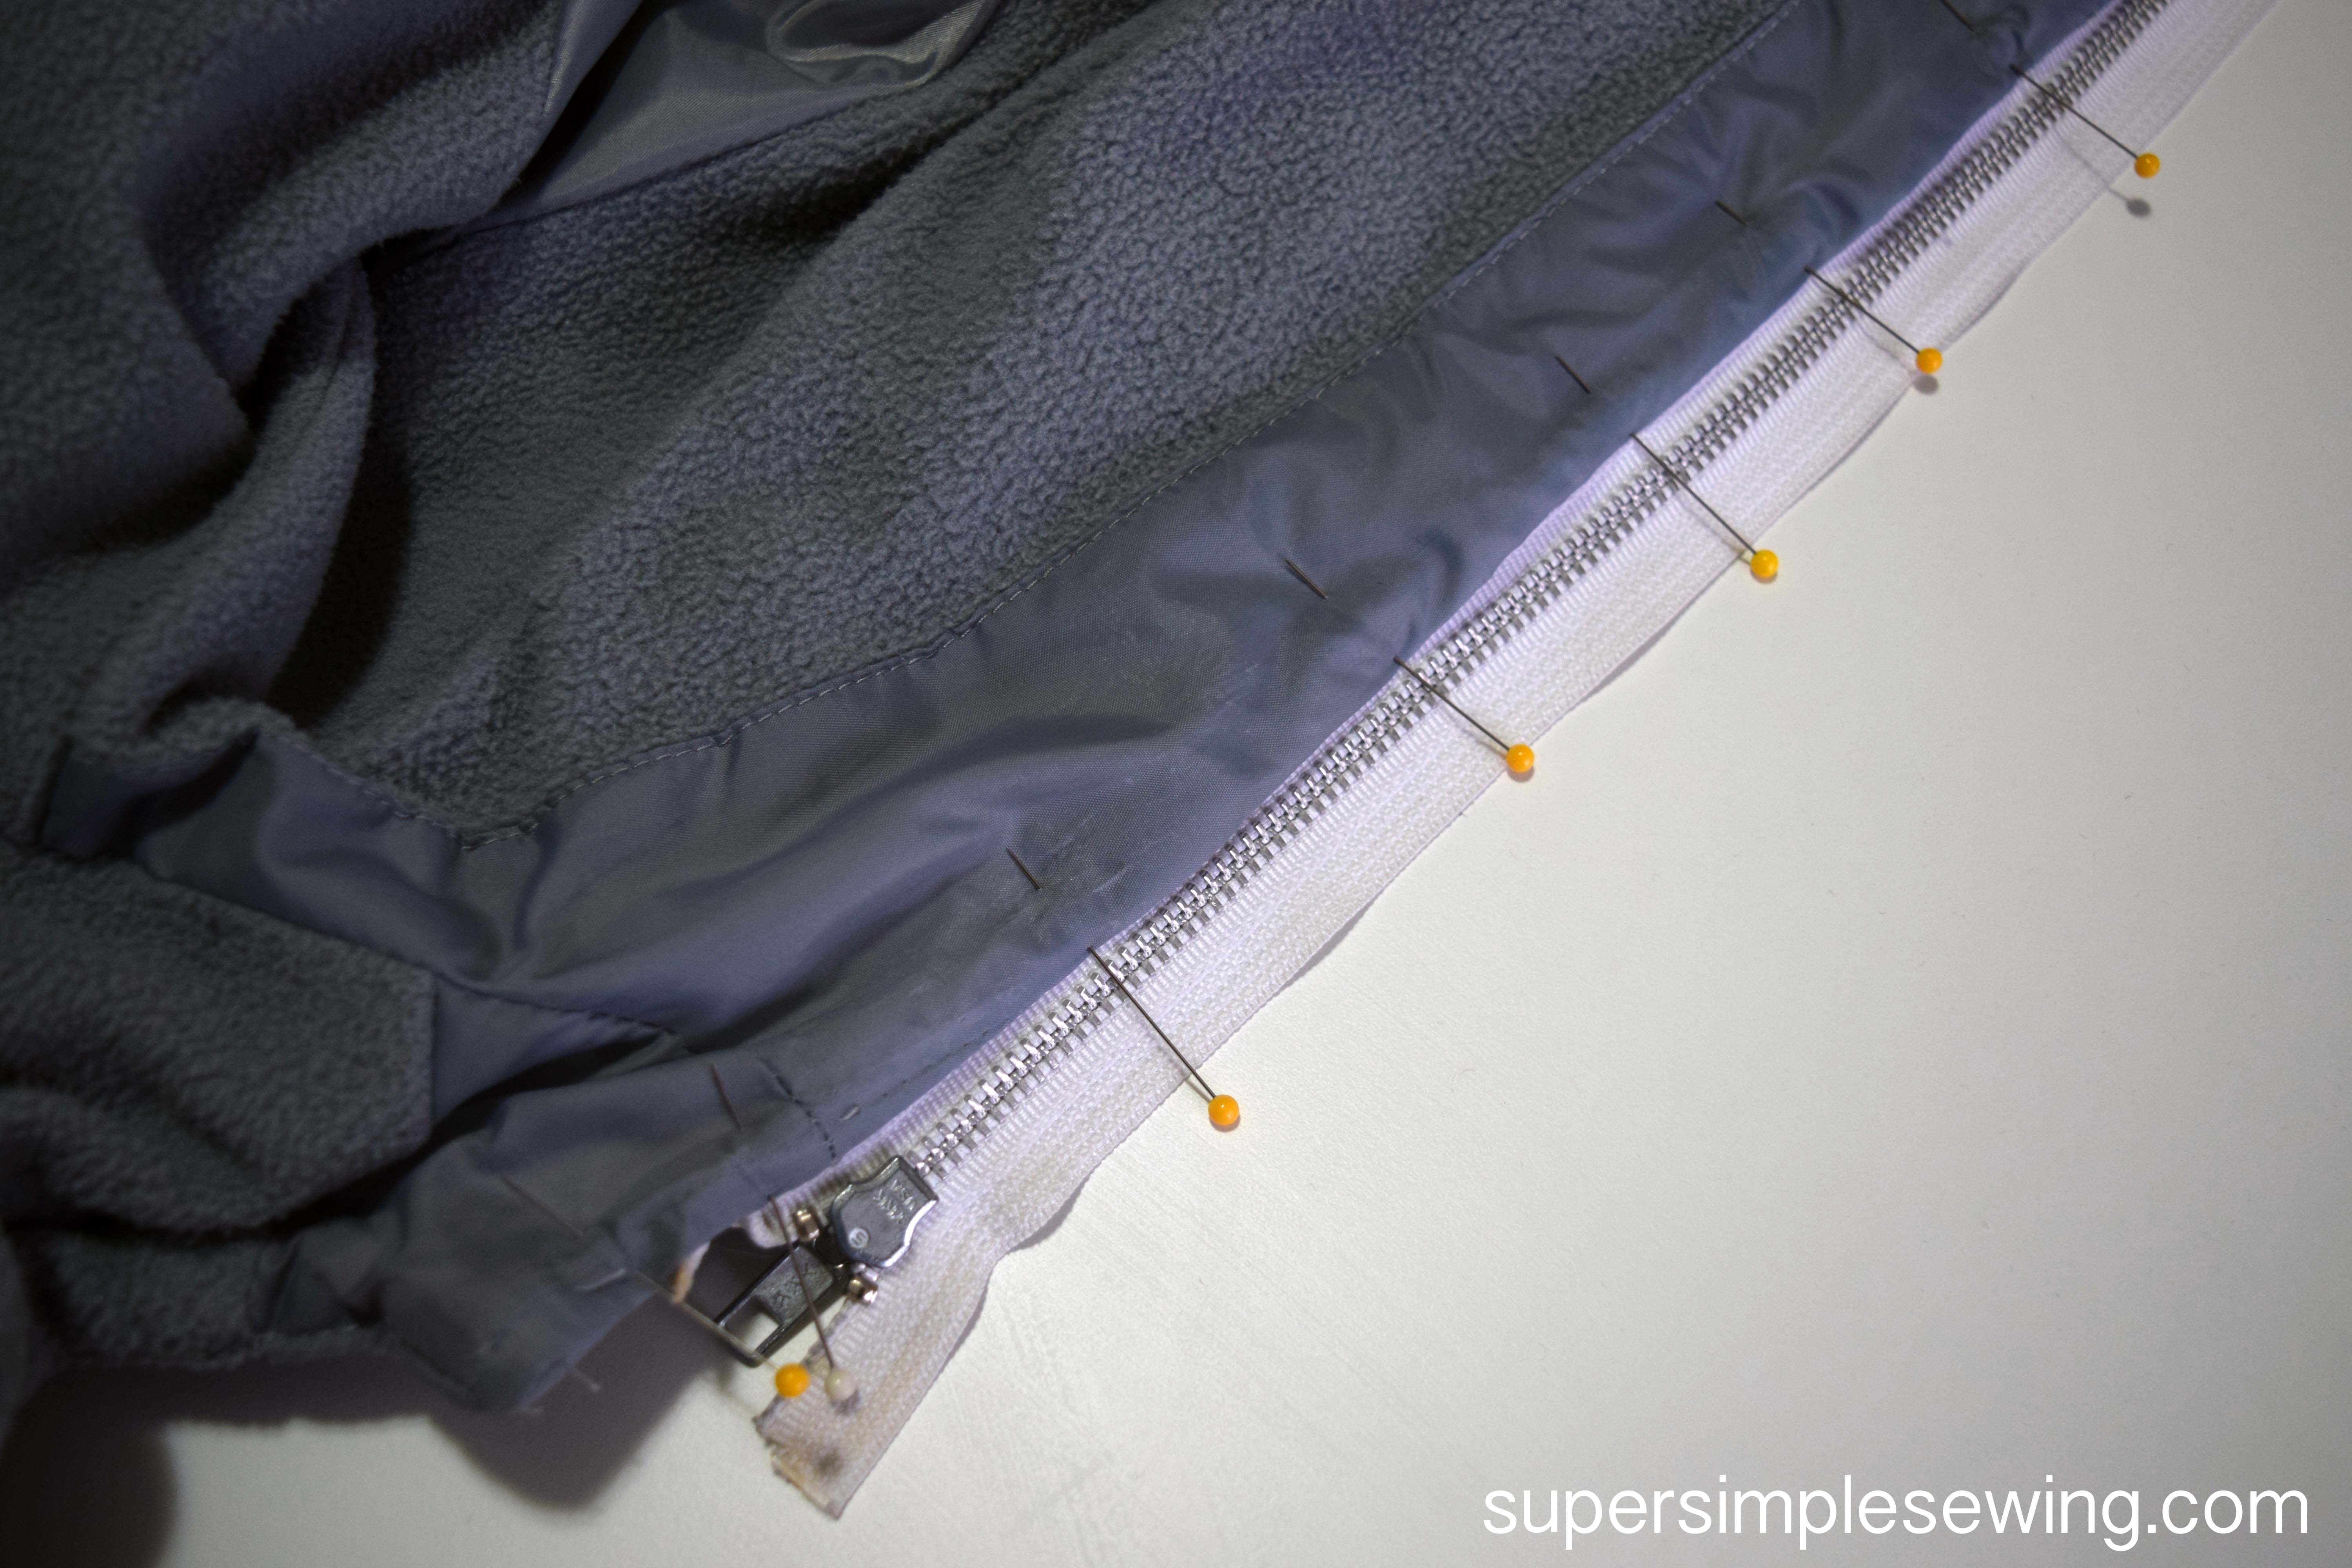
I pinned the right side of the zipper to the right side of just the face of the coat. I am considering the batting to be part of the face. this may not be the case for other coats. try to take your lead from the garment.

At the top you will notice that the top of the zipper is folded over. this will give it a more finished appearance.

I used a zipper foot.It’s best to stay in the center of the zipper tape (the white part).

This is just a reminder not to catch the lining in this part.

Next I pinned the lining in place . The pins are placed so I can remove them easily from the other side.
This is a little closer view.

I am doing my best to stitch over the old seam that I pulled out. The indent it very viable so I want to get it as close to the old stitches as possible.
To match up the zipper placement I leave it zipped and pin the top and bottom to be even with the other sides.
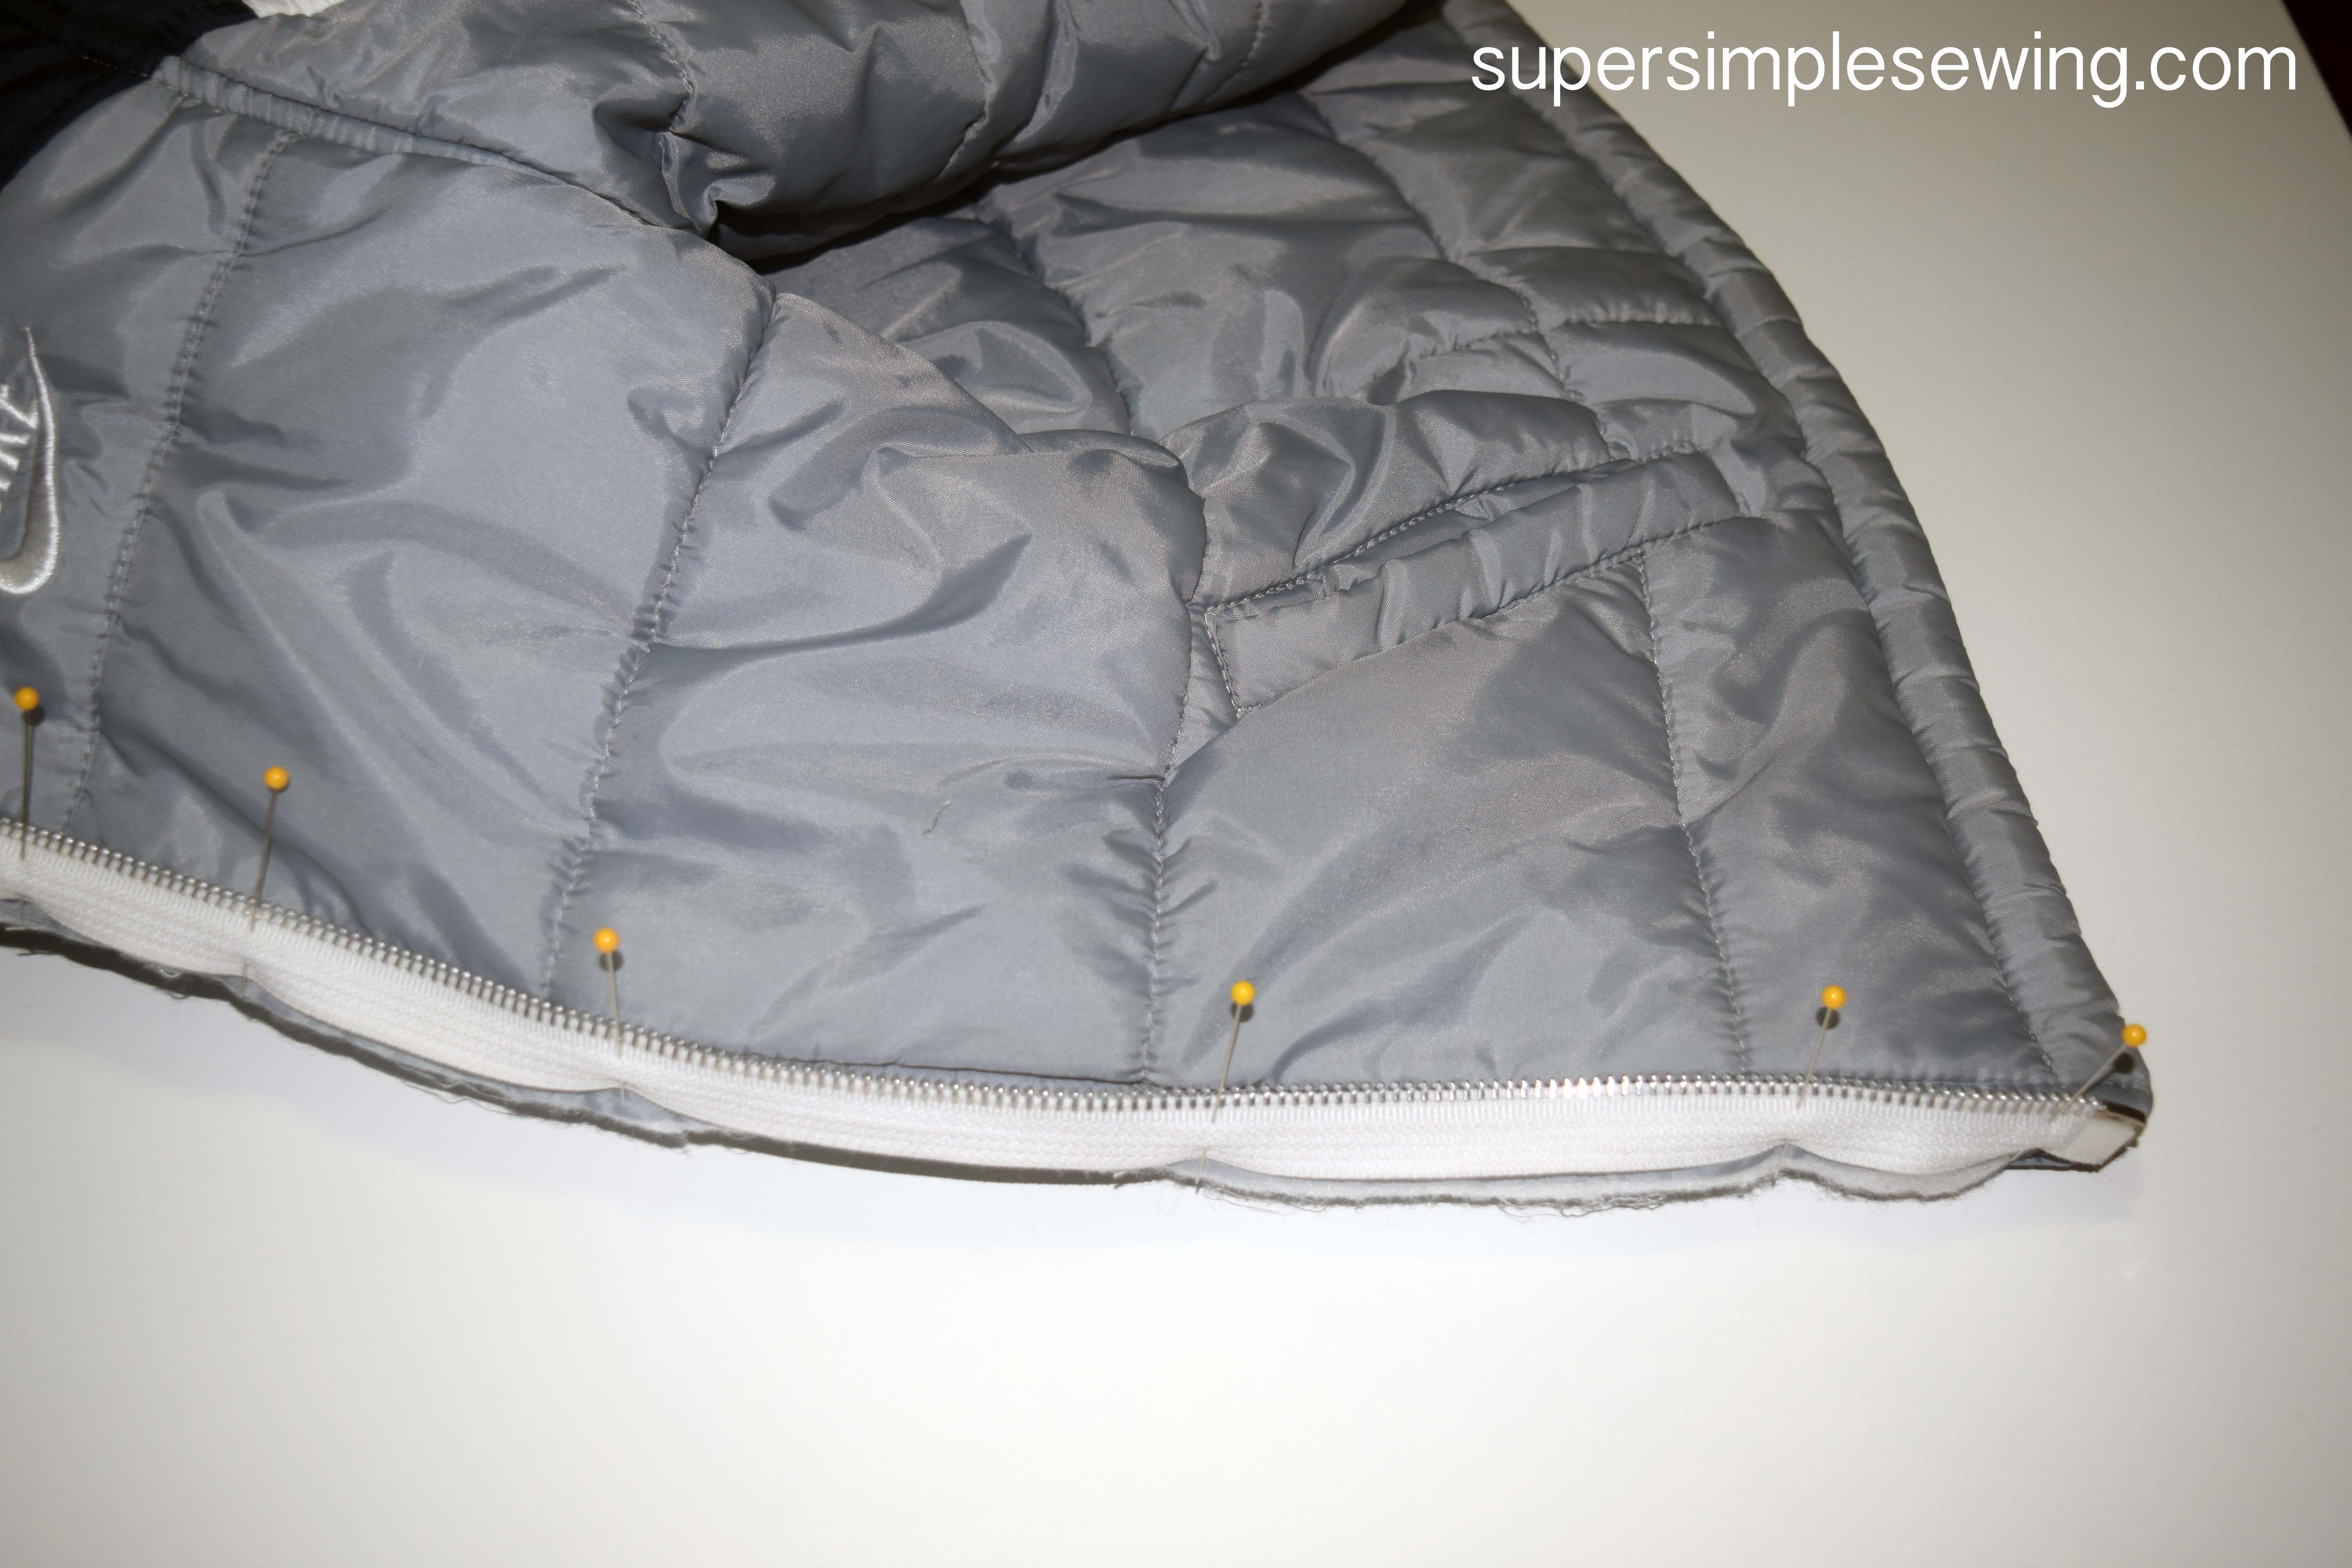
I then unzipped and continued pinning.

I pinned the lining in the same as before. When top stitching it will be from the opposite direction.

This is what it looked like done.

The liner gaped a bit more than I had hoped.

I pinned it back in place and decided the most efficient way to deal with it is a quick hand stitch.

I just want to tack the lining so it lays flat against the zipper.

this is what it looked like before hand-sewing.

And After. Now it is not as noticeable.

All done and zipped, ready for my little guy this year and the cousins next year.

