 Elbow Patch Repair on a Hoodie
We can’t stand to part with this beloved sweatshirt so I am going to patch the sleeves.

Tools:
pins
scissors
needle
sewing machine
marking tool
Materials:
light weight fabric for patch
thread
embroidery floss
Lets get started.
This is a very light weight hoodie so I picked flannel. If you have a more substantial fabric you may want to go with a wool or cord fabric.
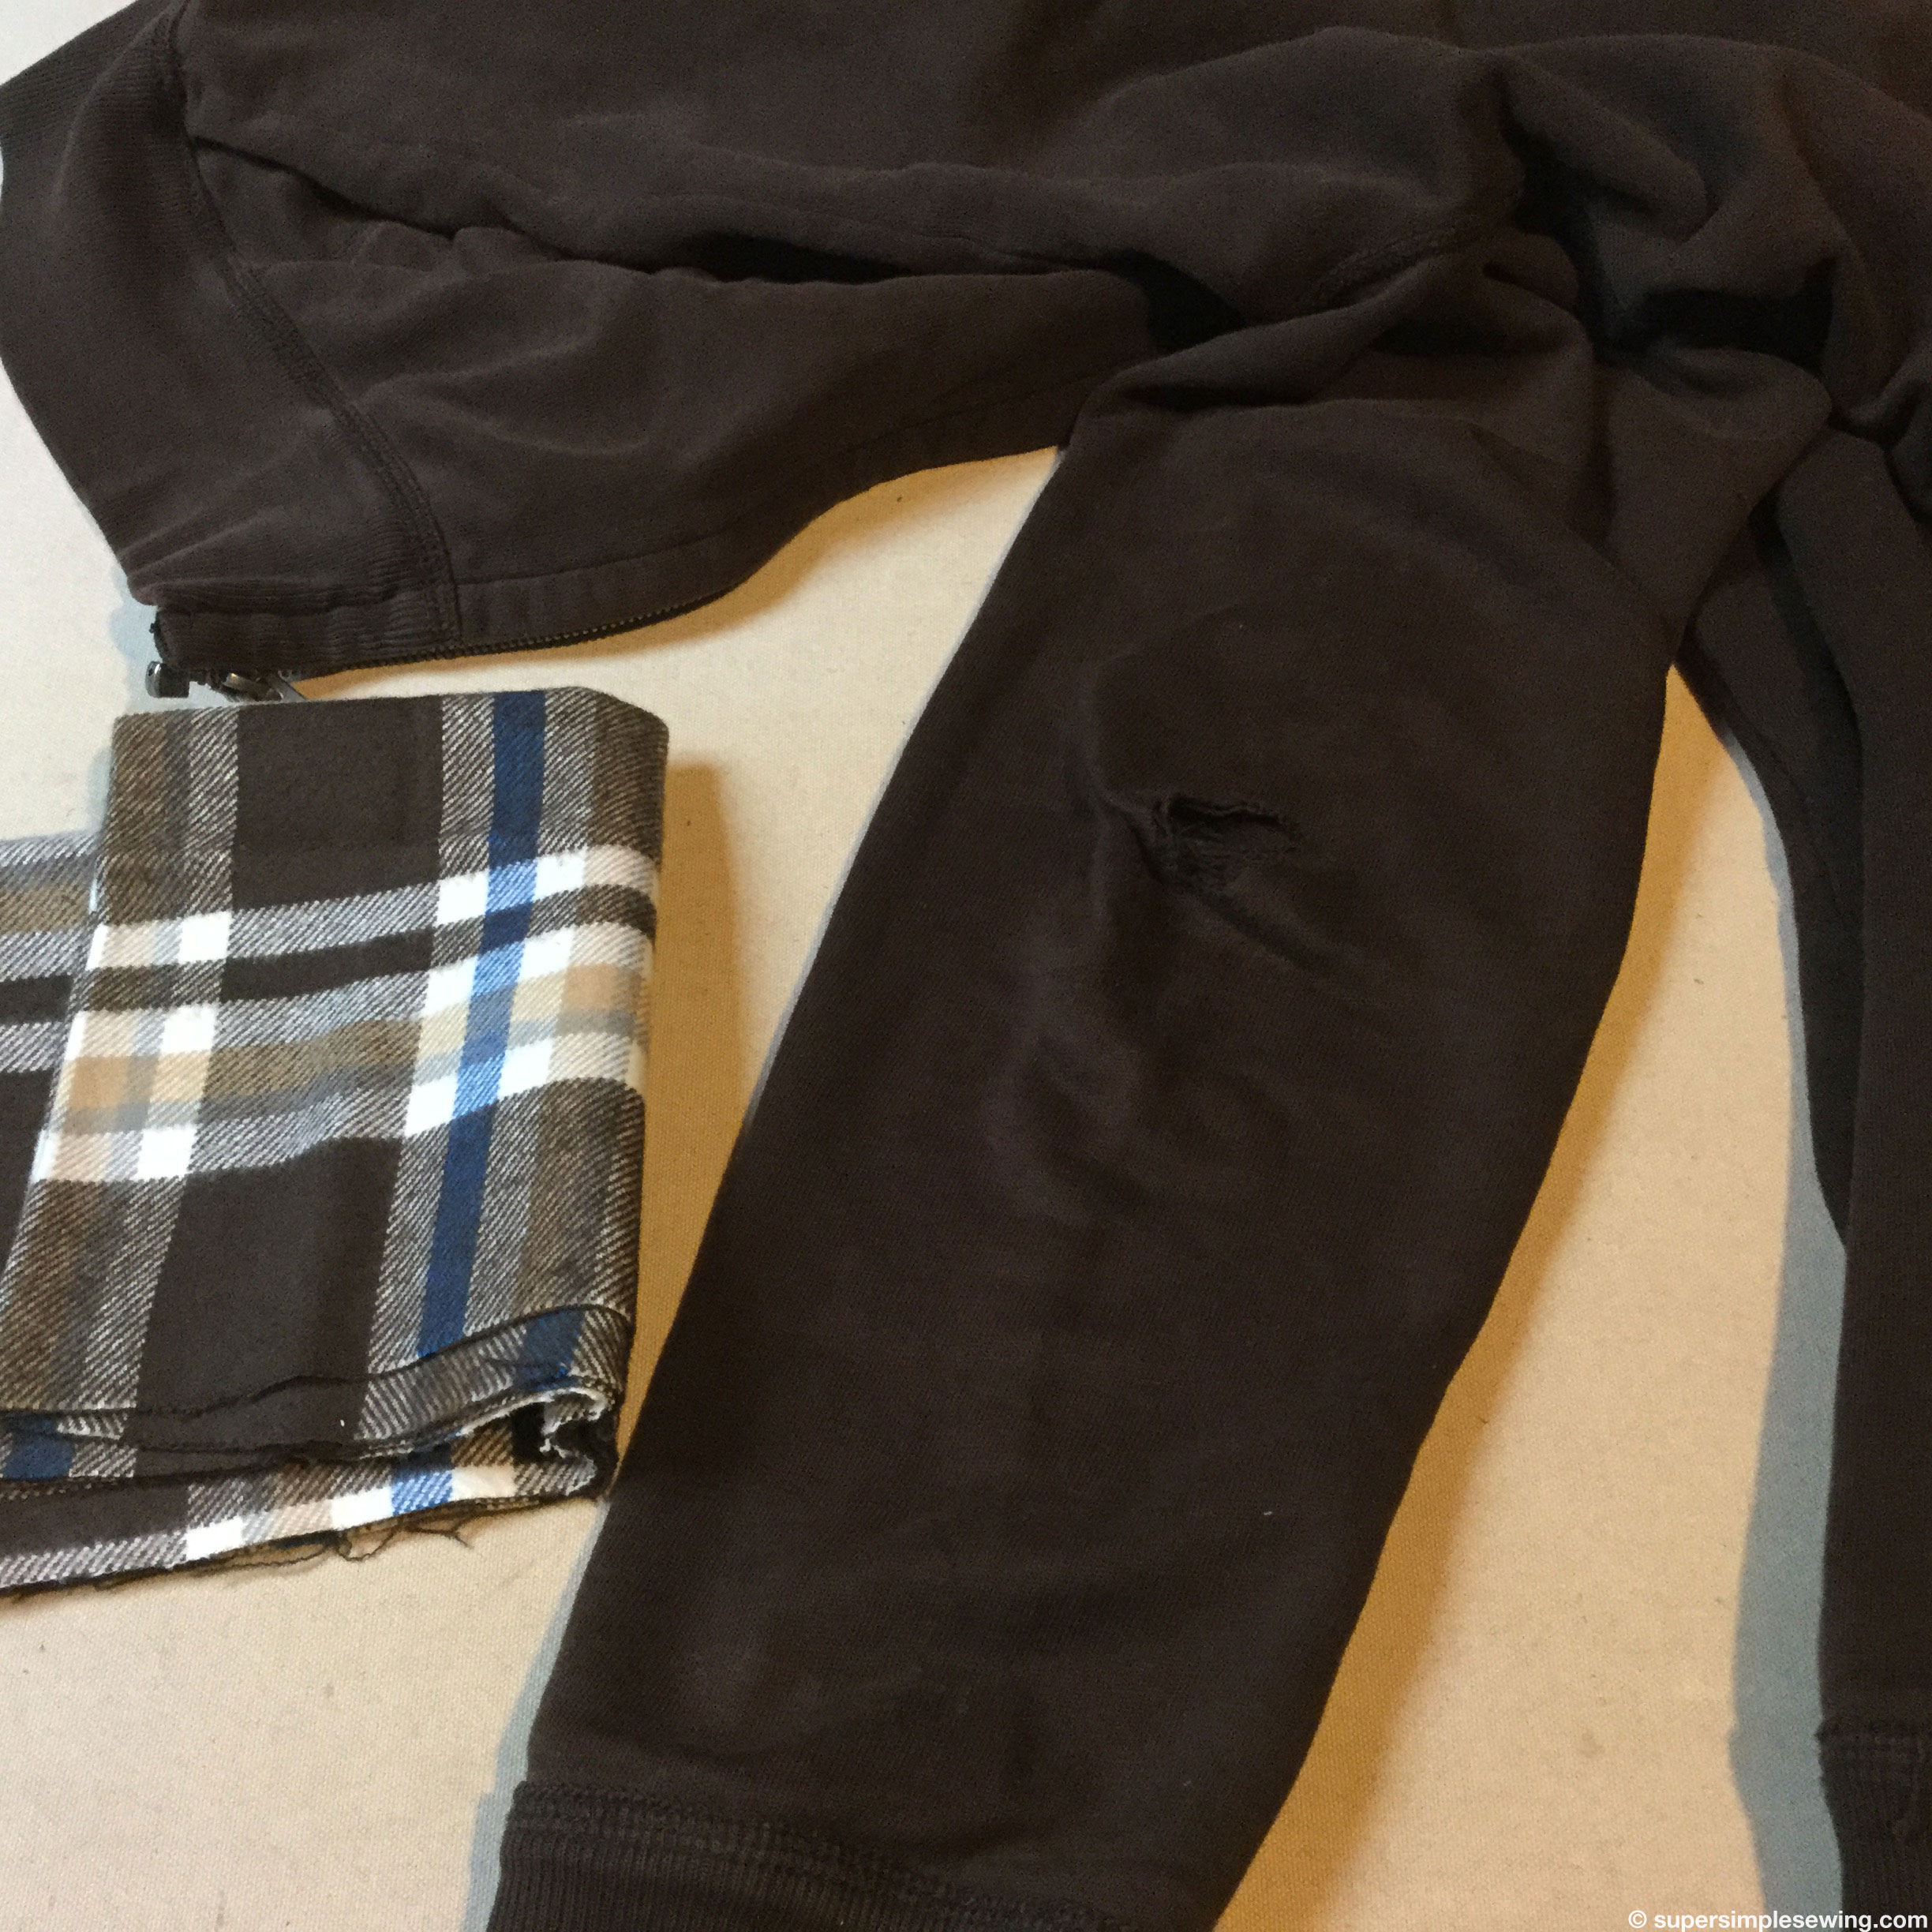 The size of the patch will vary based on the size of the clothing. This is a men’s medium. As you lay the sleeves flat make the patch at least an inch smaller than this visual space. This is really a proportion decision, and you will know what looks good.
Traditionally elbow patches are ovals it they can be difficult to draw. I made a rectangle and rounded the corners. ( I used a cup to trace)

Layer 2 pieces of fabric right sides together, at least 1″ bigger than the finished patch size and trace the shape onto the fabric.

Sew along this traced line leaving enough of an opening to turn it right side out. Try to leave the opening on a straight side, it is hard to finish neatly if you leave a curve open.
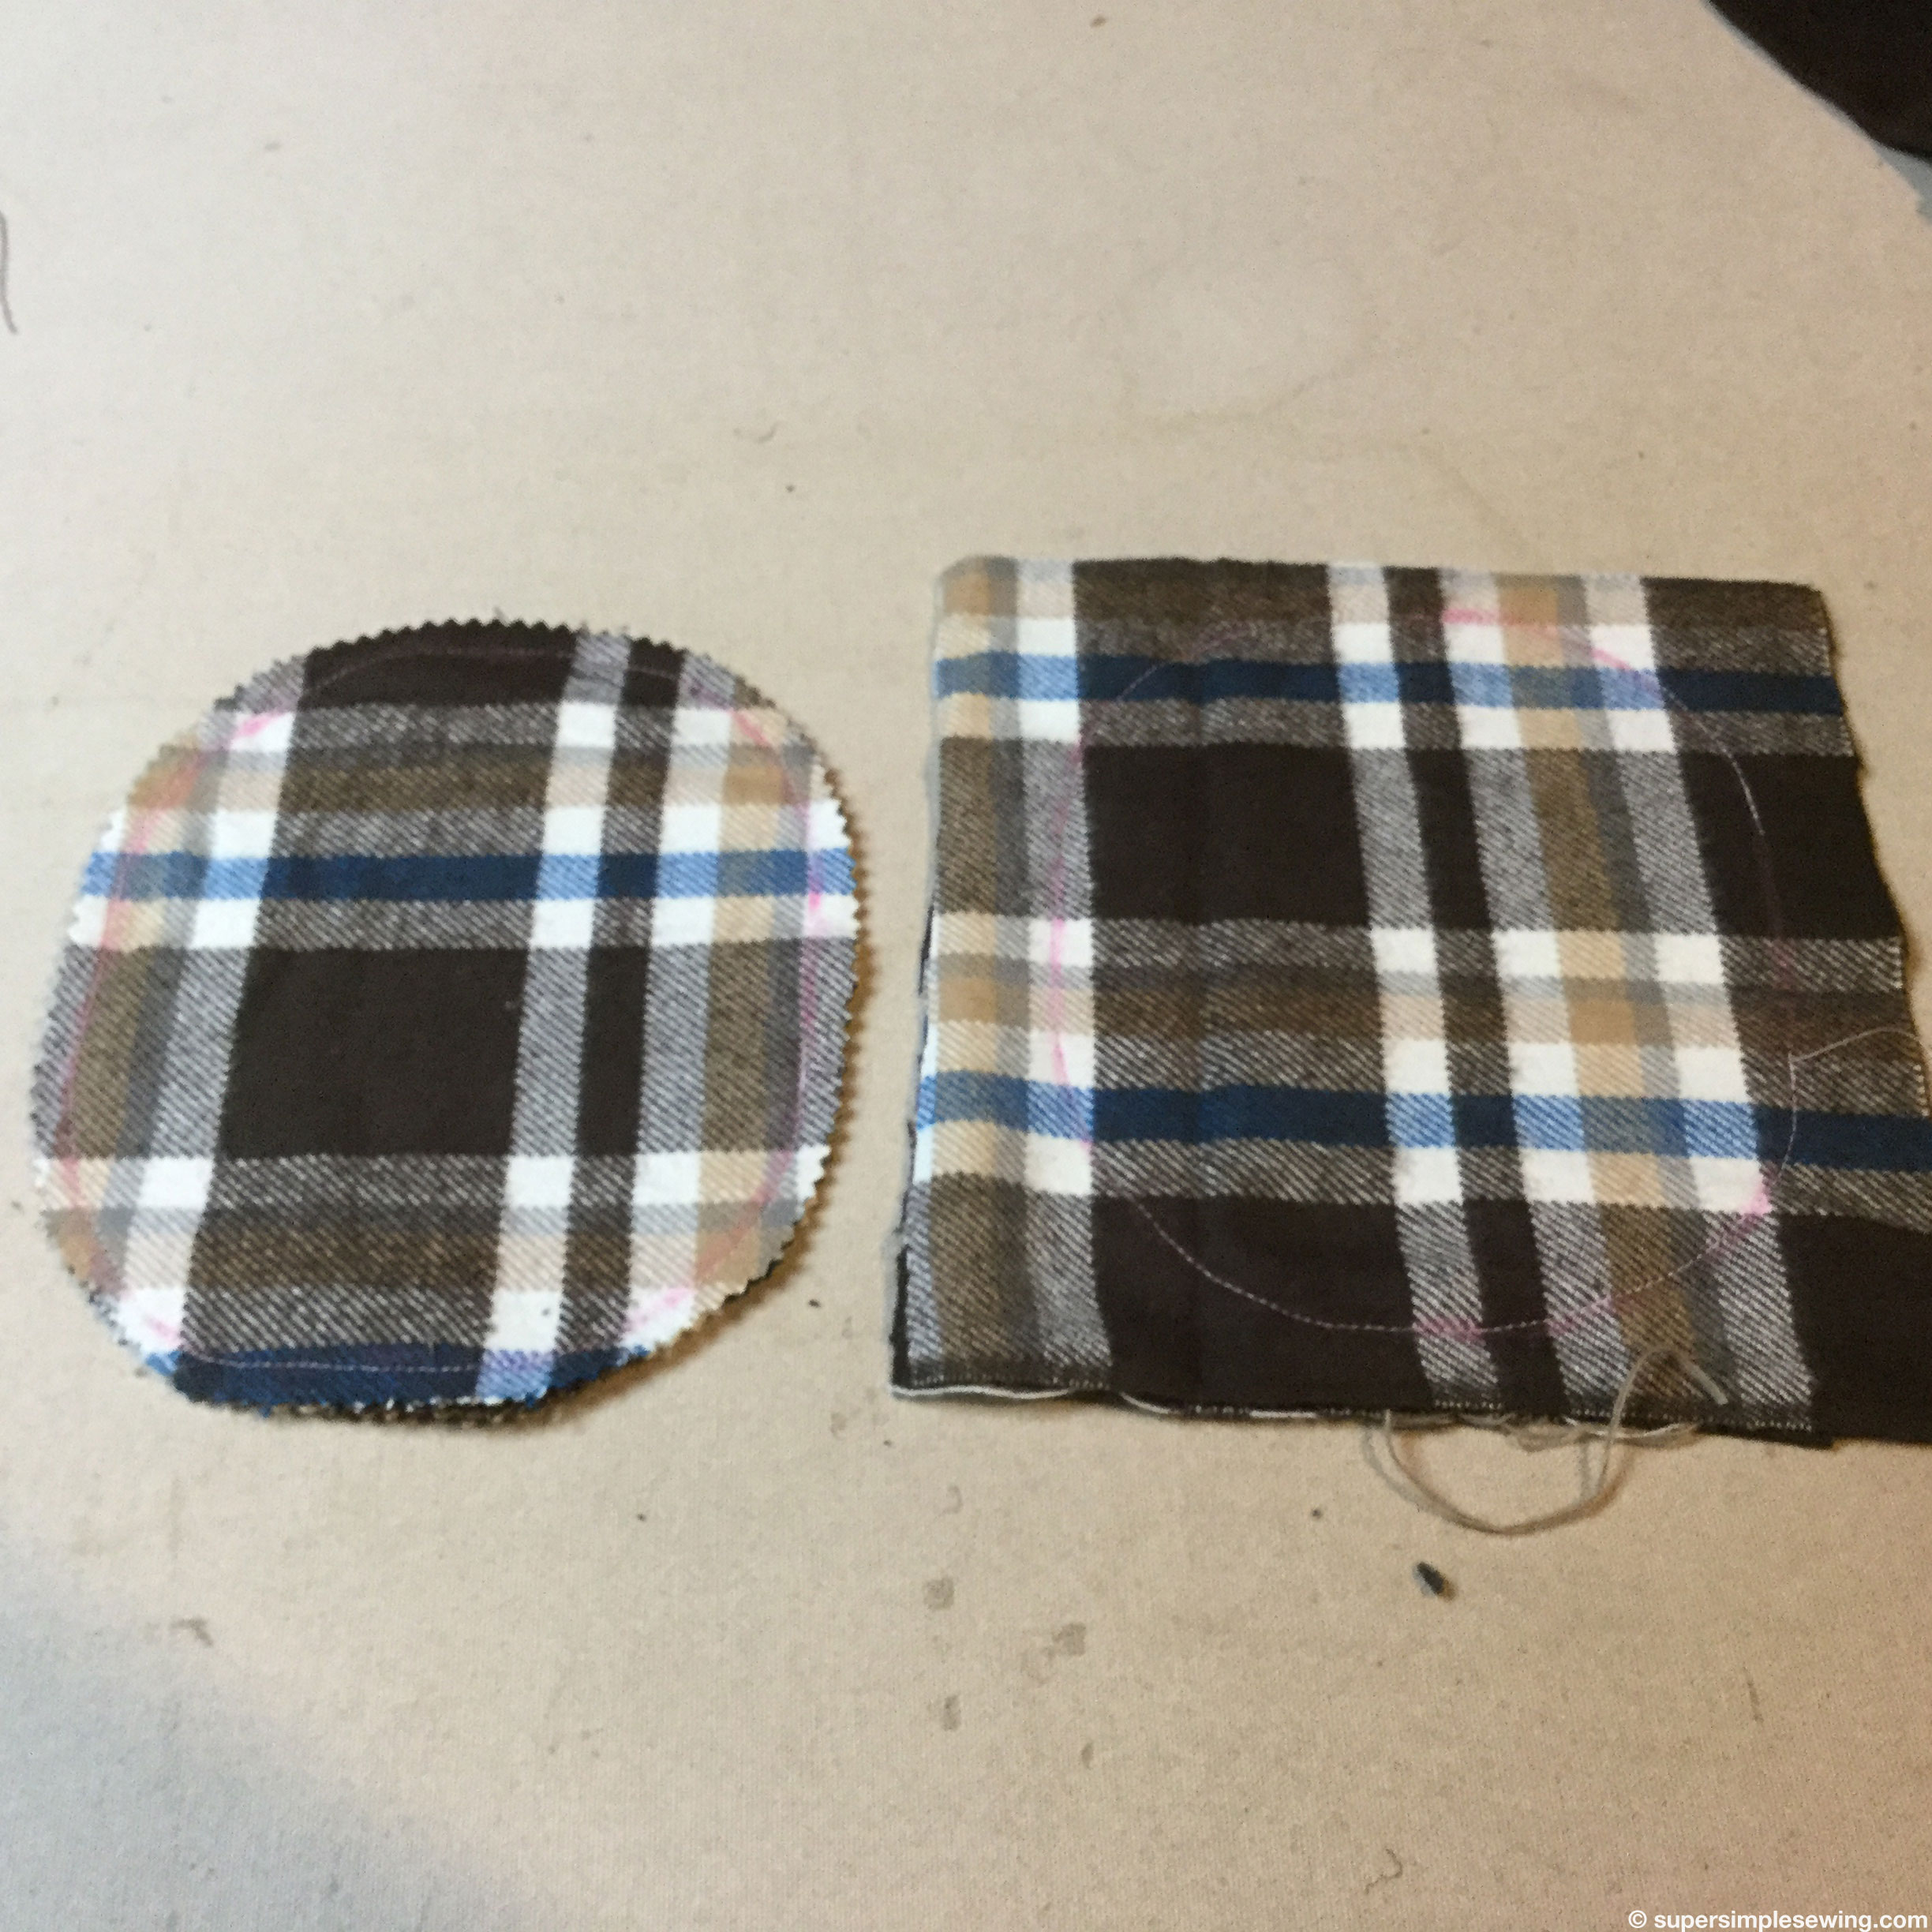
Trim away leaving as 1/4 to 1/2 seam allowance. This method keeps the shape from distorting. When you sew a curve it usually stretches out of shape.

Turn the work right side out and press.

Place the patches on the the sleeves and pin in place. (This was trickier than is looked but you can always check placement by carefully trying on)
The only thing left is to stitch on the patch. I strongly suggest you do this part by hand. Sewing on the inside of a sleeve with a stretch fabric is difficult.
I used a darning egg to make the job a bit easier.
I sewed it on using a blanket stitch.
http://m.wikihow.com/Sew-Blanket-Stitch

Now we get a little longer wear and even a few compliments from his friends!

