Easy chapstick holder sewing tutorial


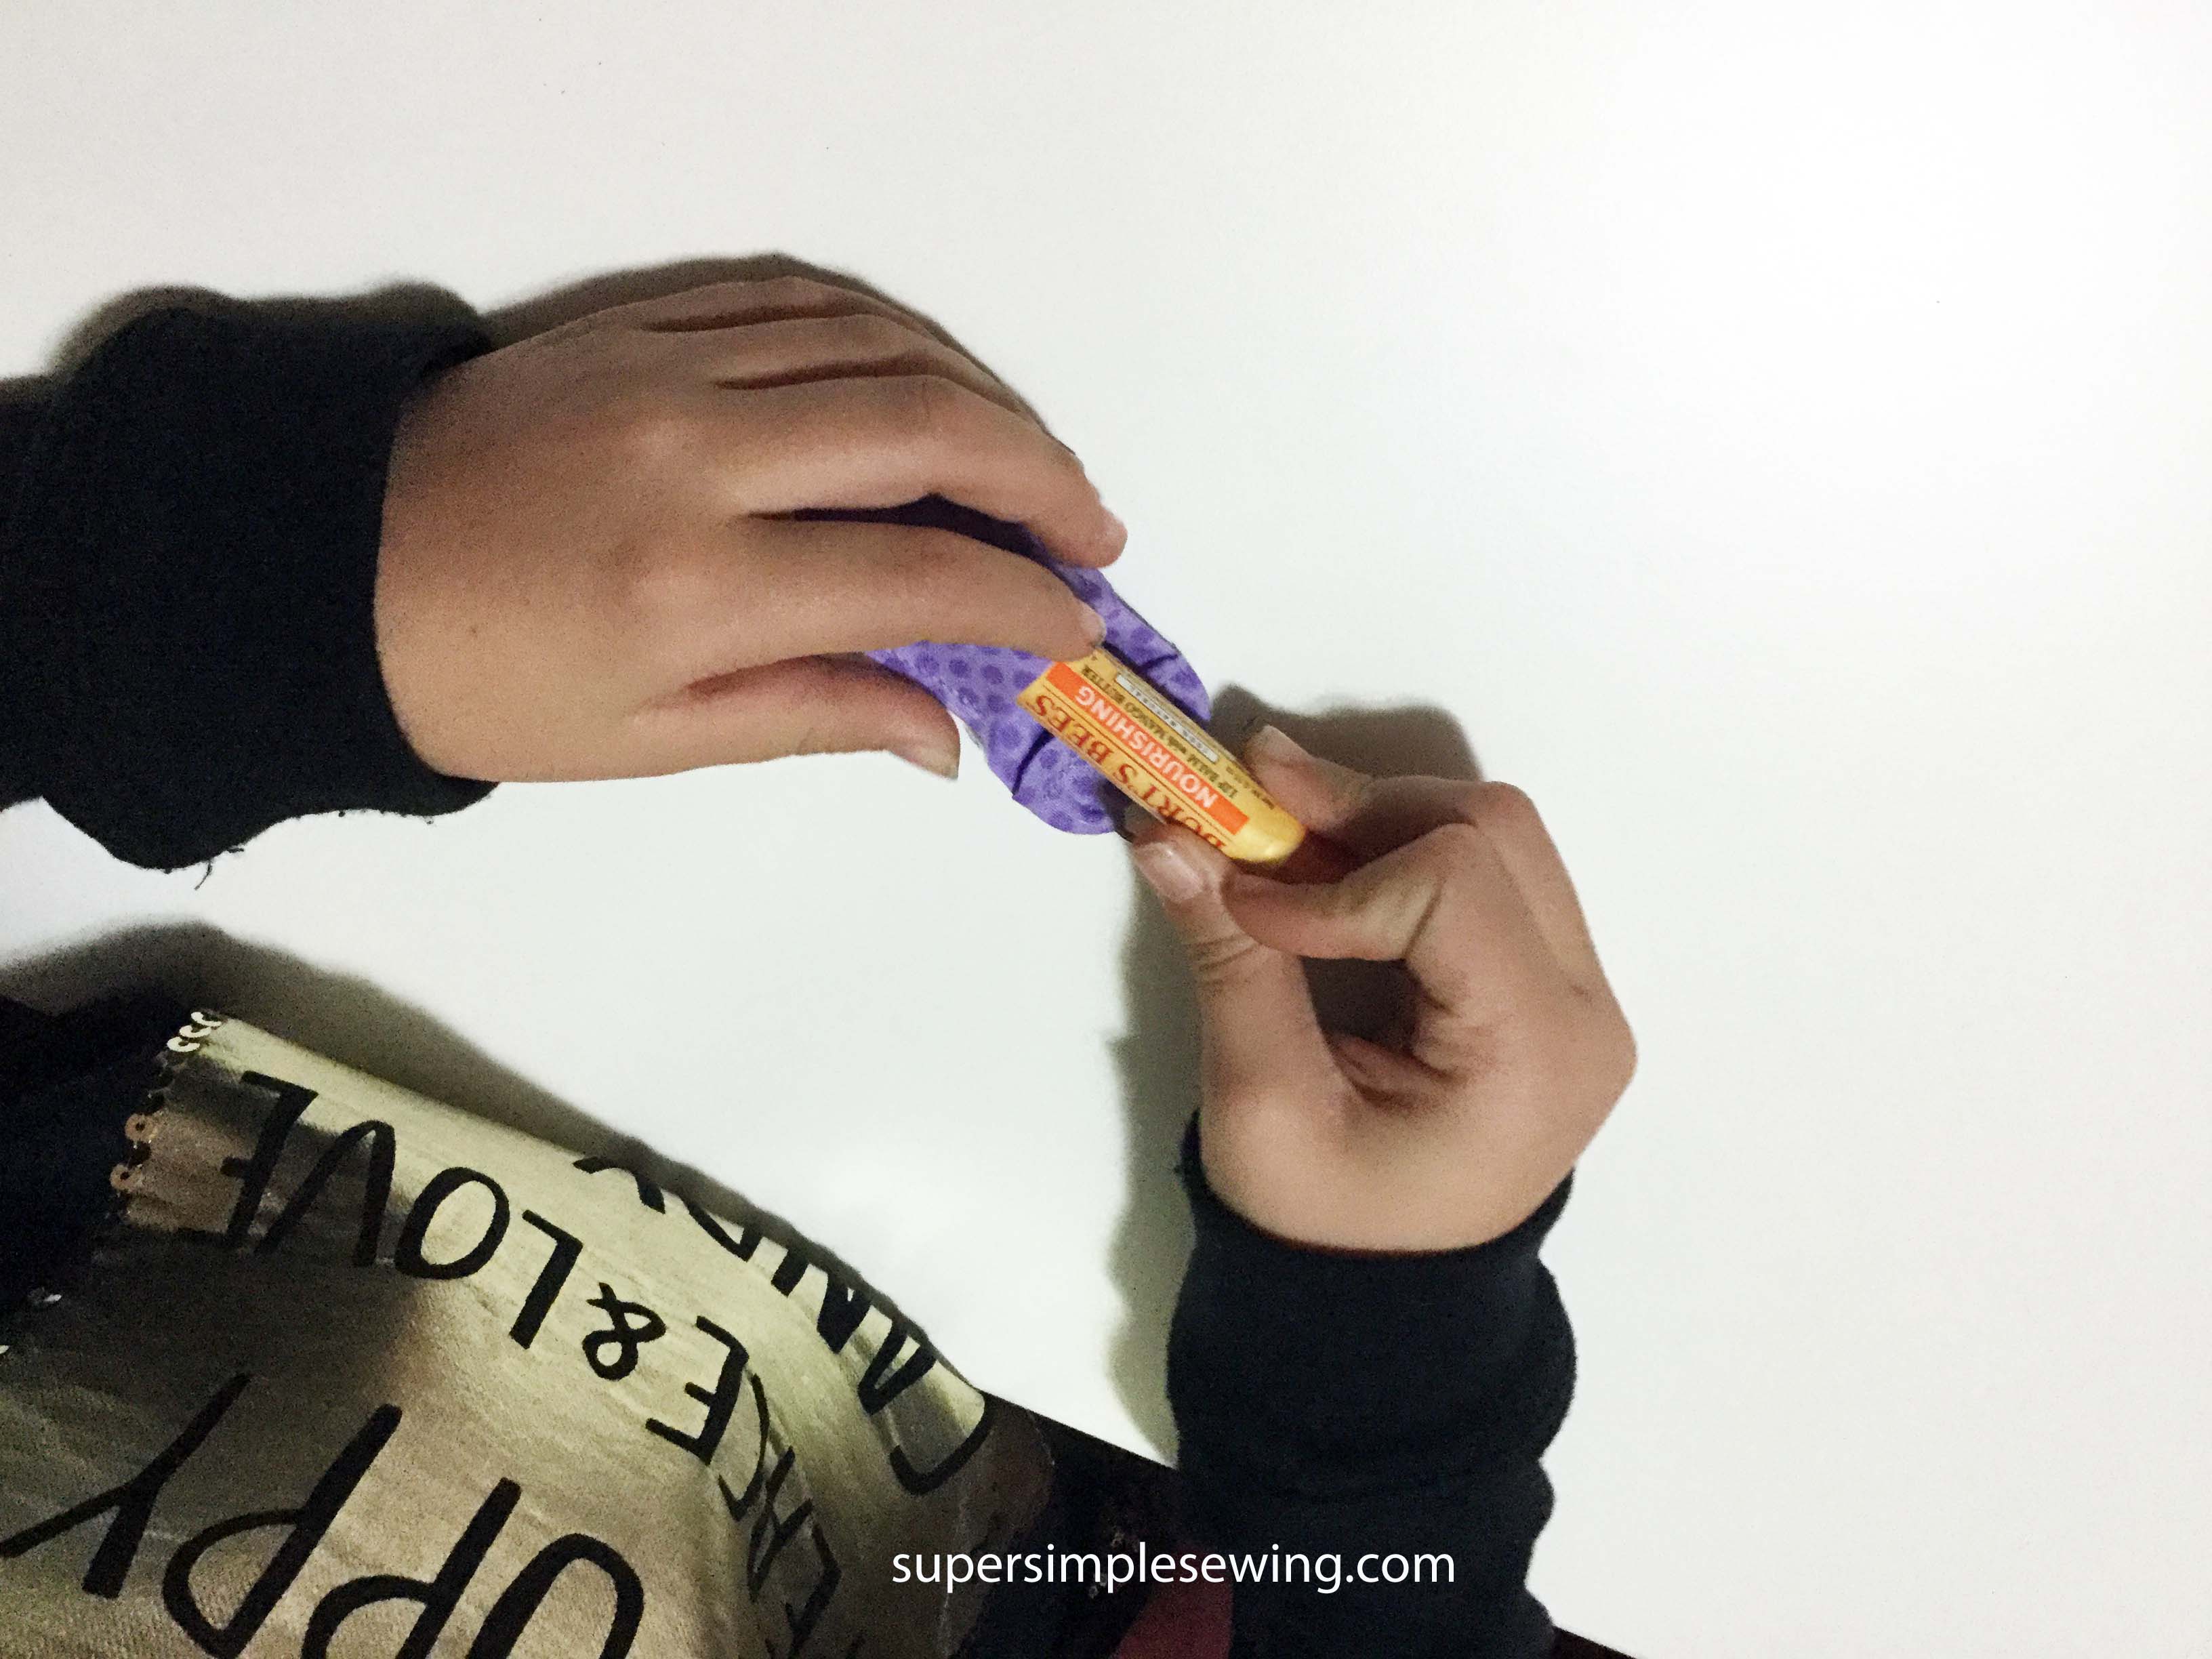
For this tutorial I have some help from my talented niece Julia. We made this cute little chapstick holder key ring. She did all the steps herself and she is 10. This is a great scrap buster and fat quarter project. Perfect for teachers gift or a thank you gift for all ages. This would also make a great stocking stuffer.
This is a beginner project.
Tools:
Sewing machine
Scissors
Pins
Ruler
Marking tool.
Turning tool (optional)
Materials:
Scrap of cotton fabric
Key ring
Thread
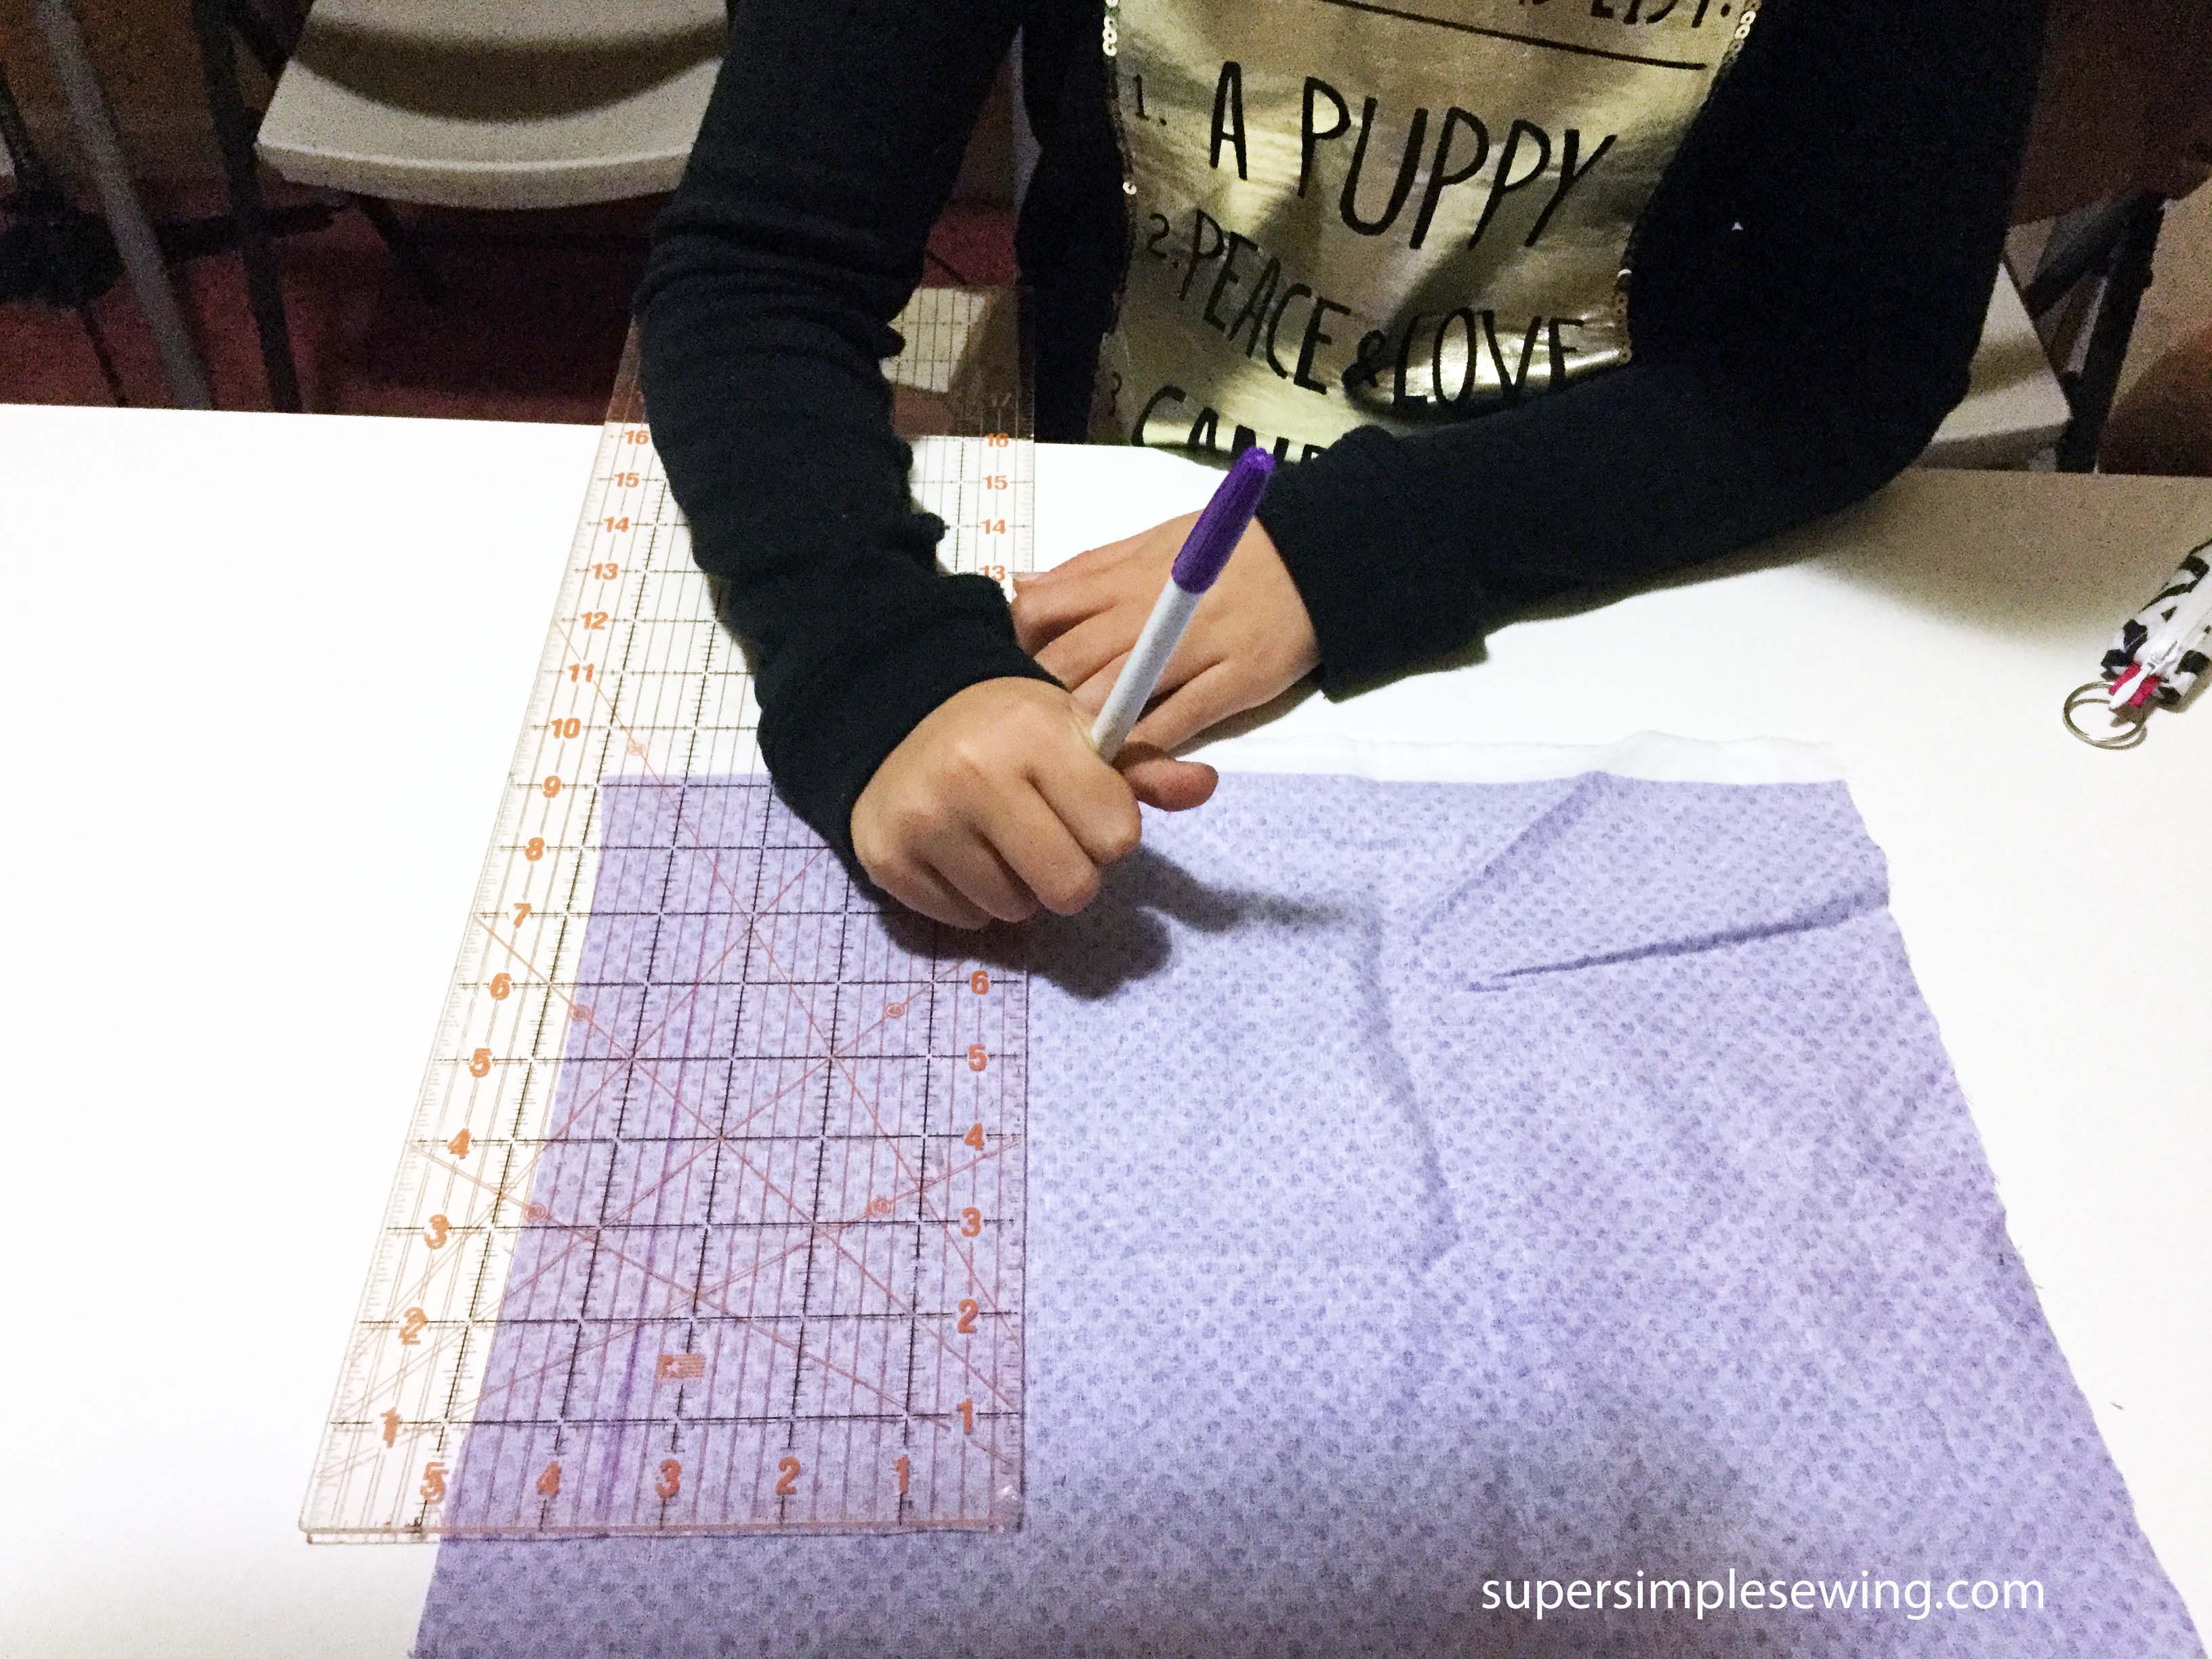
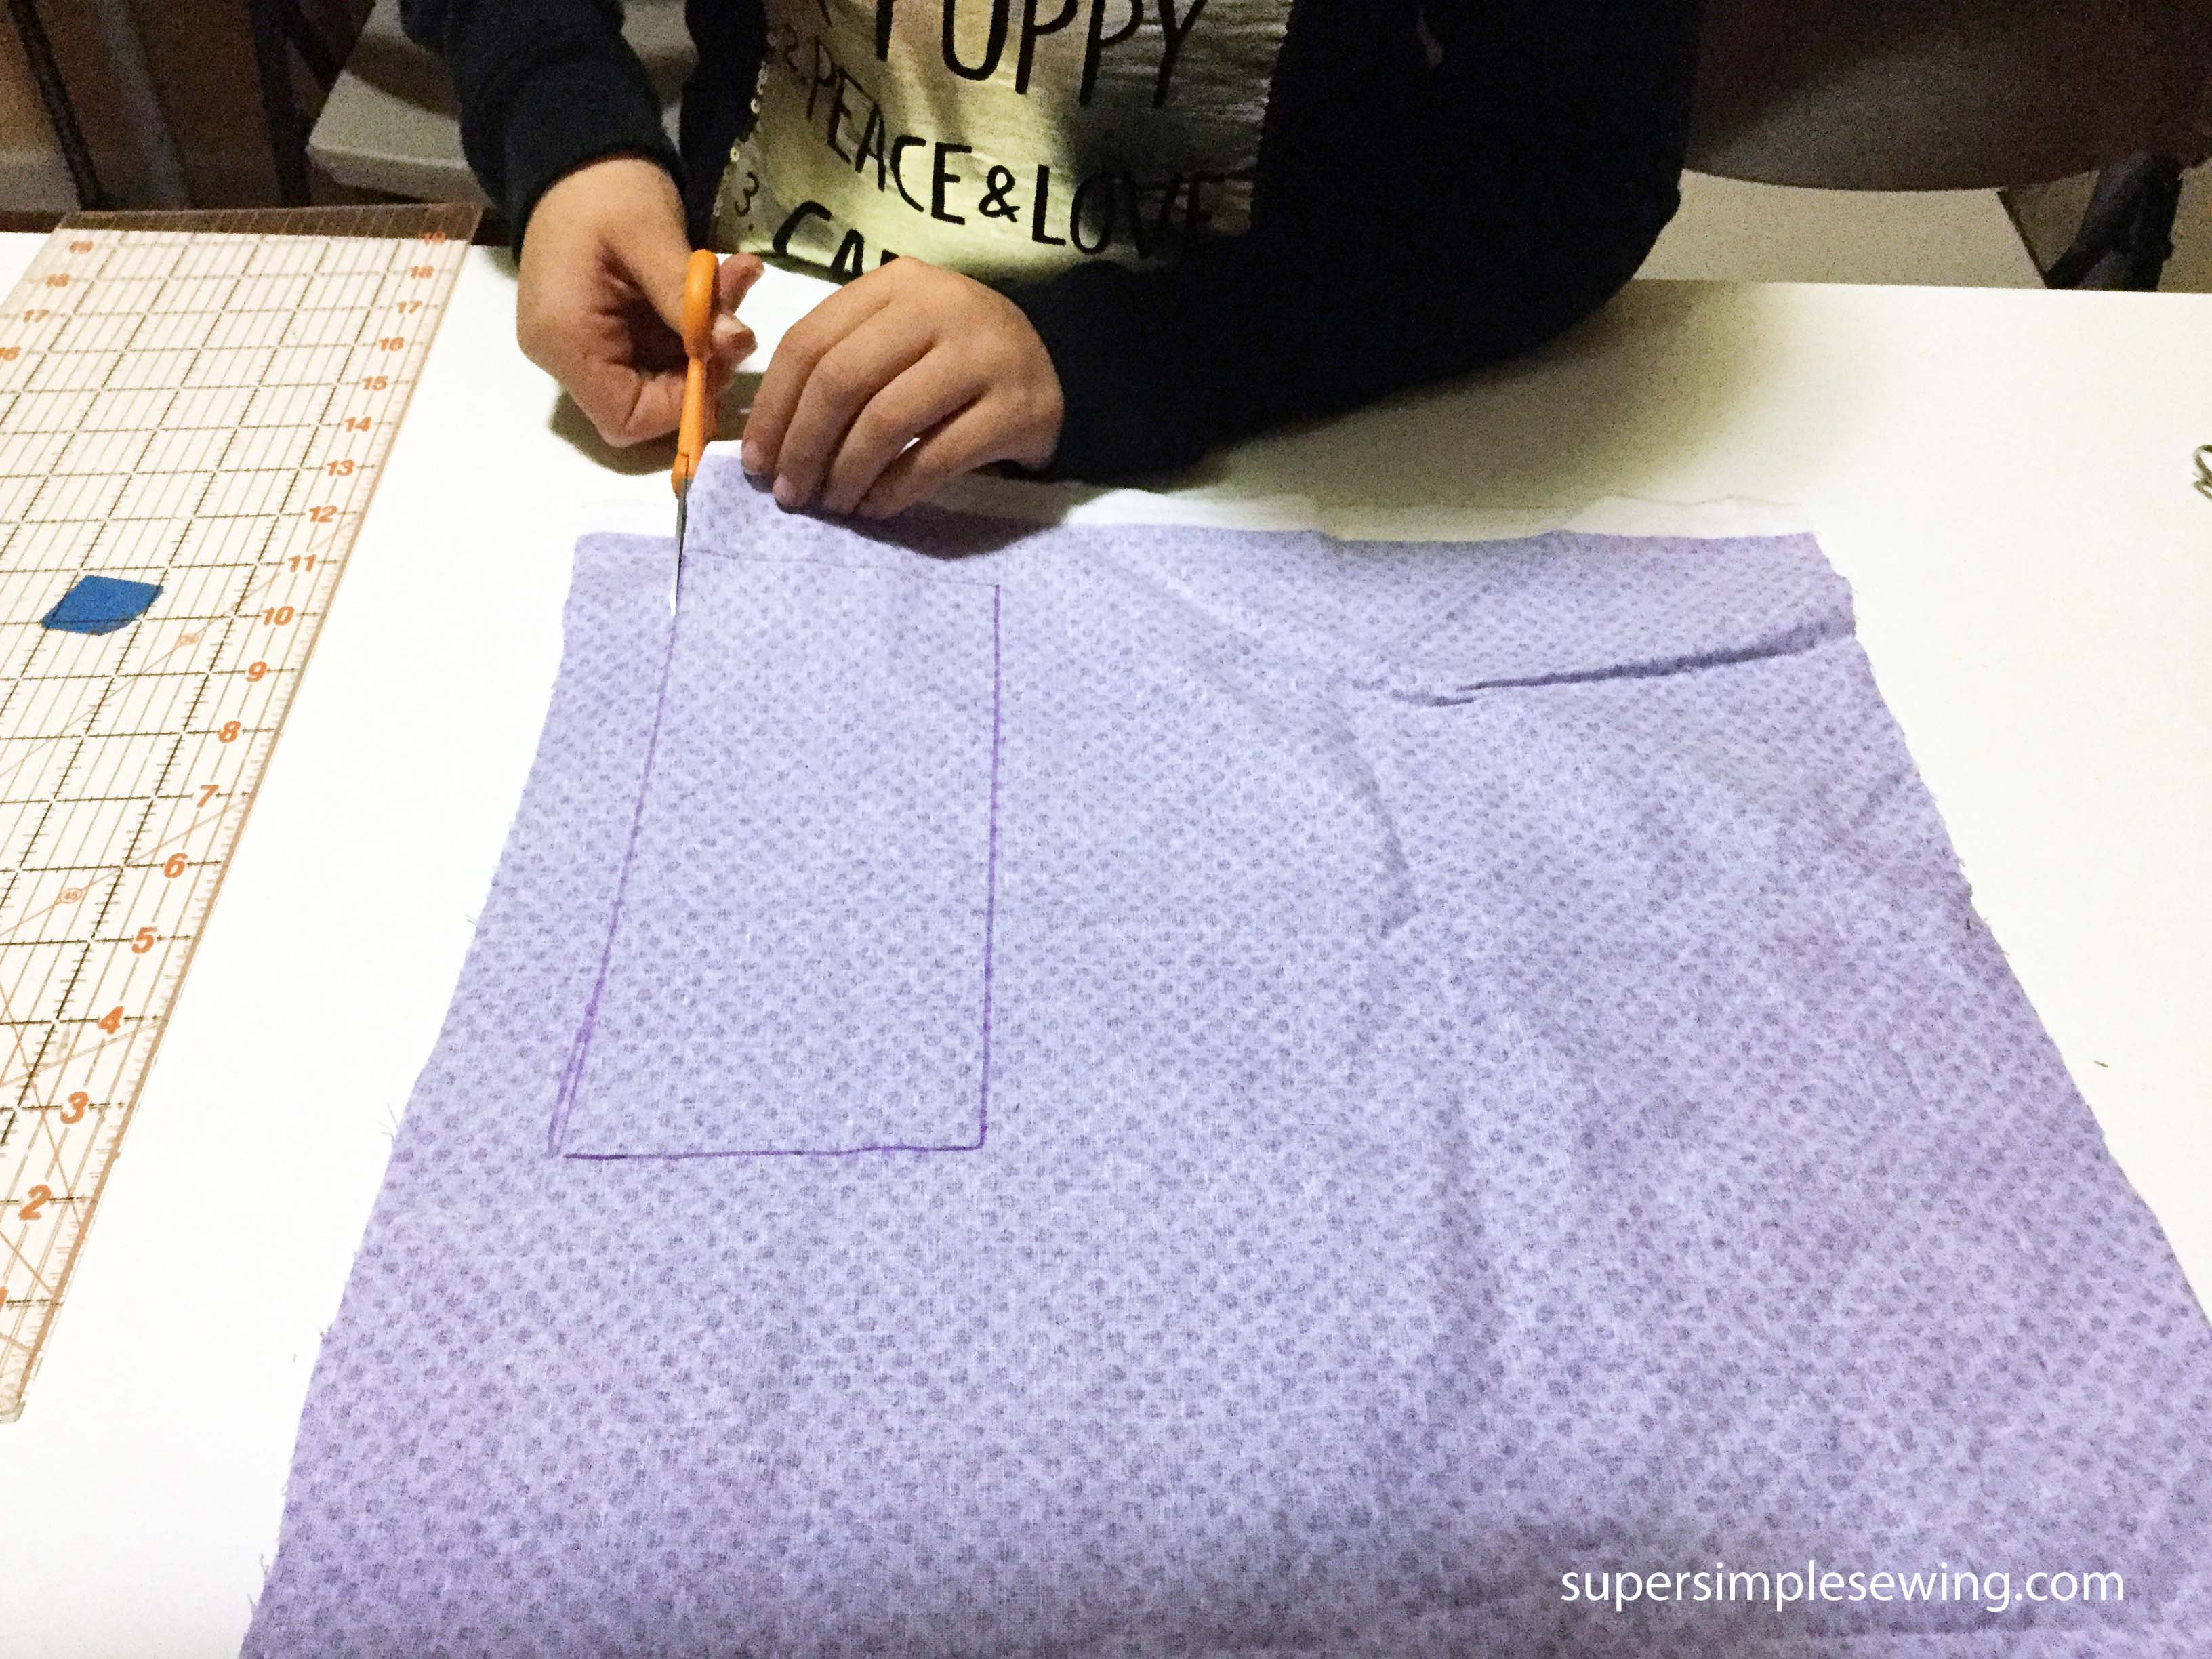
Cut 8″ x 3 1/2″ in rectangle
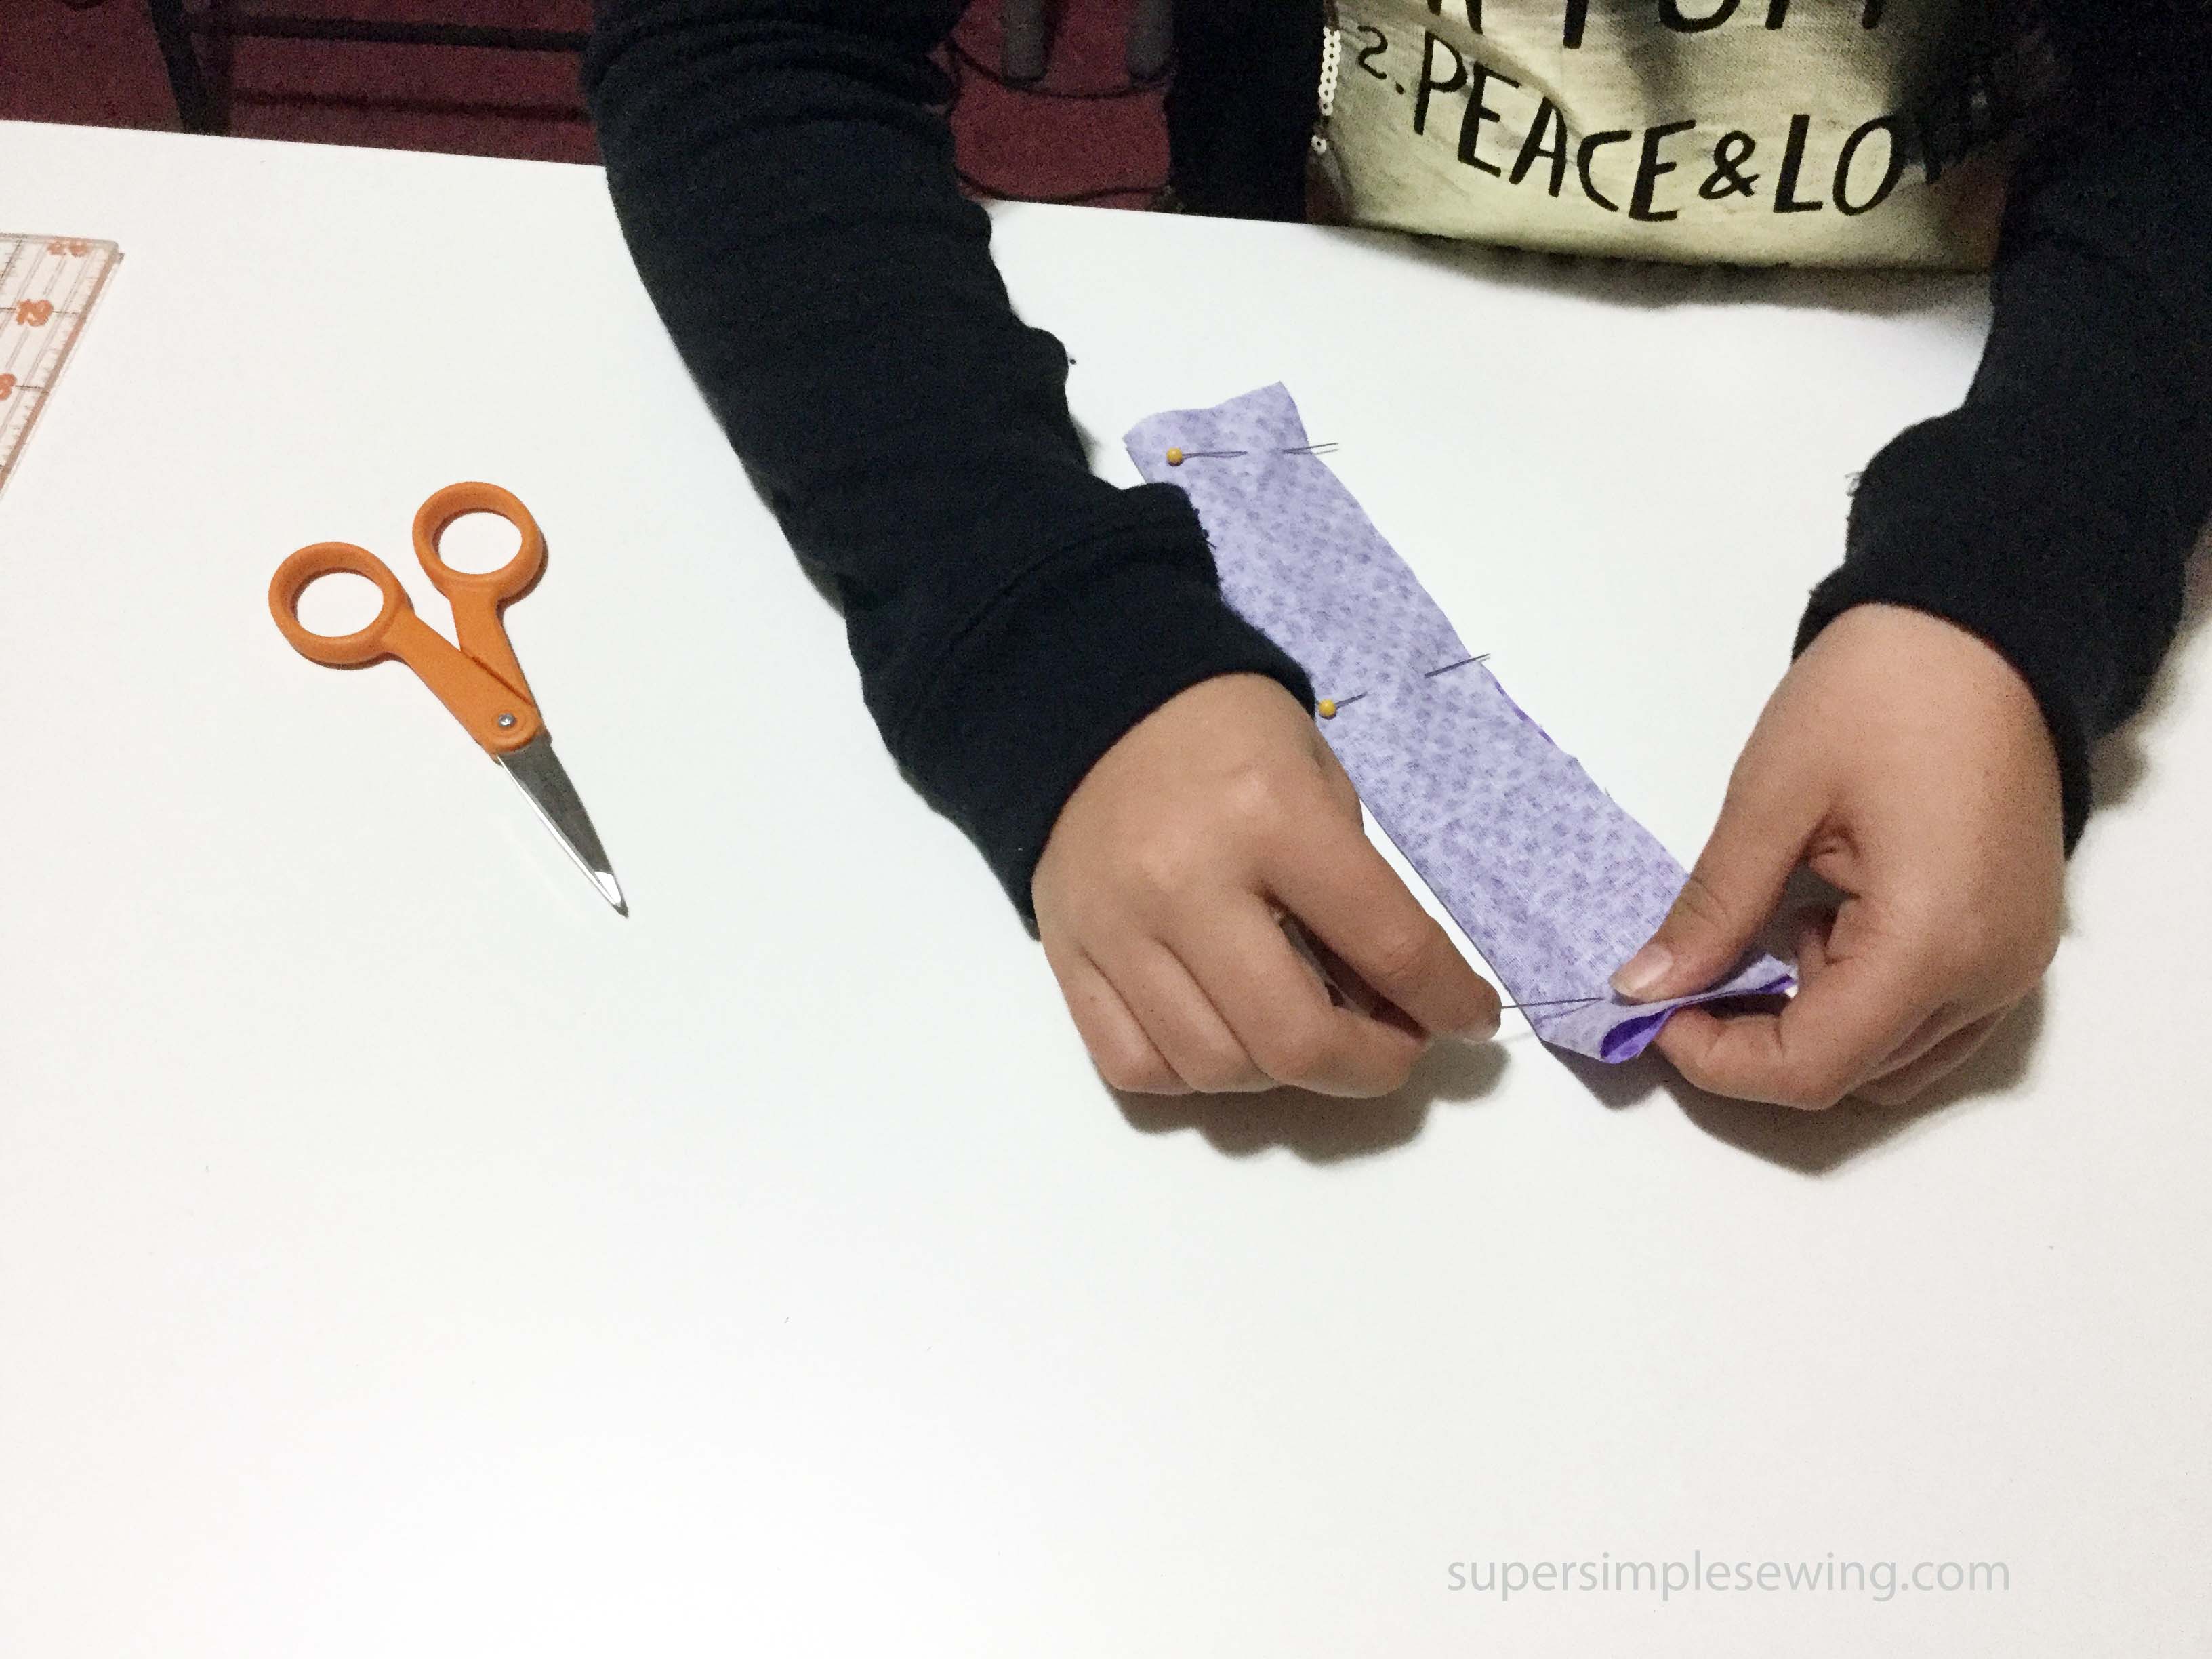
Fold in half lengthwise right sides together and pin.

Sew with a 1/4″ seam allowance down the long side and across one of the short sides.

 As you sew down to the corner leave the needle down lift up the presser foot and turn. Put the presser foot back down and continue sewing.

Turn the tube inside out. I love this turning tool
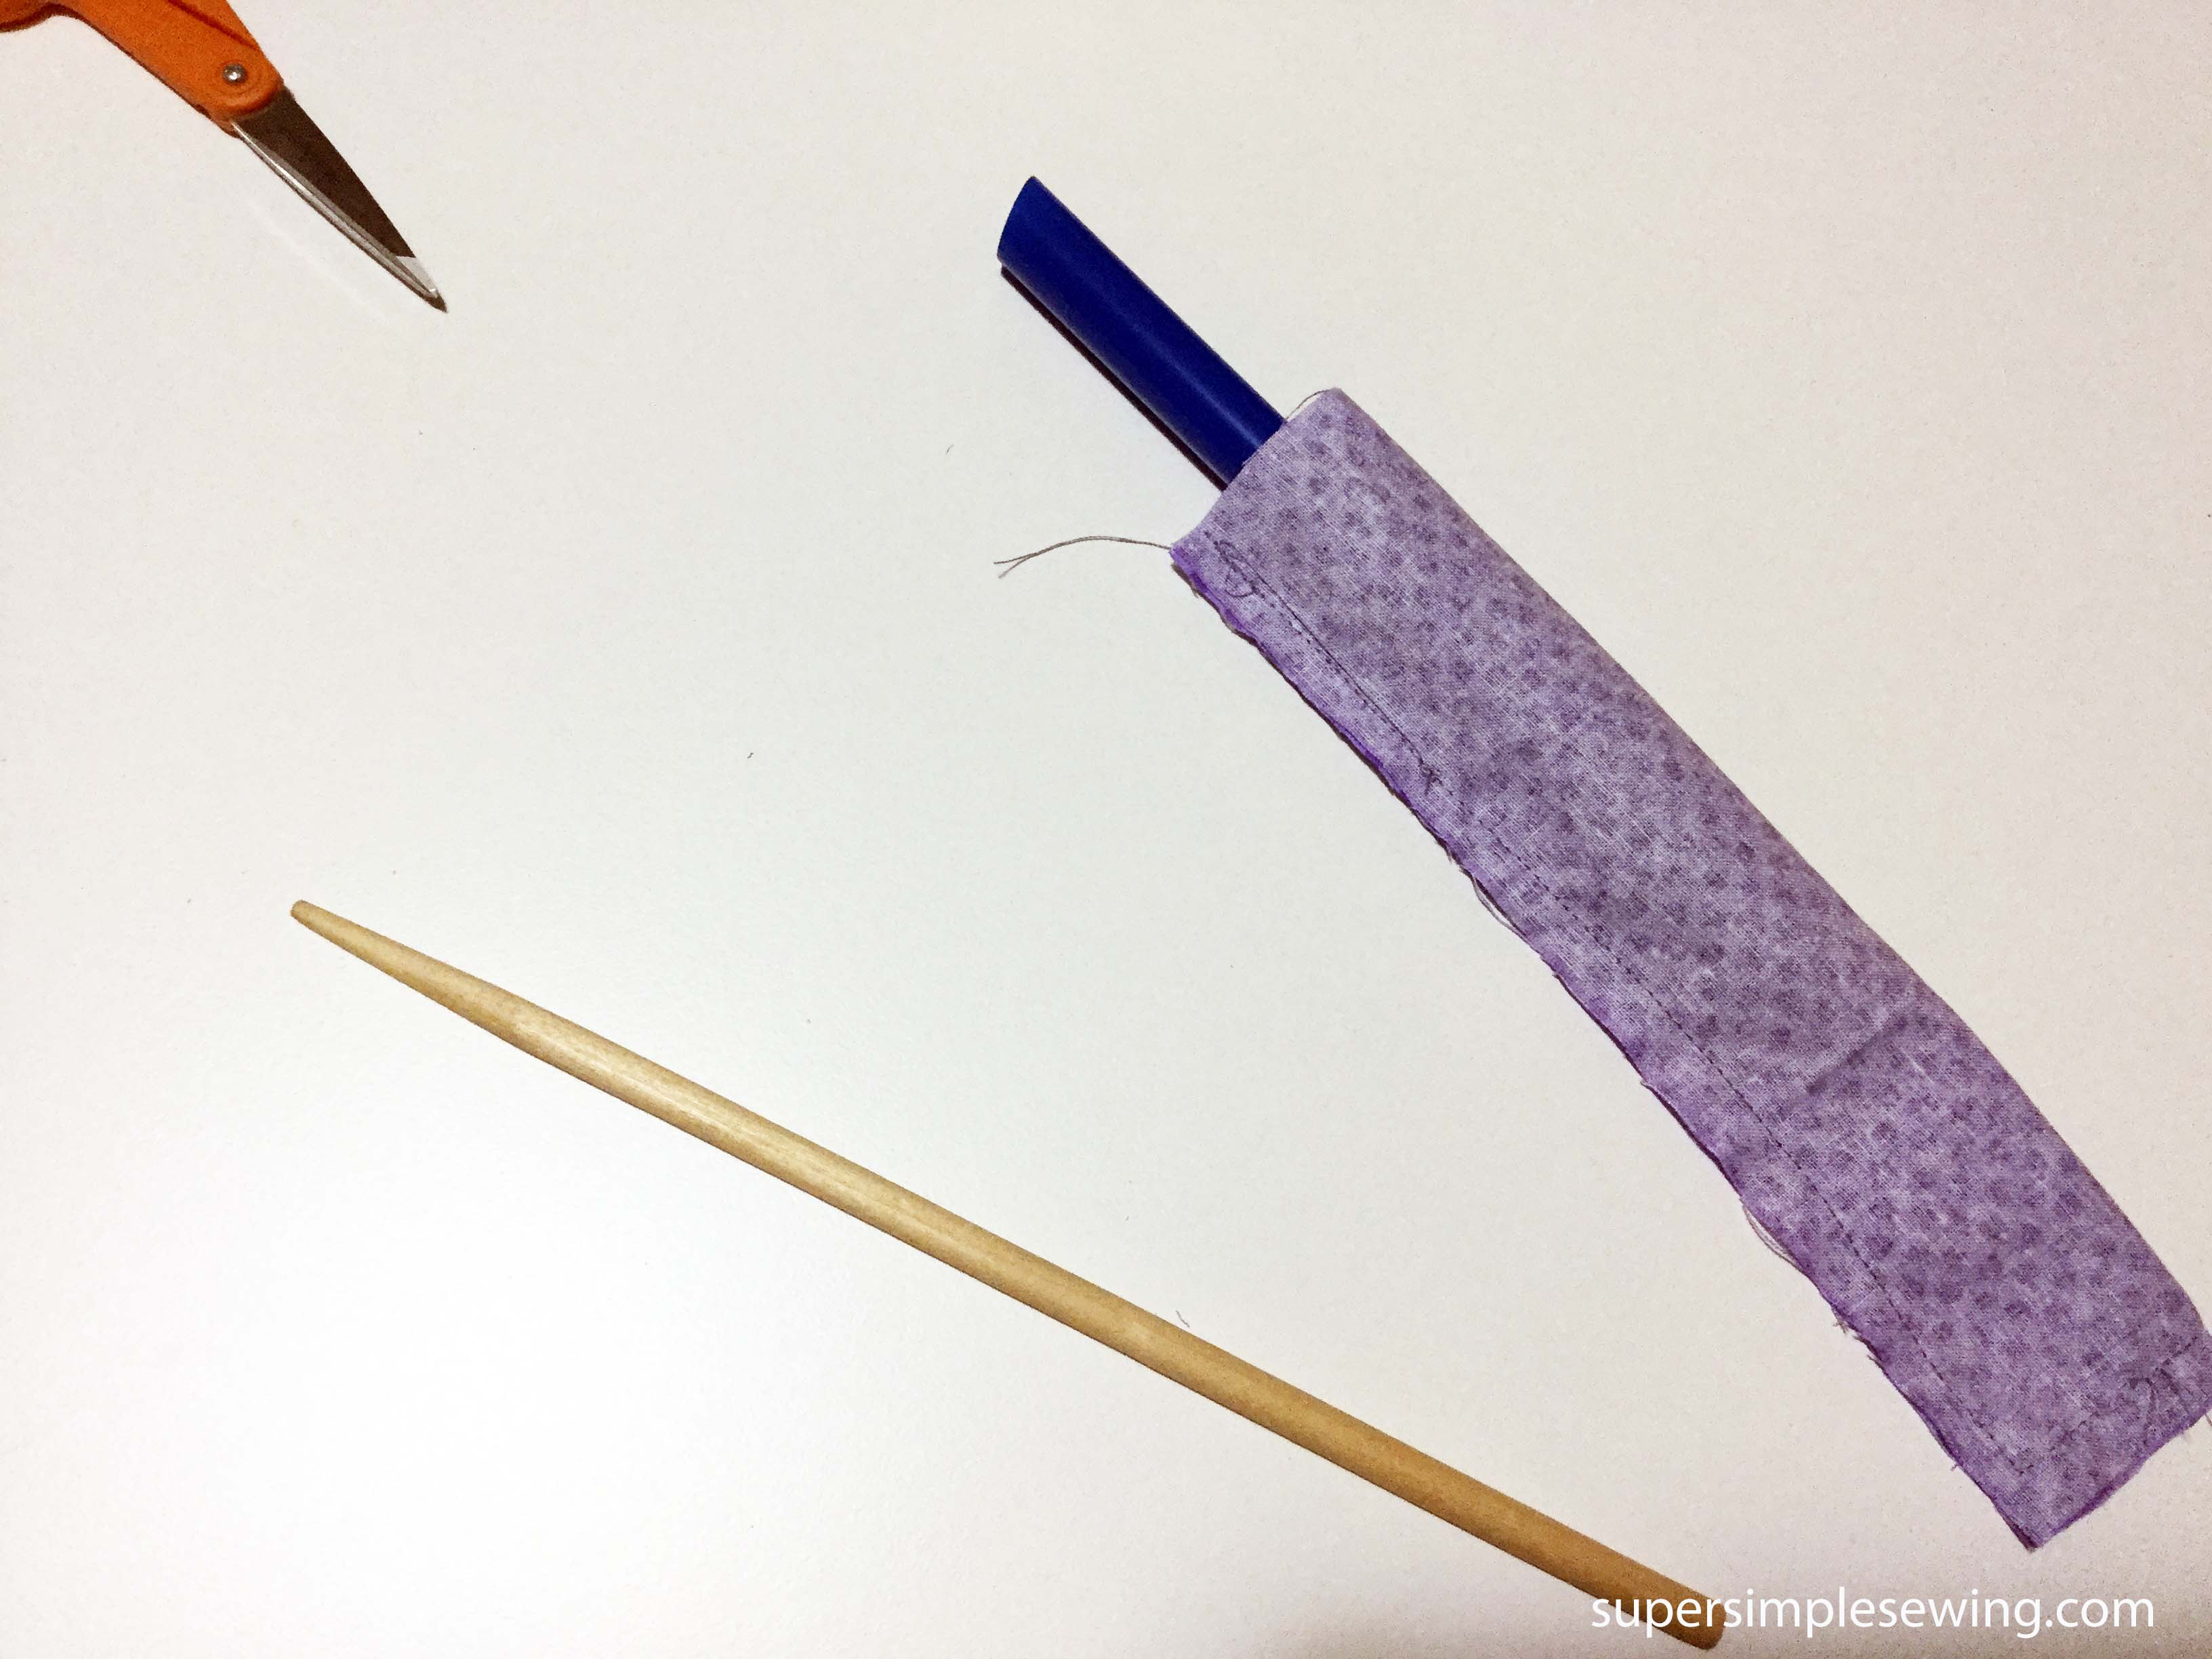


Press flat.

Turn in the unfinished or raw edge 1/2″

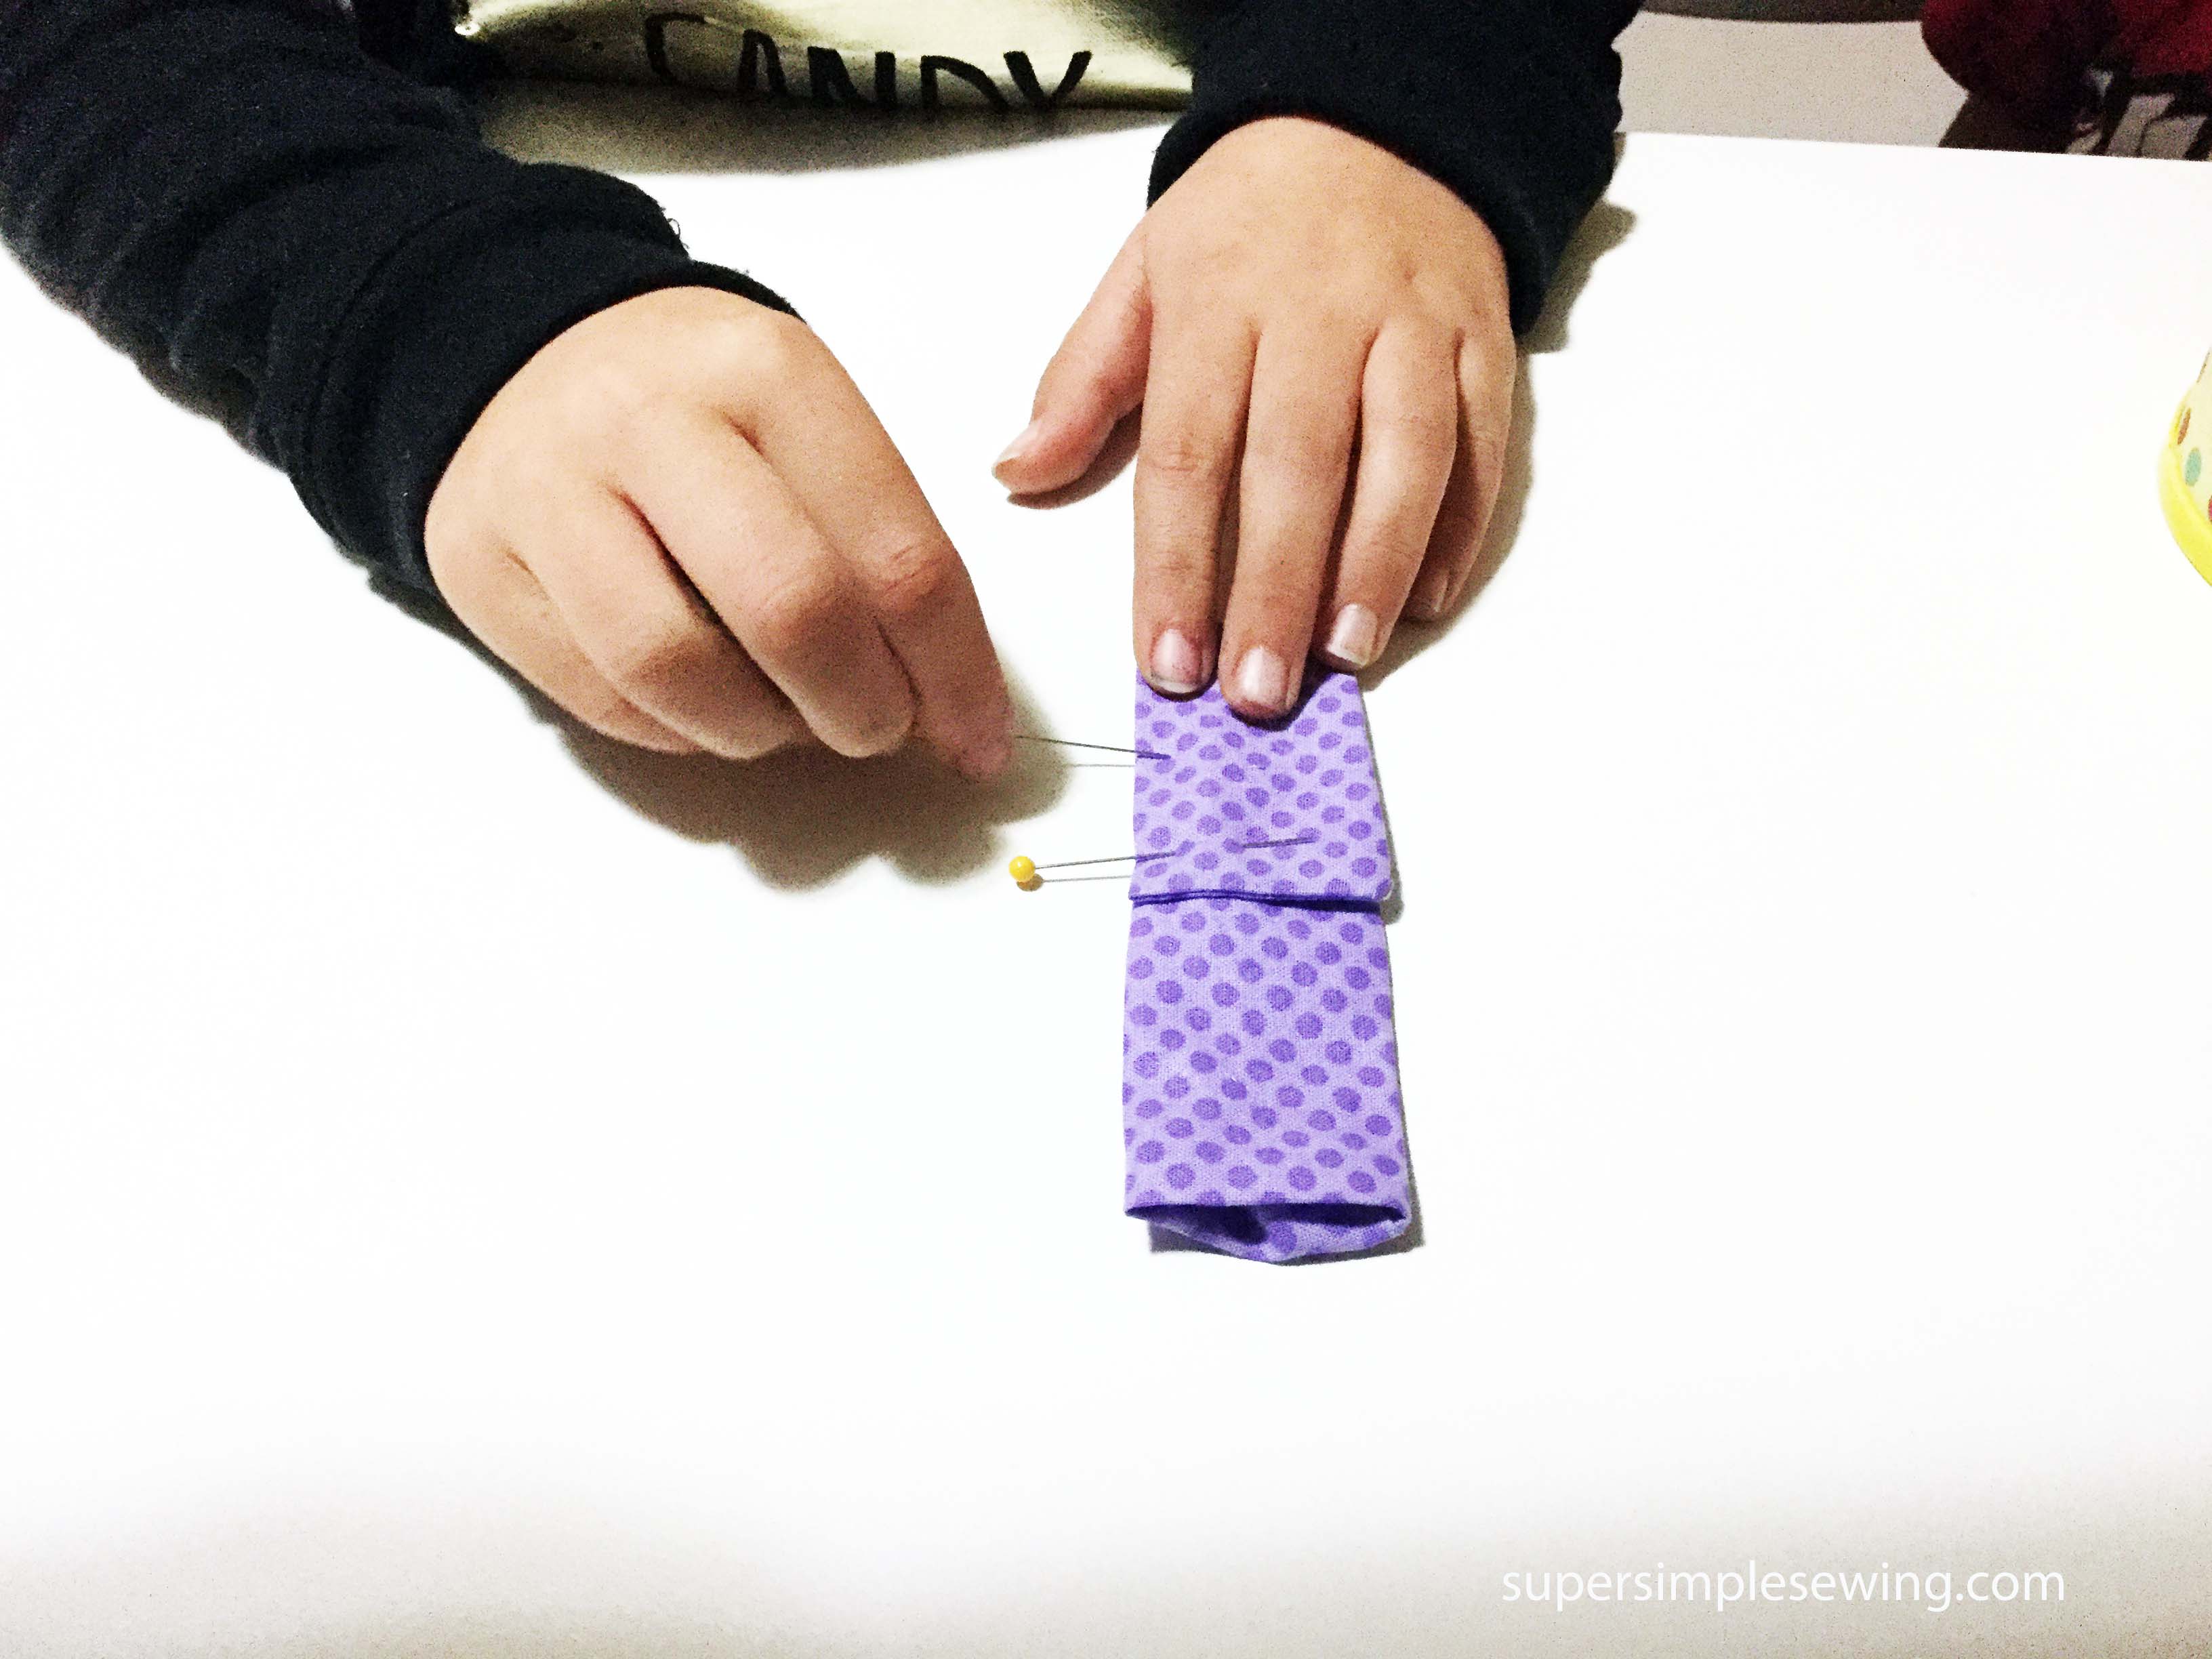
Fold the sewn edge up 2 3/3″ and pin in place.
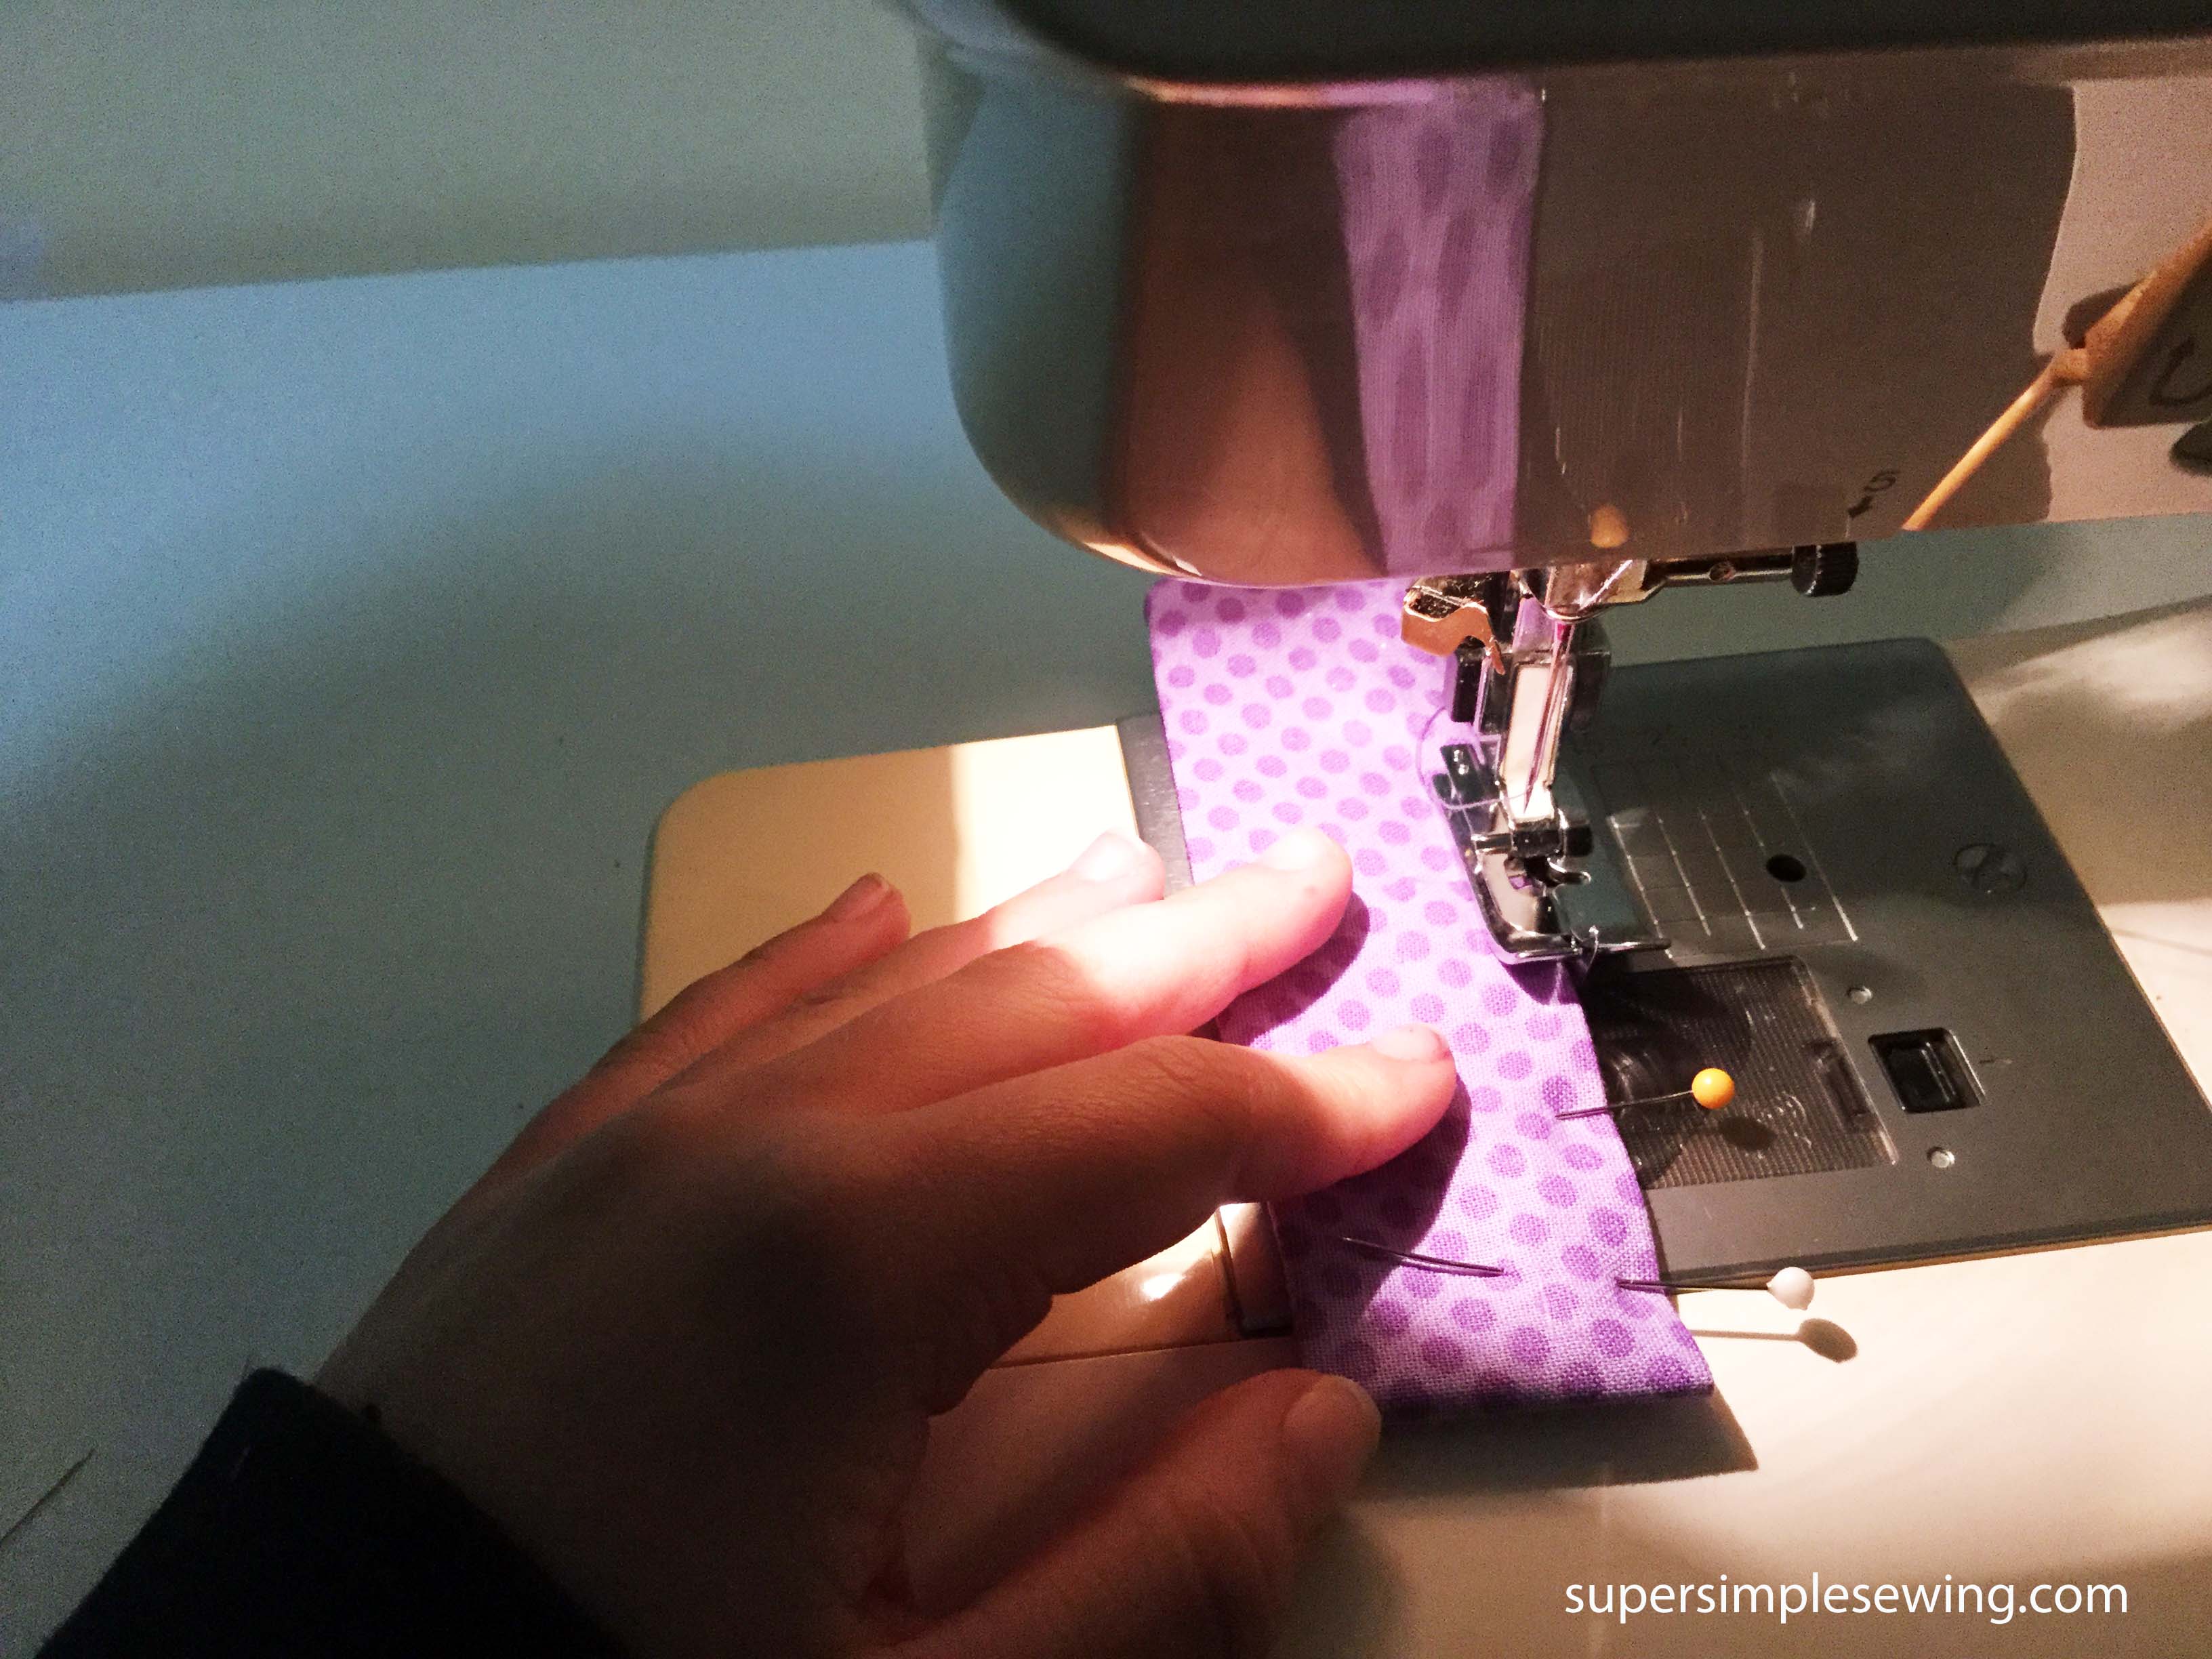
Sew very close to the edge being sure to back stitch at the beginning and end for strength.
 Pin and sew the other side as well.
 We used an overcast foot to guide so there was an even distance from the edge. Be careful of the needle placement, it needs to be far left so it doesn’t break. This foot is optional you can absolutely sew with your regular sewing foot.

On the open end fold down about 1/2″ over the key ring.
 Pin in place.
 Next sew in place back stitch at the beginning and end for strength.
It’s done and ready to use!