Continuous Zipper Pouch Tutorial and Pattern 

Test This zipper pouch looks very unique without being difficult to sew. It is fully lined for even more design options. It opens fully so you can see everything inside.
Here is what you will need;
Tools
scissors
sewing machine
pins
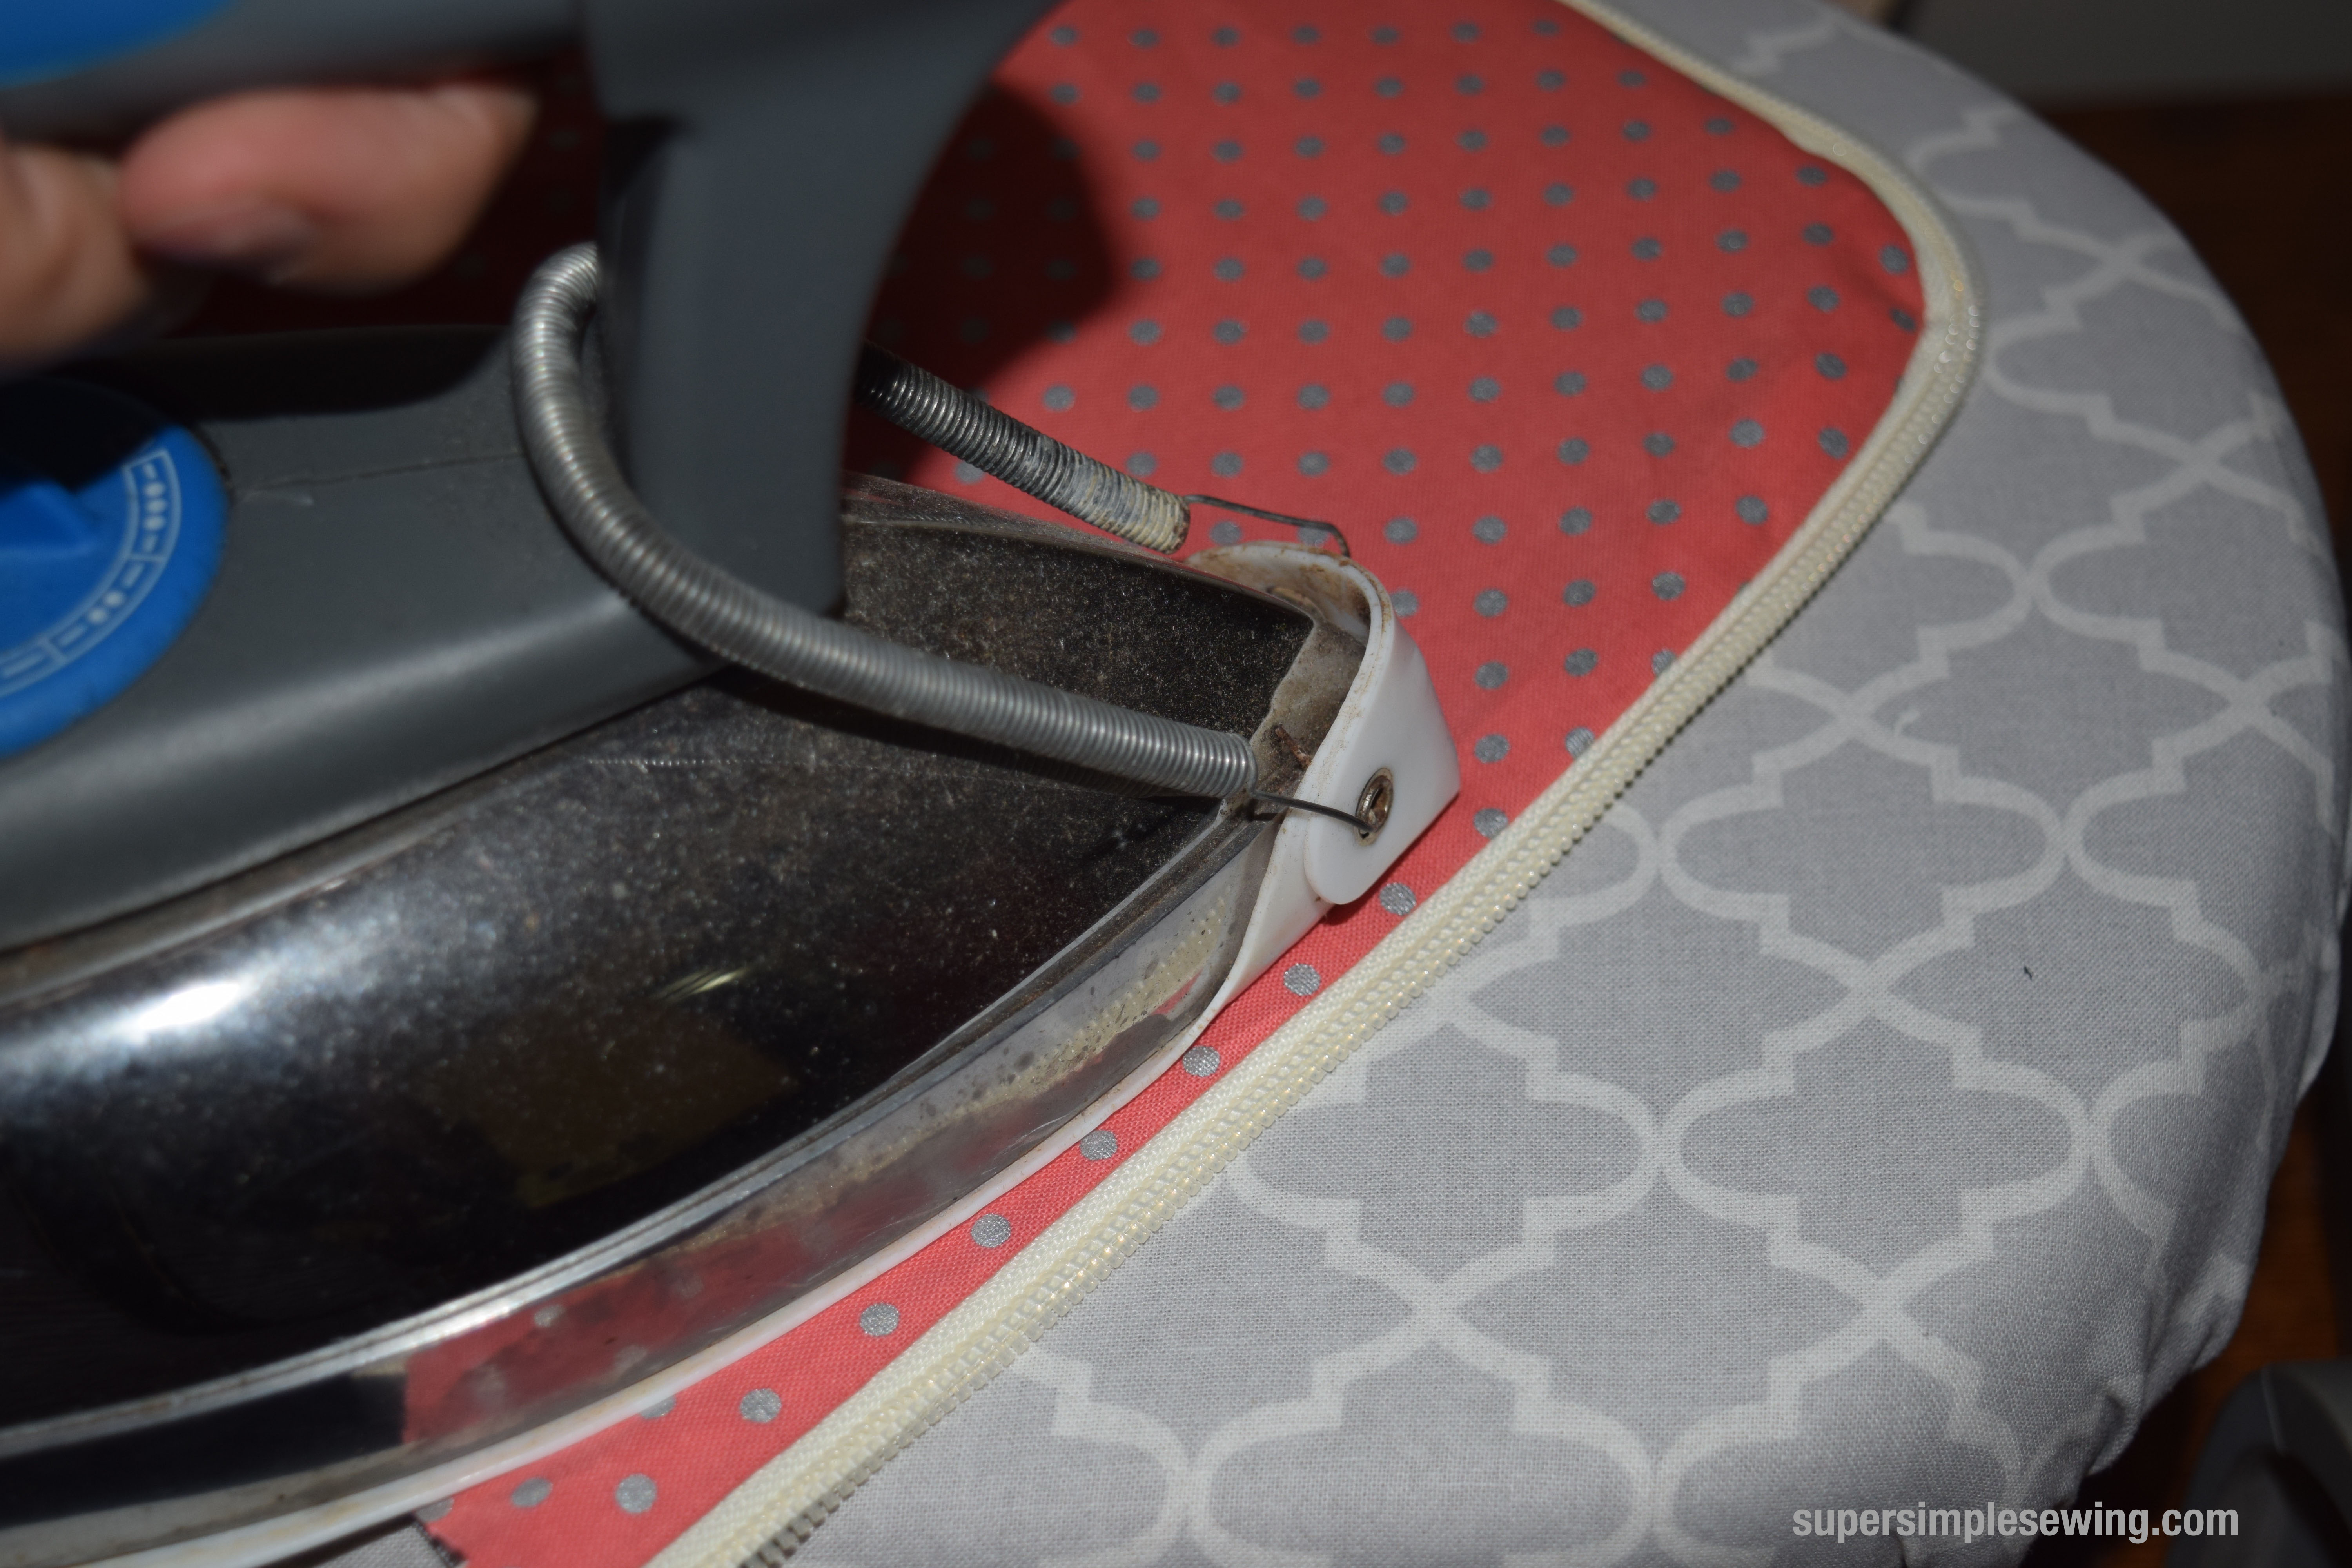
iron/ironing board
Materials
2 pieces of 8 1/2″x 11″ cotton fabric
Thread
1 piece of 8 1/2″x 11″ Iron on interfacing
Pattern continuous-zipper-pouch
Lets get started

You will need to separate the zipper. I had to cut off the end of this one to separate it.
 Still more prep of the zipper
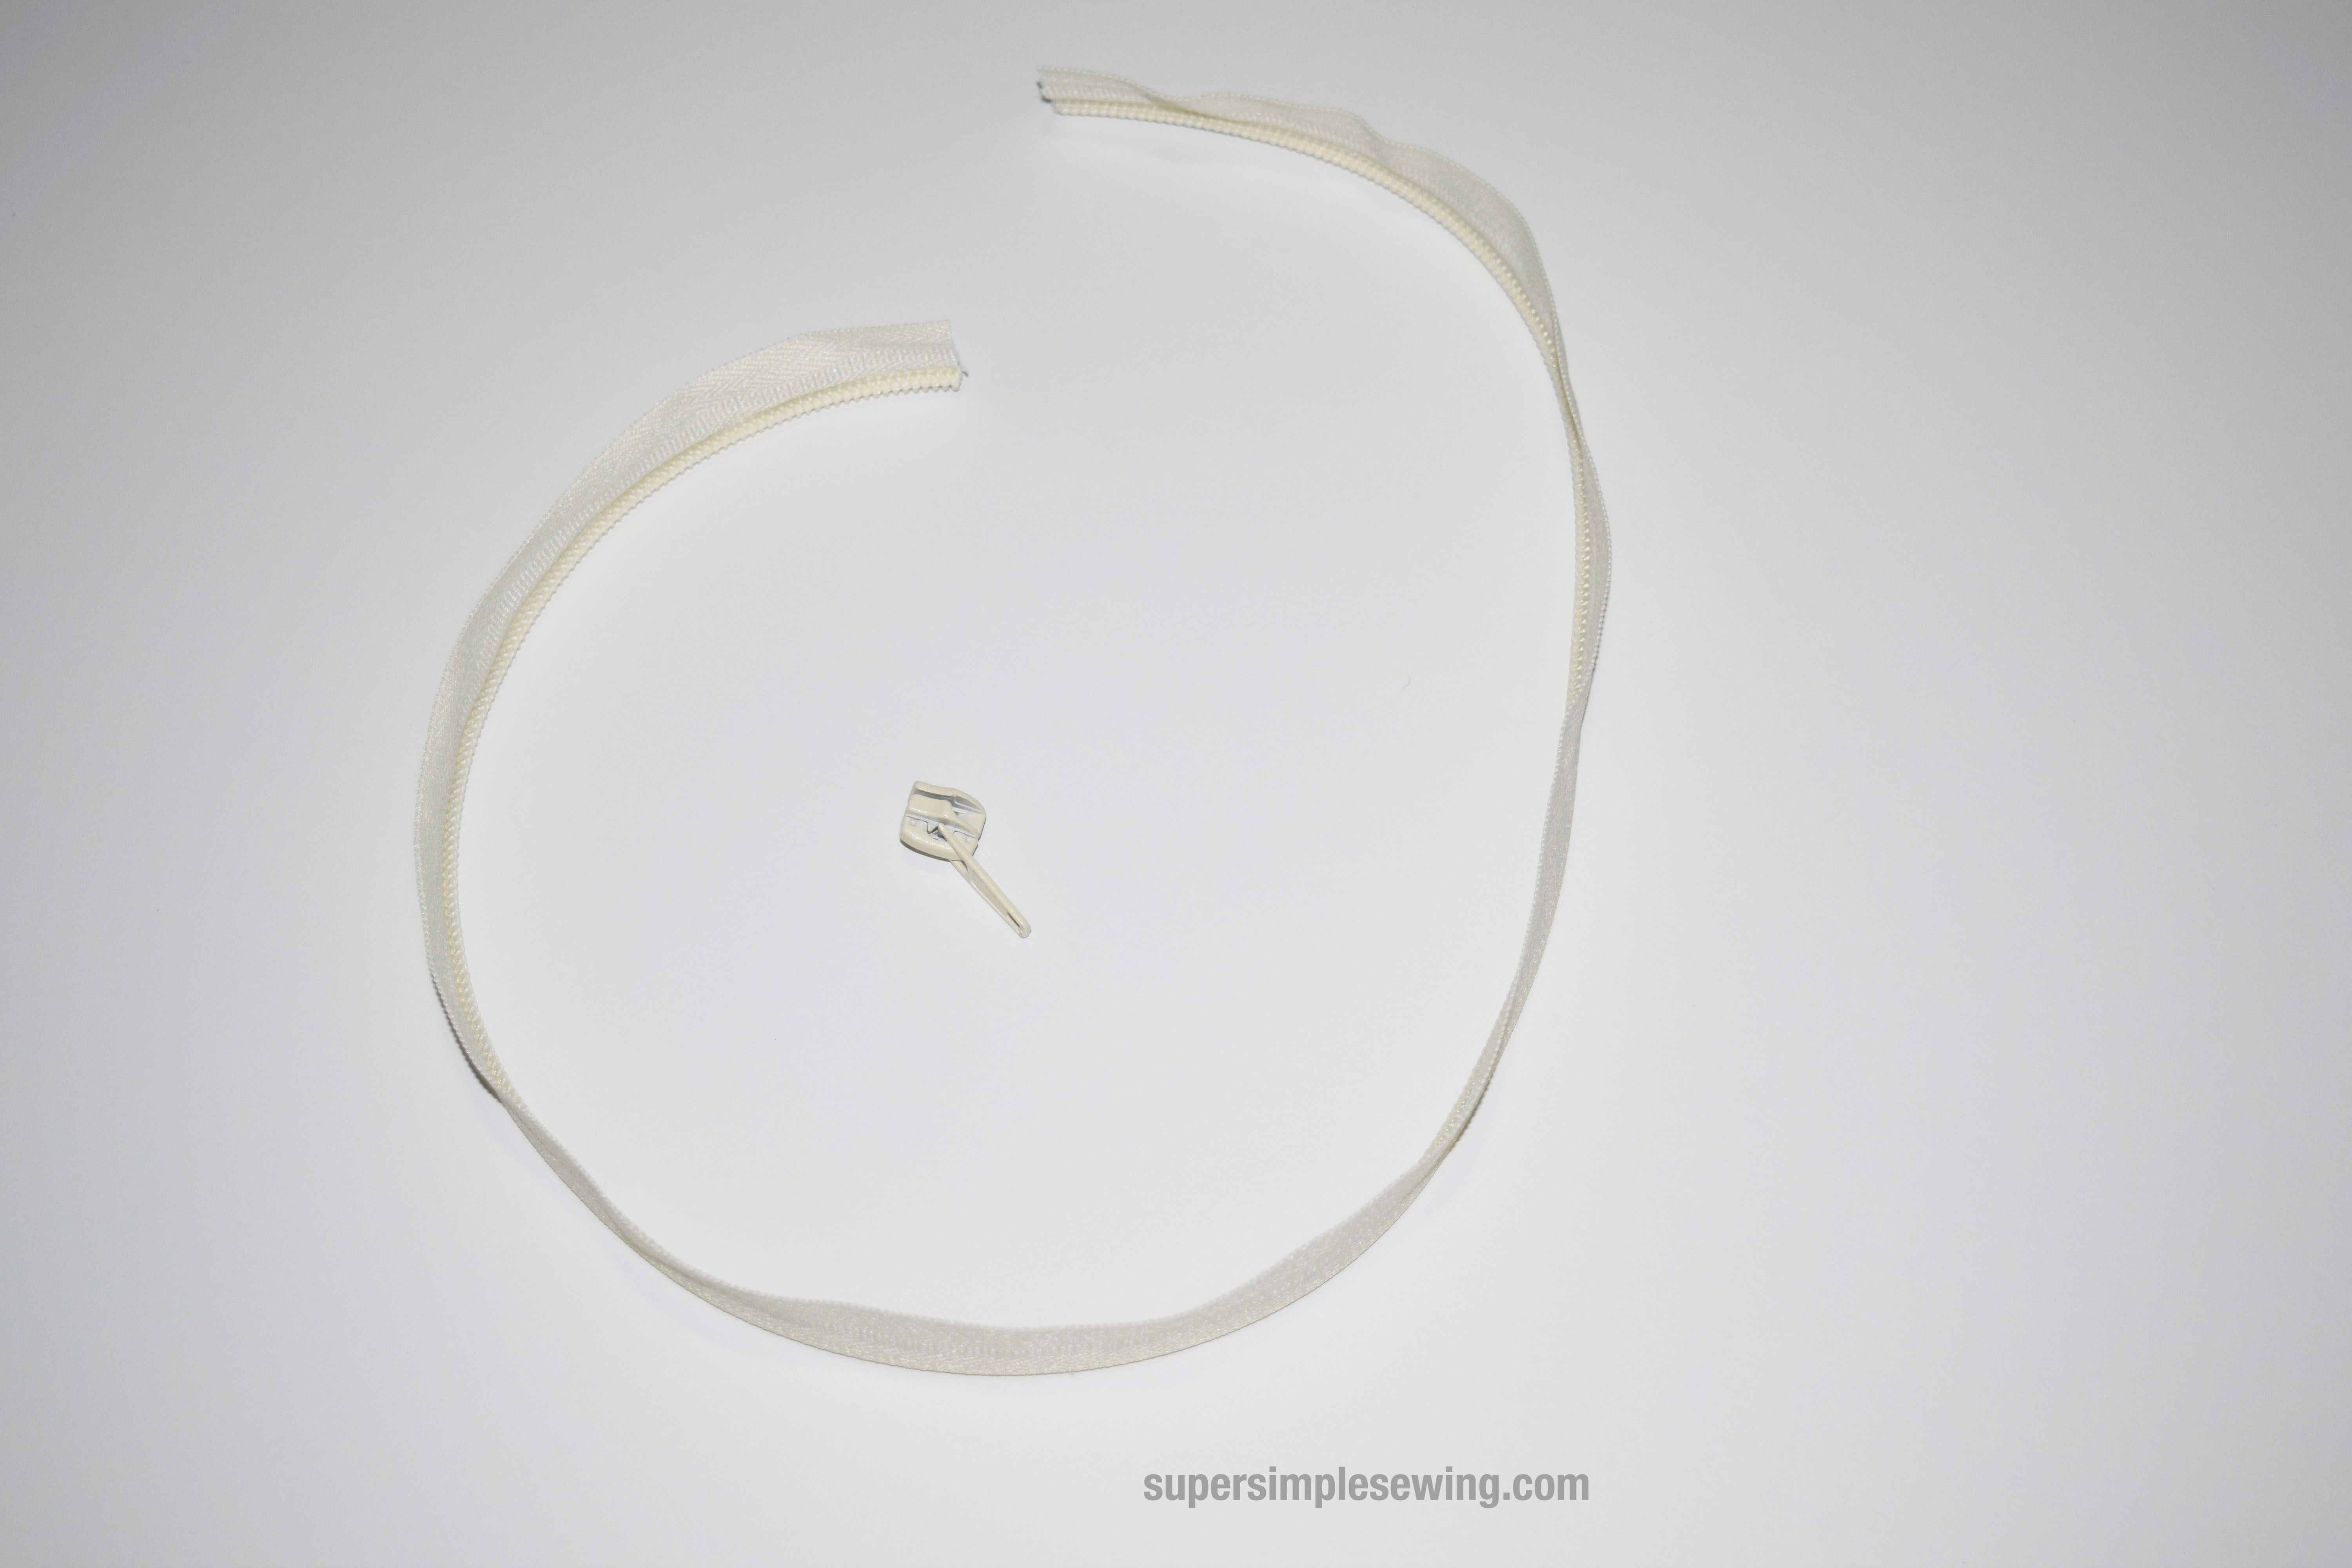
Once it is separated cut one piece to length 23 3/4″ .
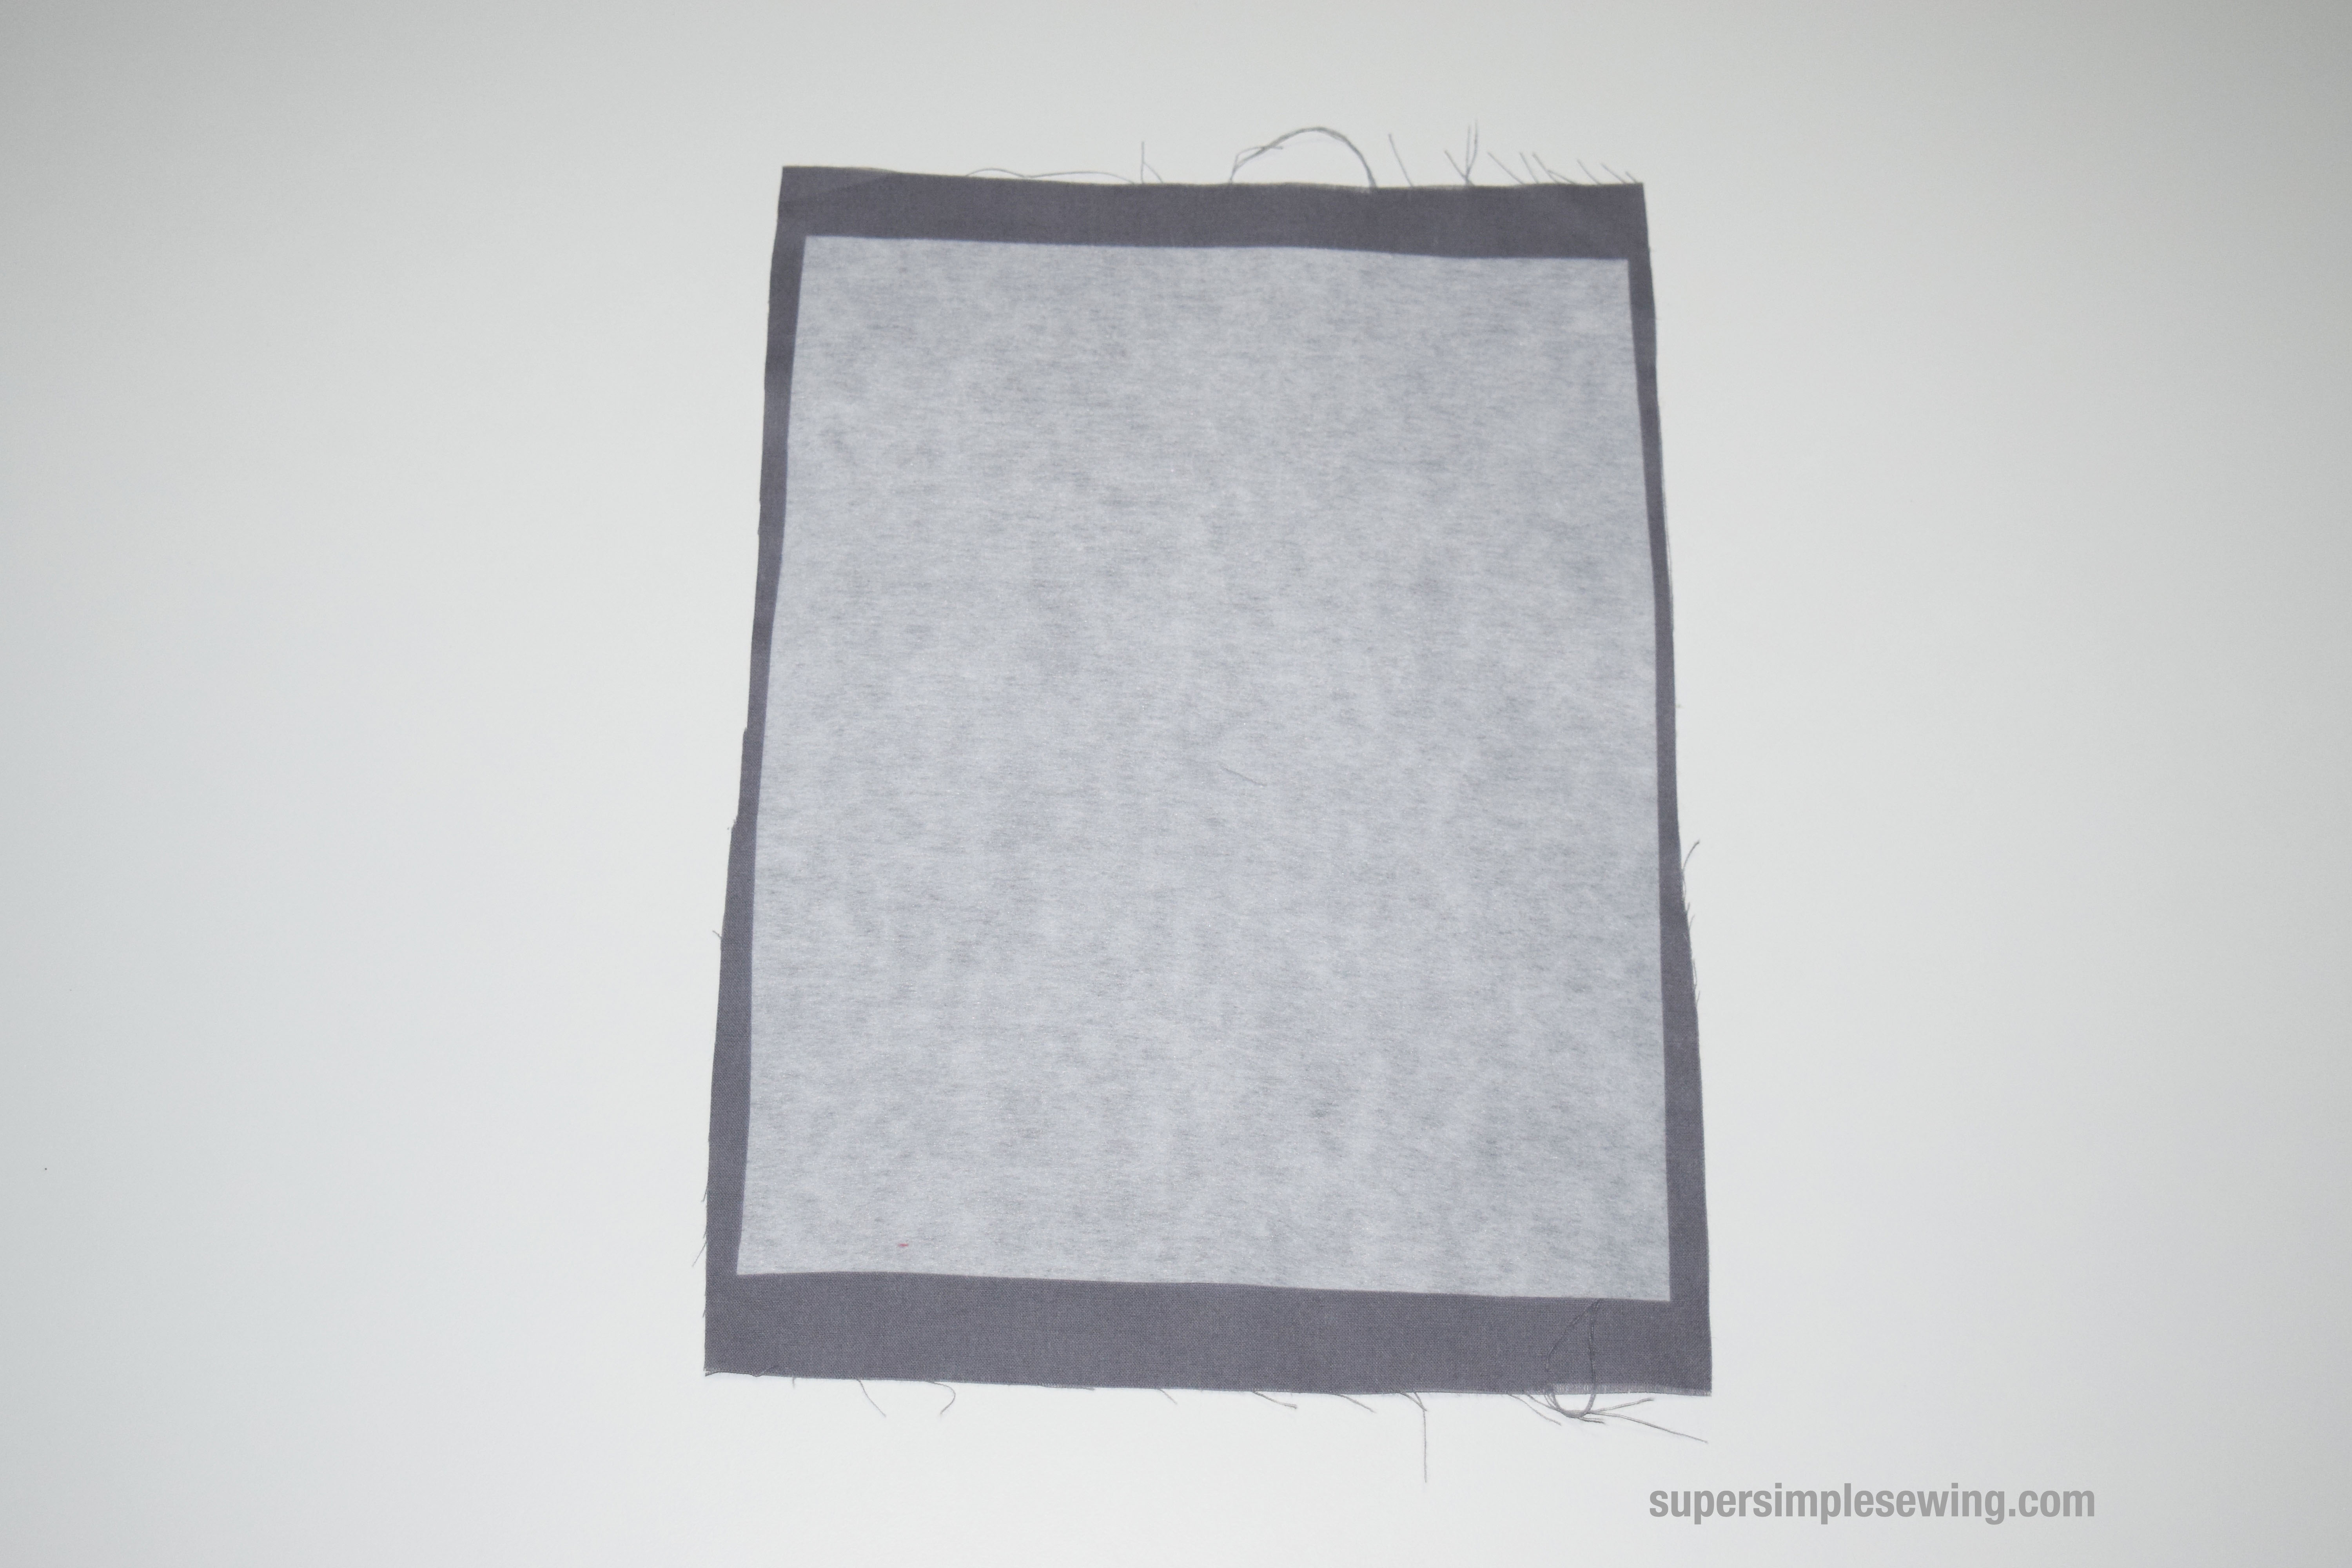
Adhere the iron-on-interfacing to the back of the lining fabric.
It usually takes a dry iron and press cloth, but fallow directions of the one you buy.

Once you have them together cut out from the pattern.
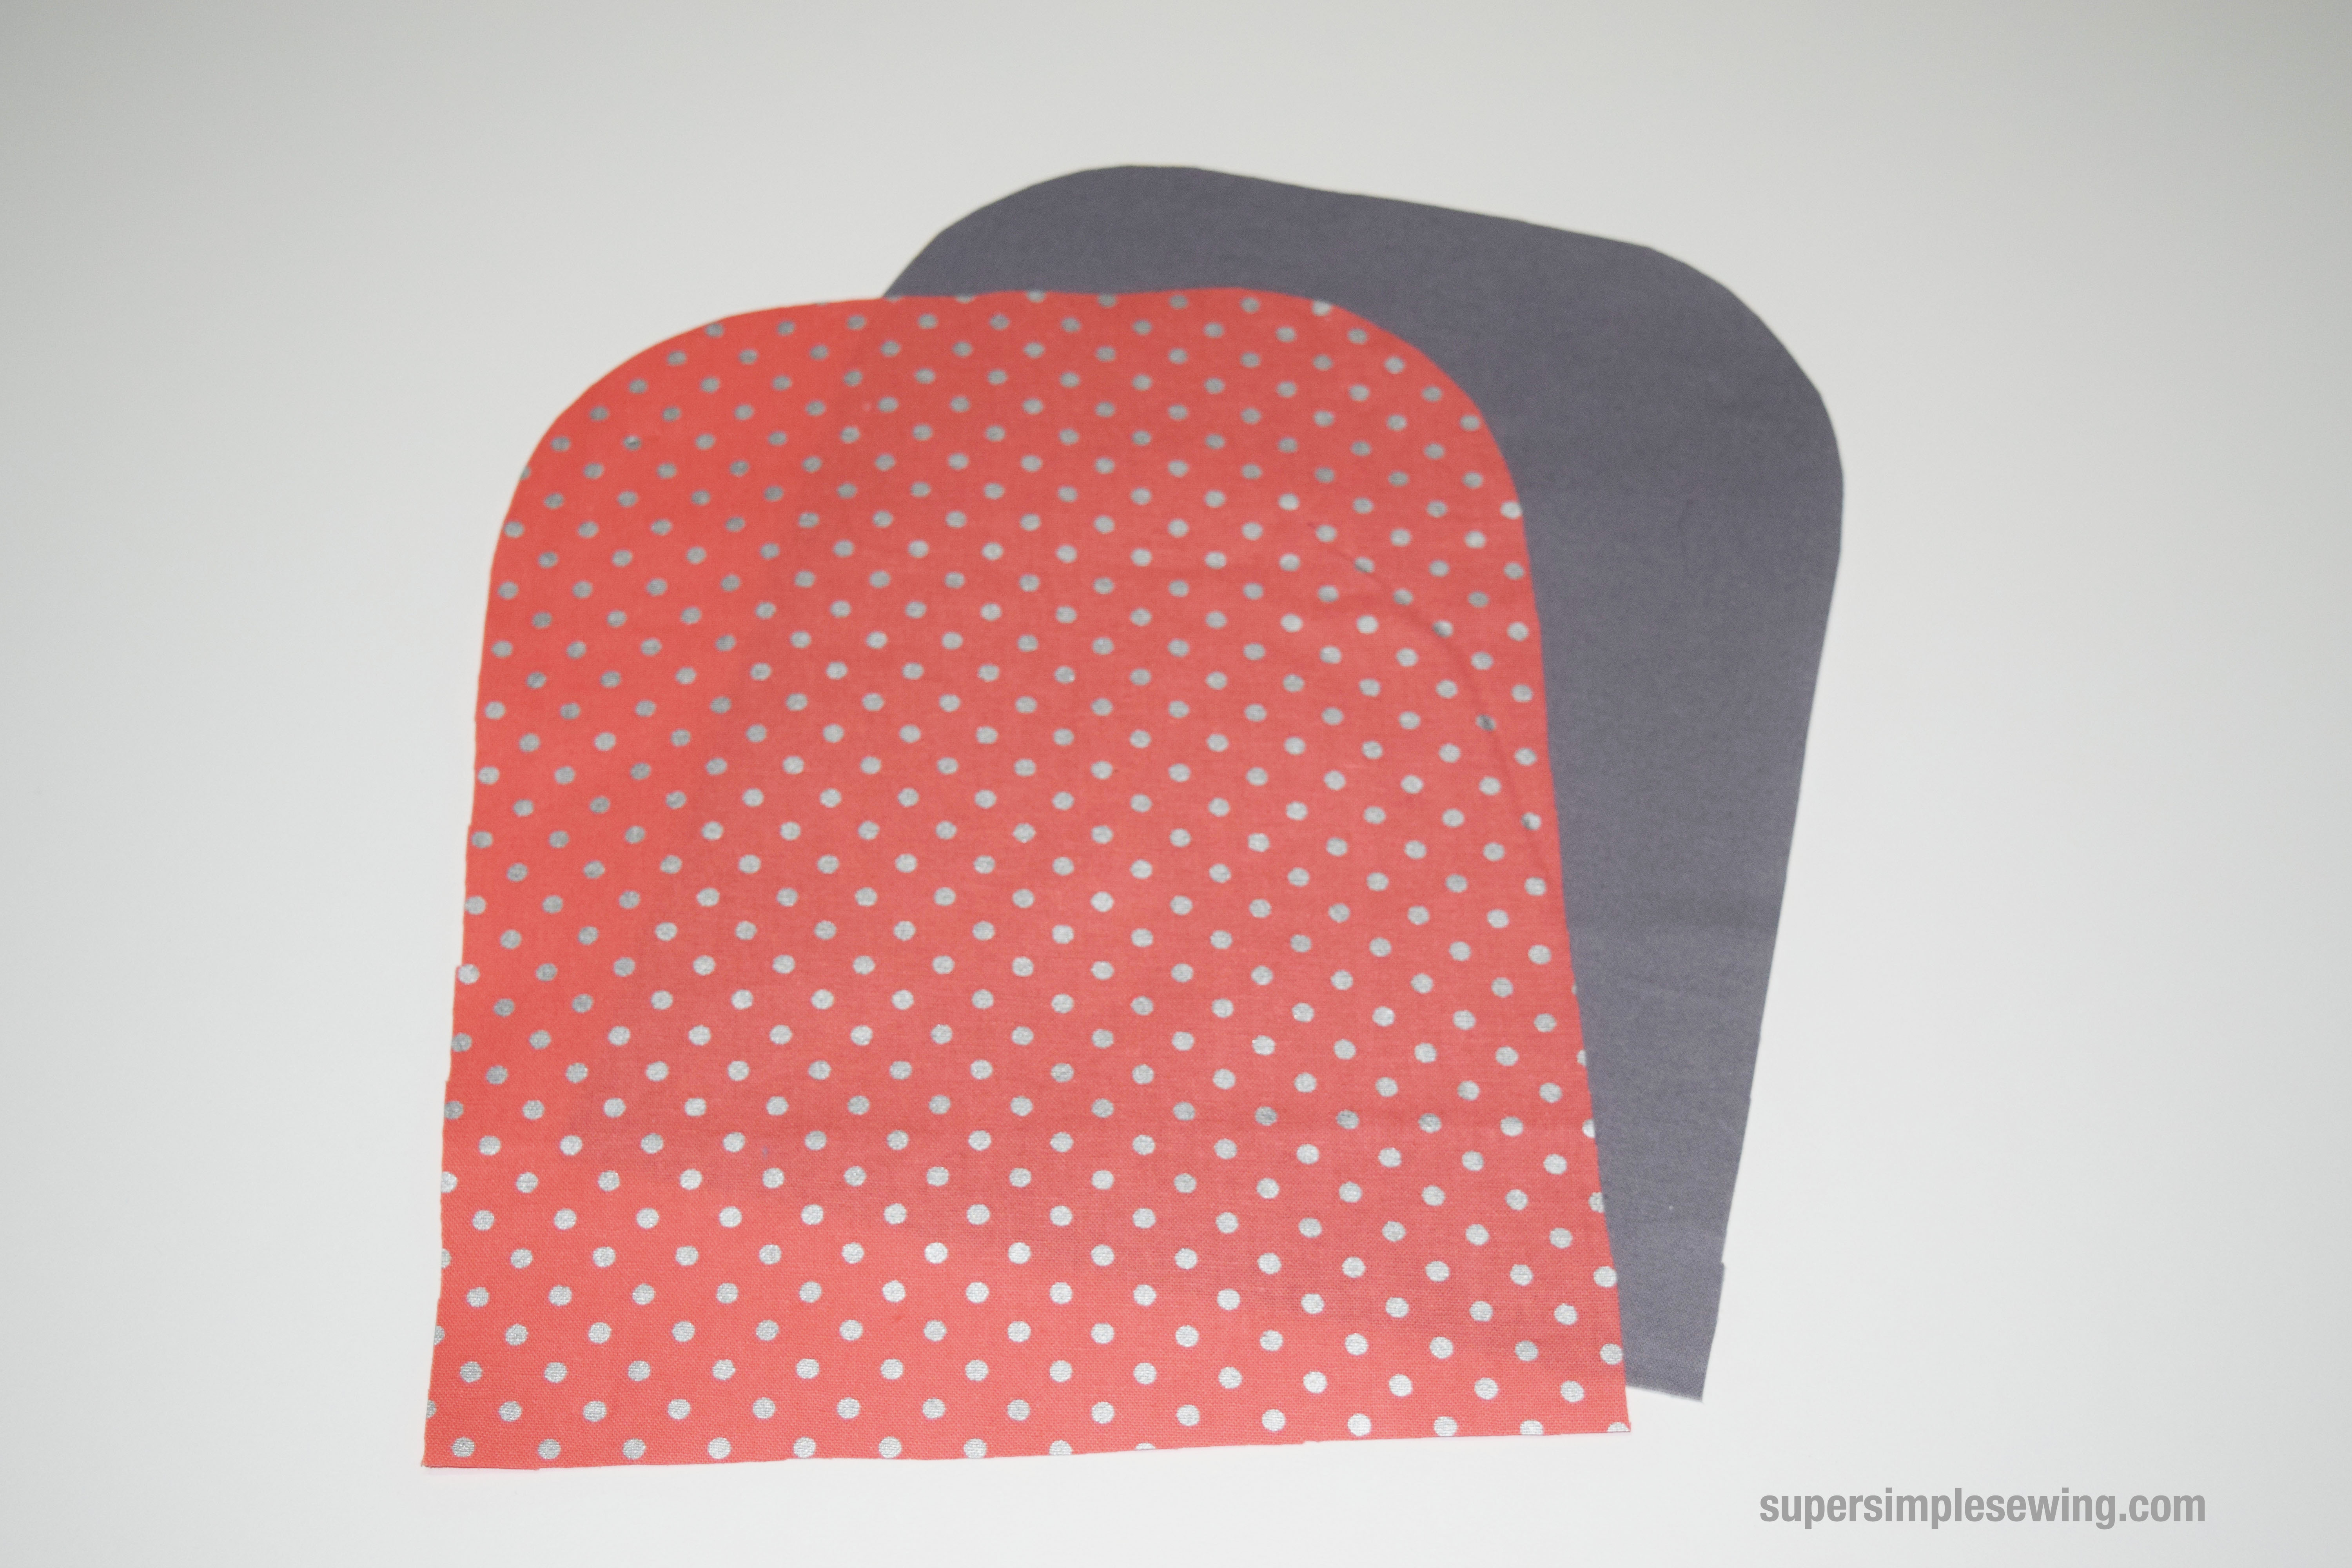
Cut one of face.

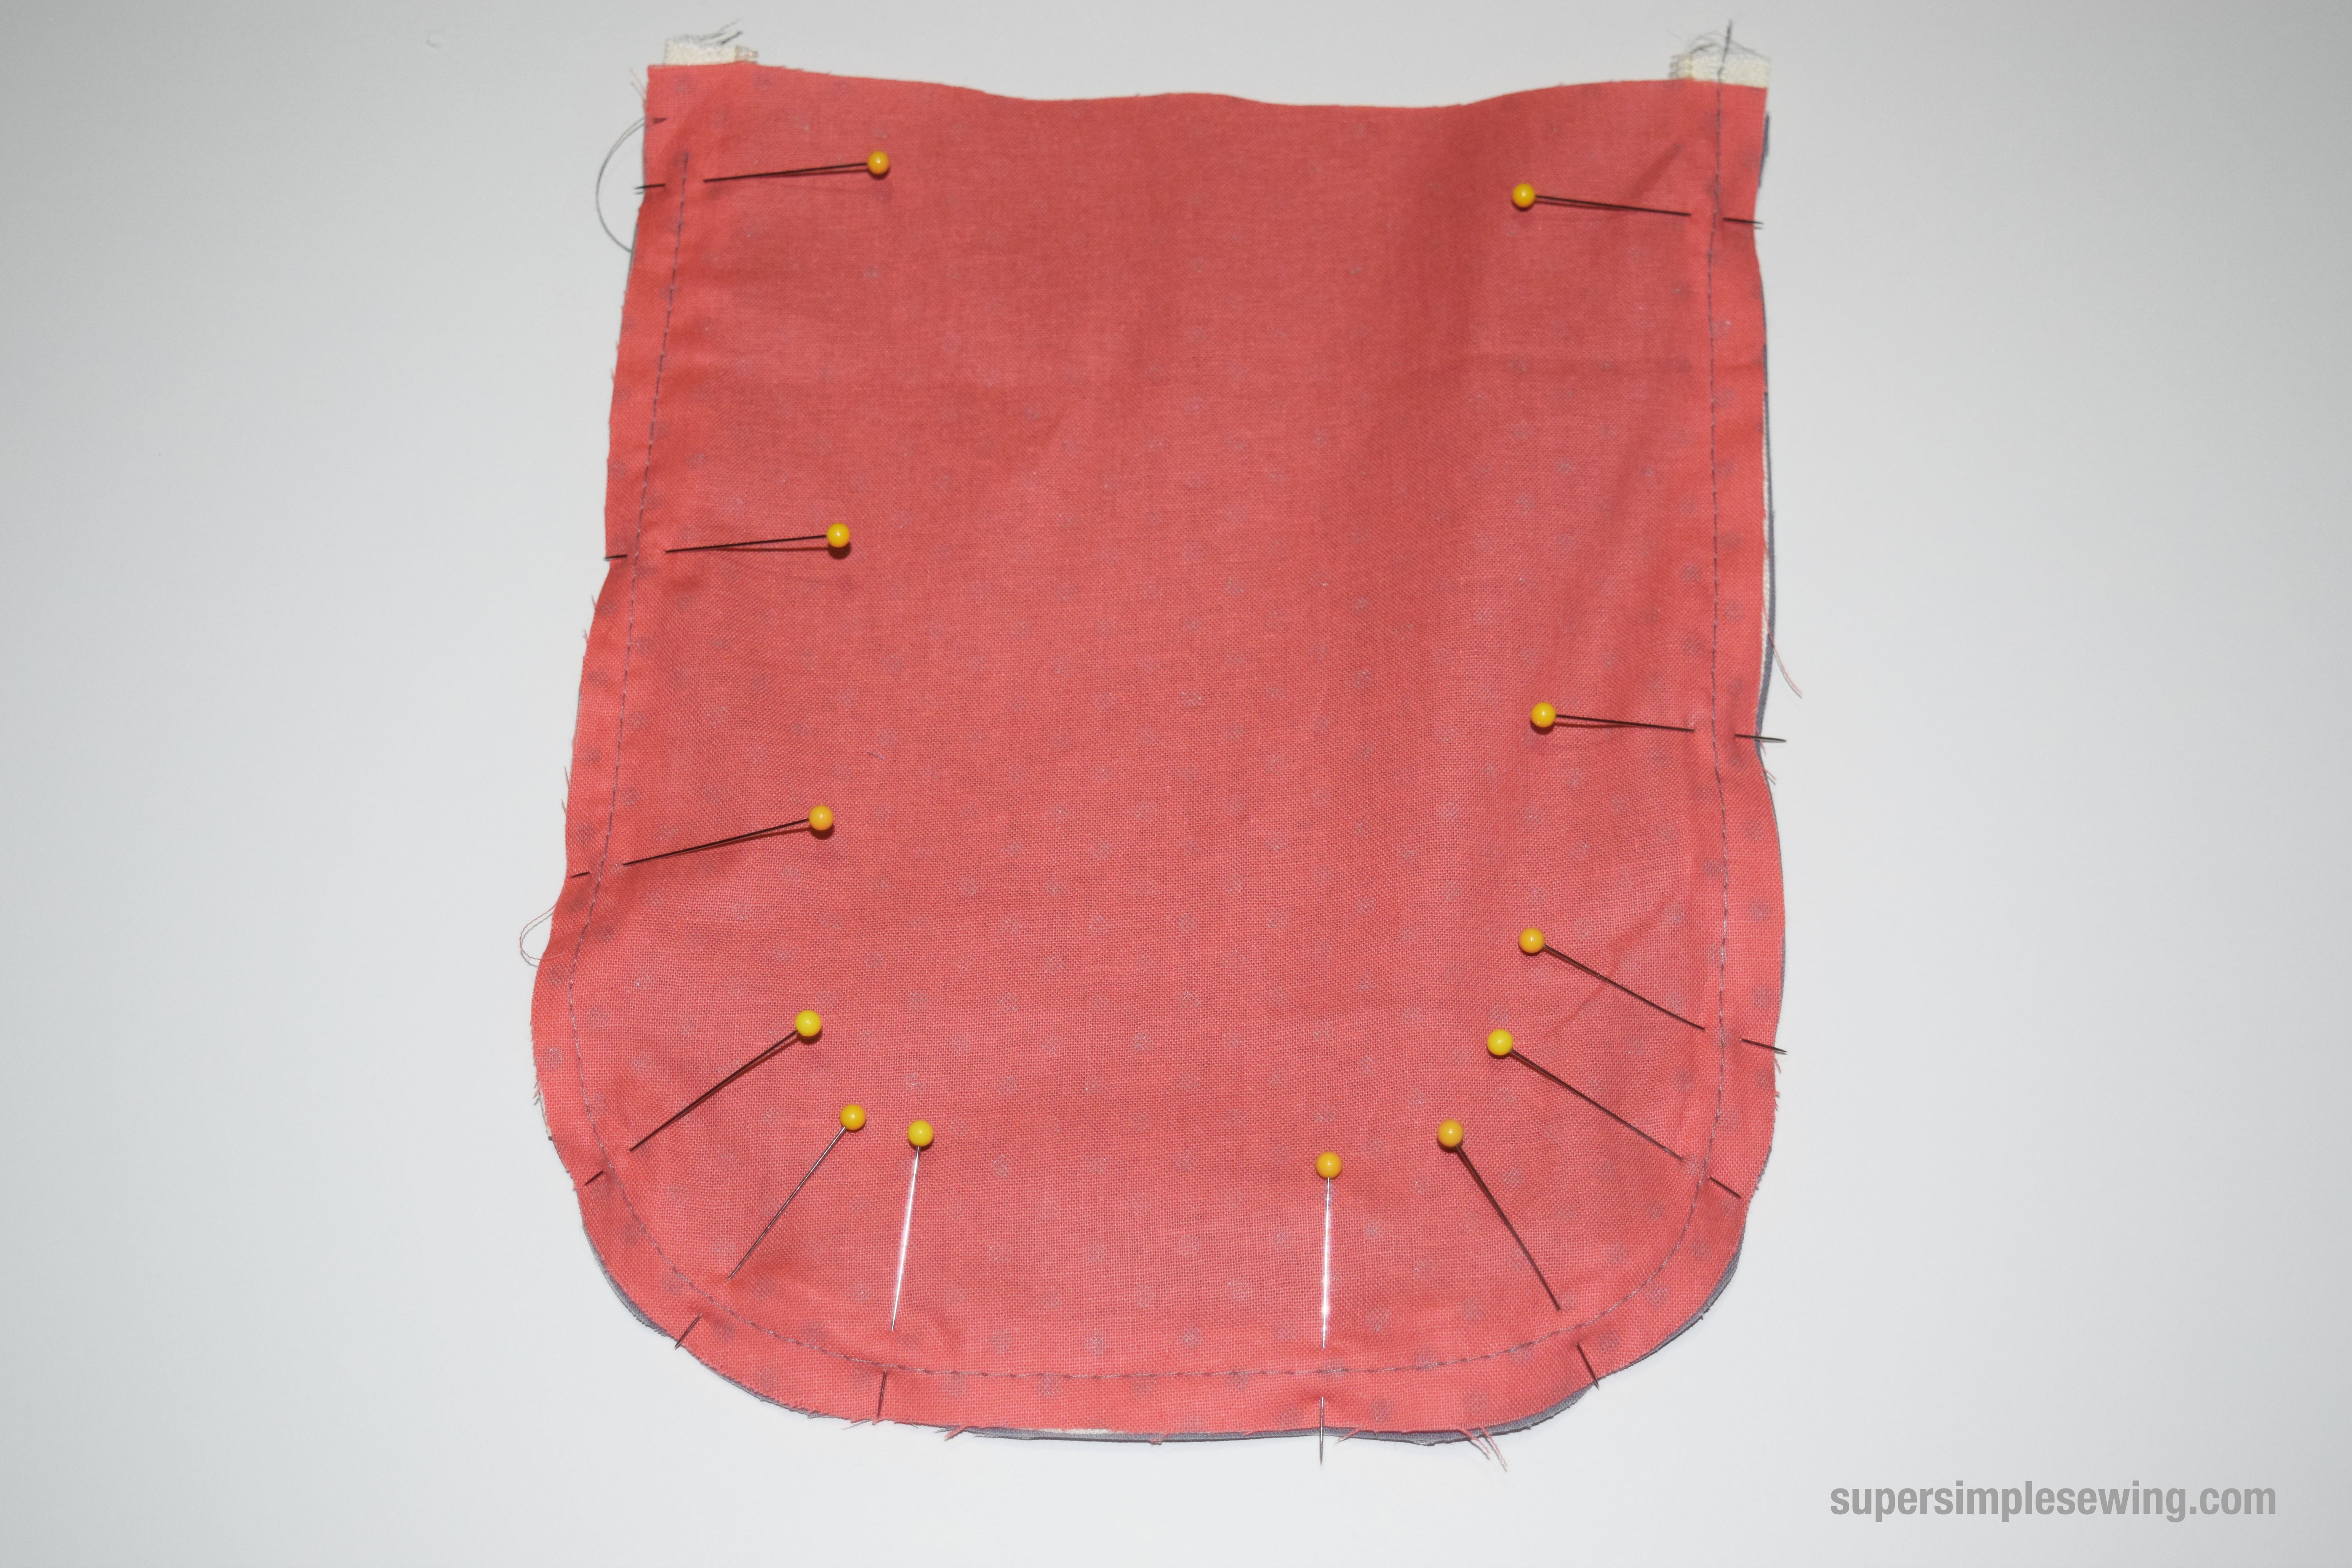
Pin the zipper into place as shown. Notice how the pins face long ways. Also the directions the pin heads face will save aggravation. you can easily pull them as you sew.
the zipper may be slightly long or short depending on how accurately you cut. Just make them even at the bottom.

Pin so the zipper is even with the fabric.

Using a zipper foot sew down the center of the zipper tape. Use a slightly longer stitch length. This is just the first pass.

This is what you will have. See how it curls at the corners? clipping will help it lay flat.

Don’t snip your stitches.
 Now it lays flatter.

Layer right sides together.

Pin the Flat sides first. Leave the bottom open.
Pin the corners last.

If you can move the needle position closer to the zipper.

Try not to remove the pins until you get close to it.

Here is what it will look like.

Snip v shapes in the curves so it lays flatter when it is turned.
Don’t snip the thread!

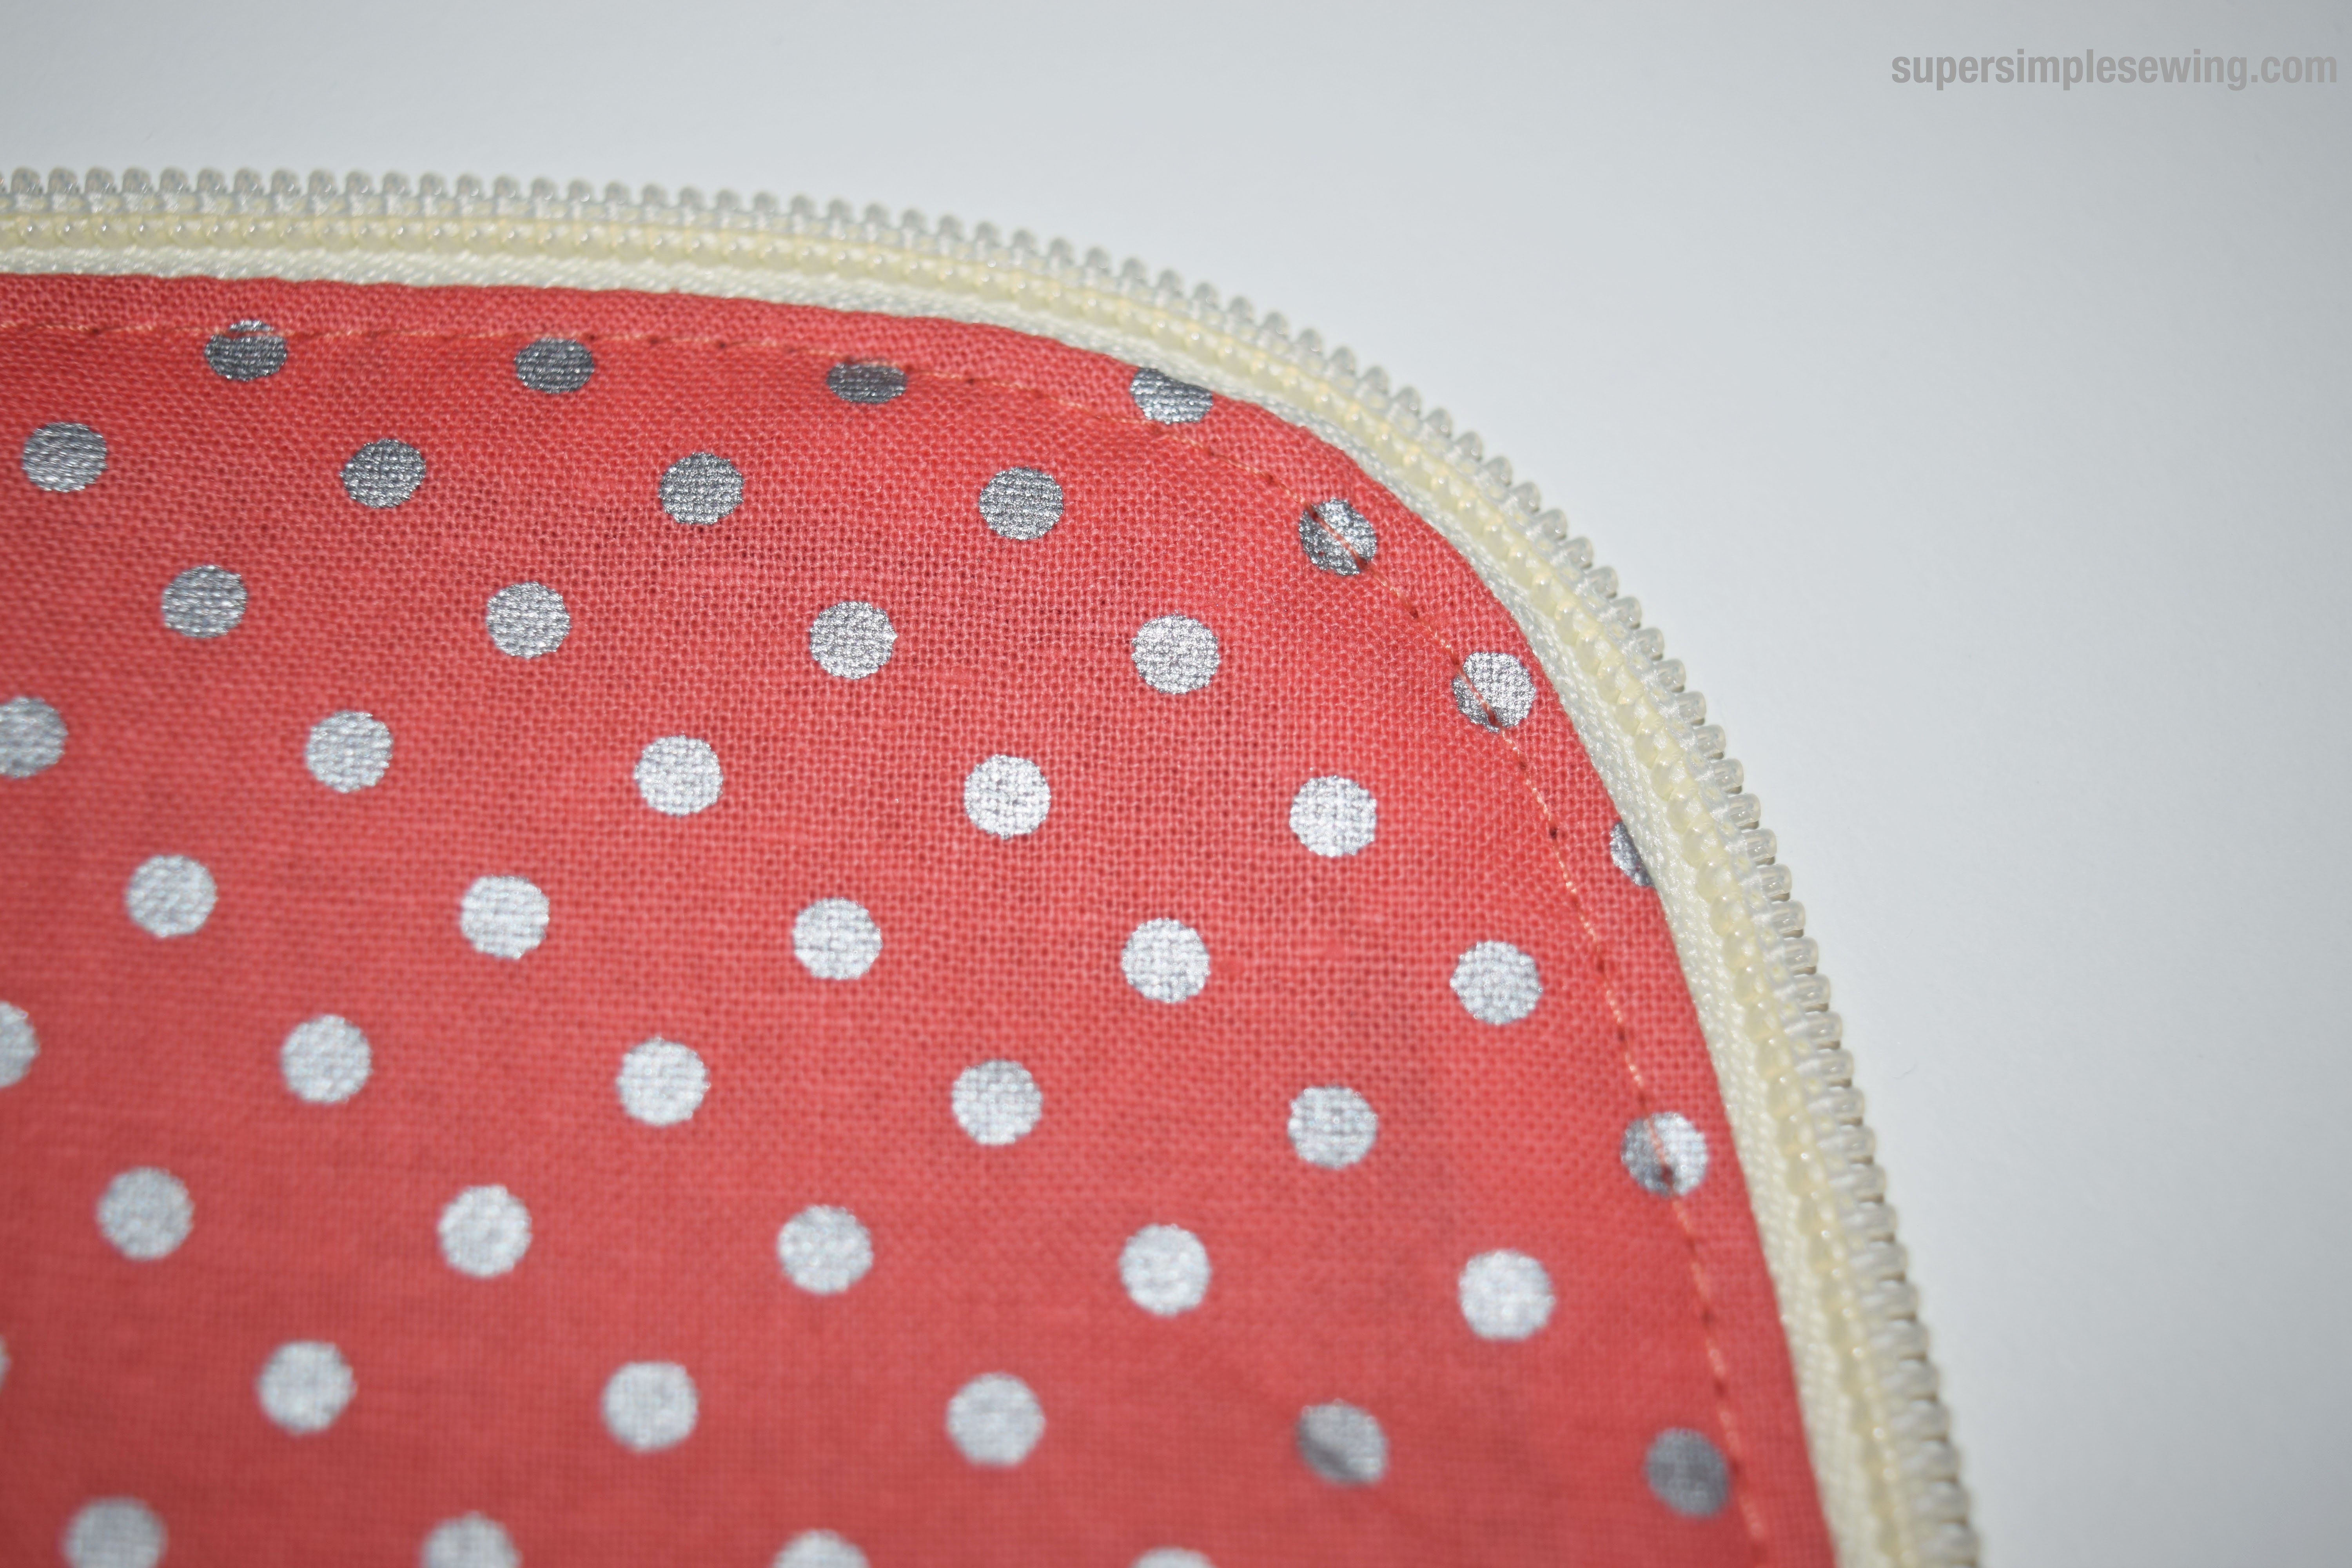
Turn it out.
Press flat.


top stitch with matching thread for best result. mistakes will be less noticeable,

You may need to lift the presser foot and turn to get around the curves.
What you get when you are pacent
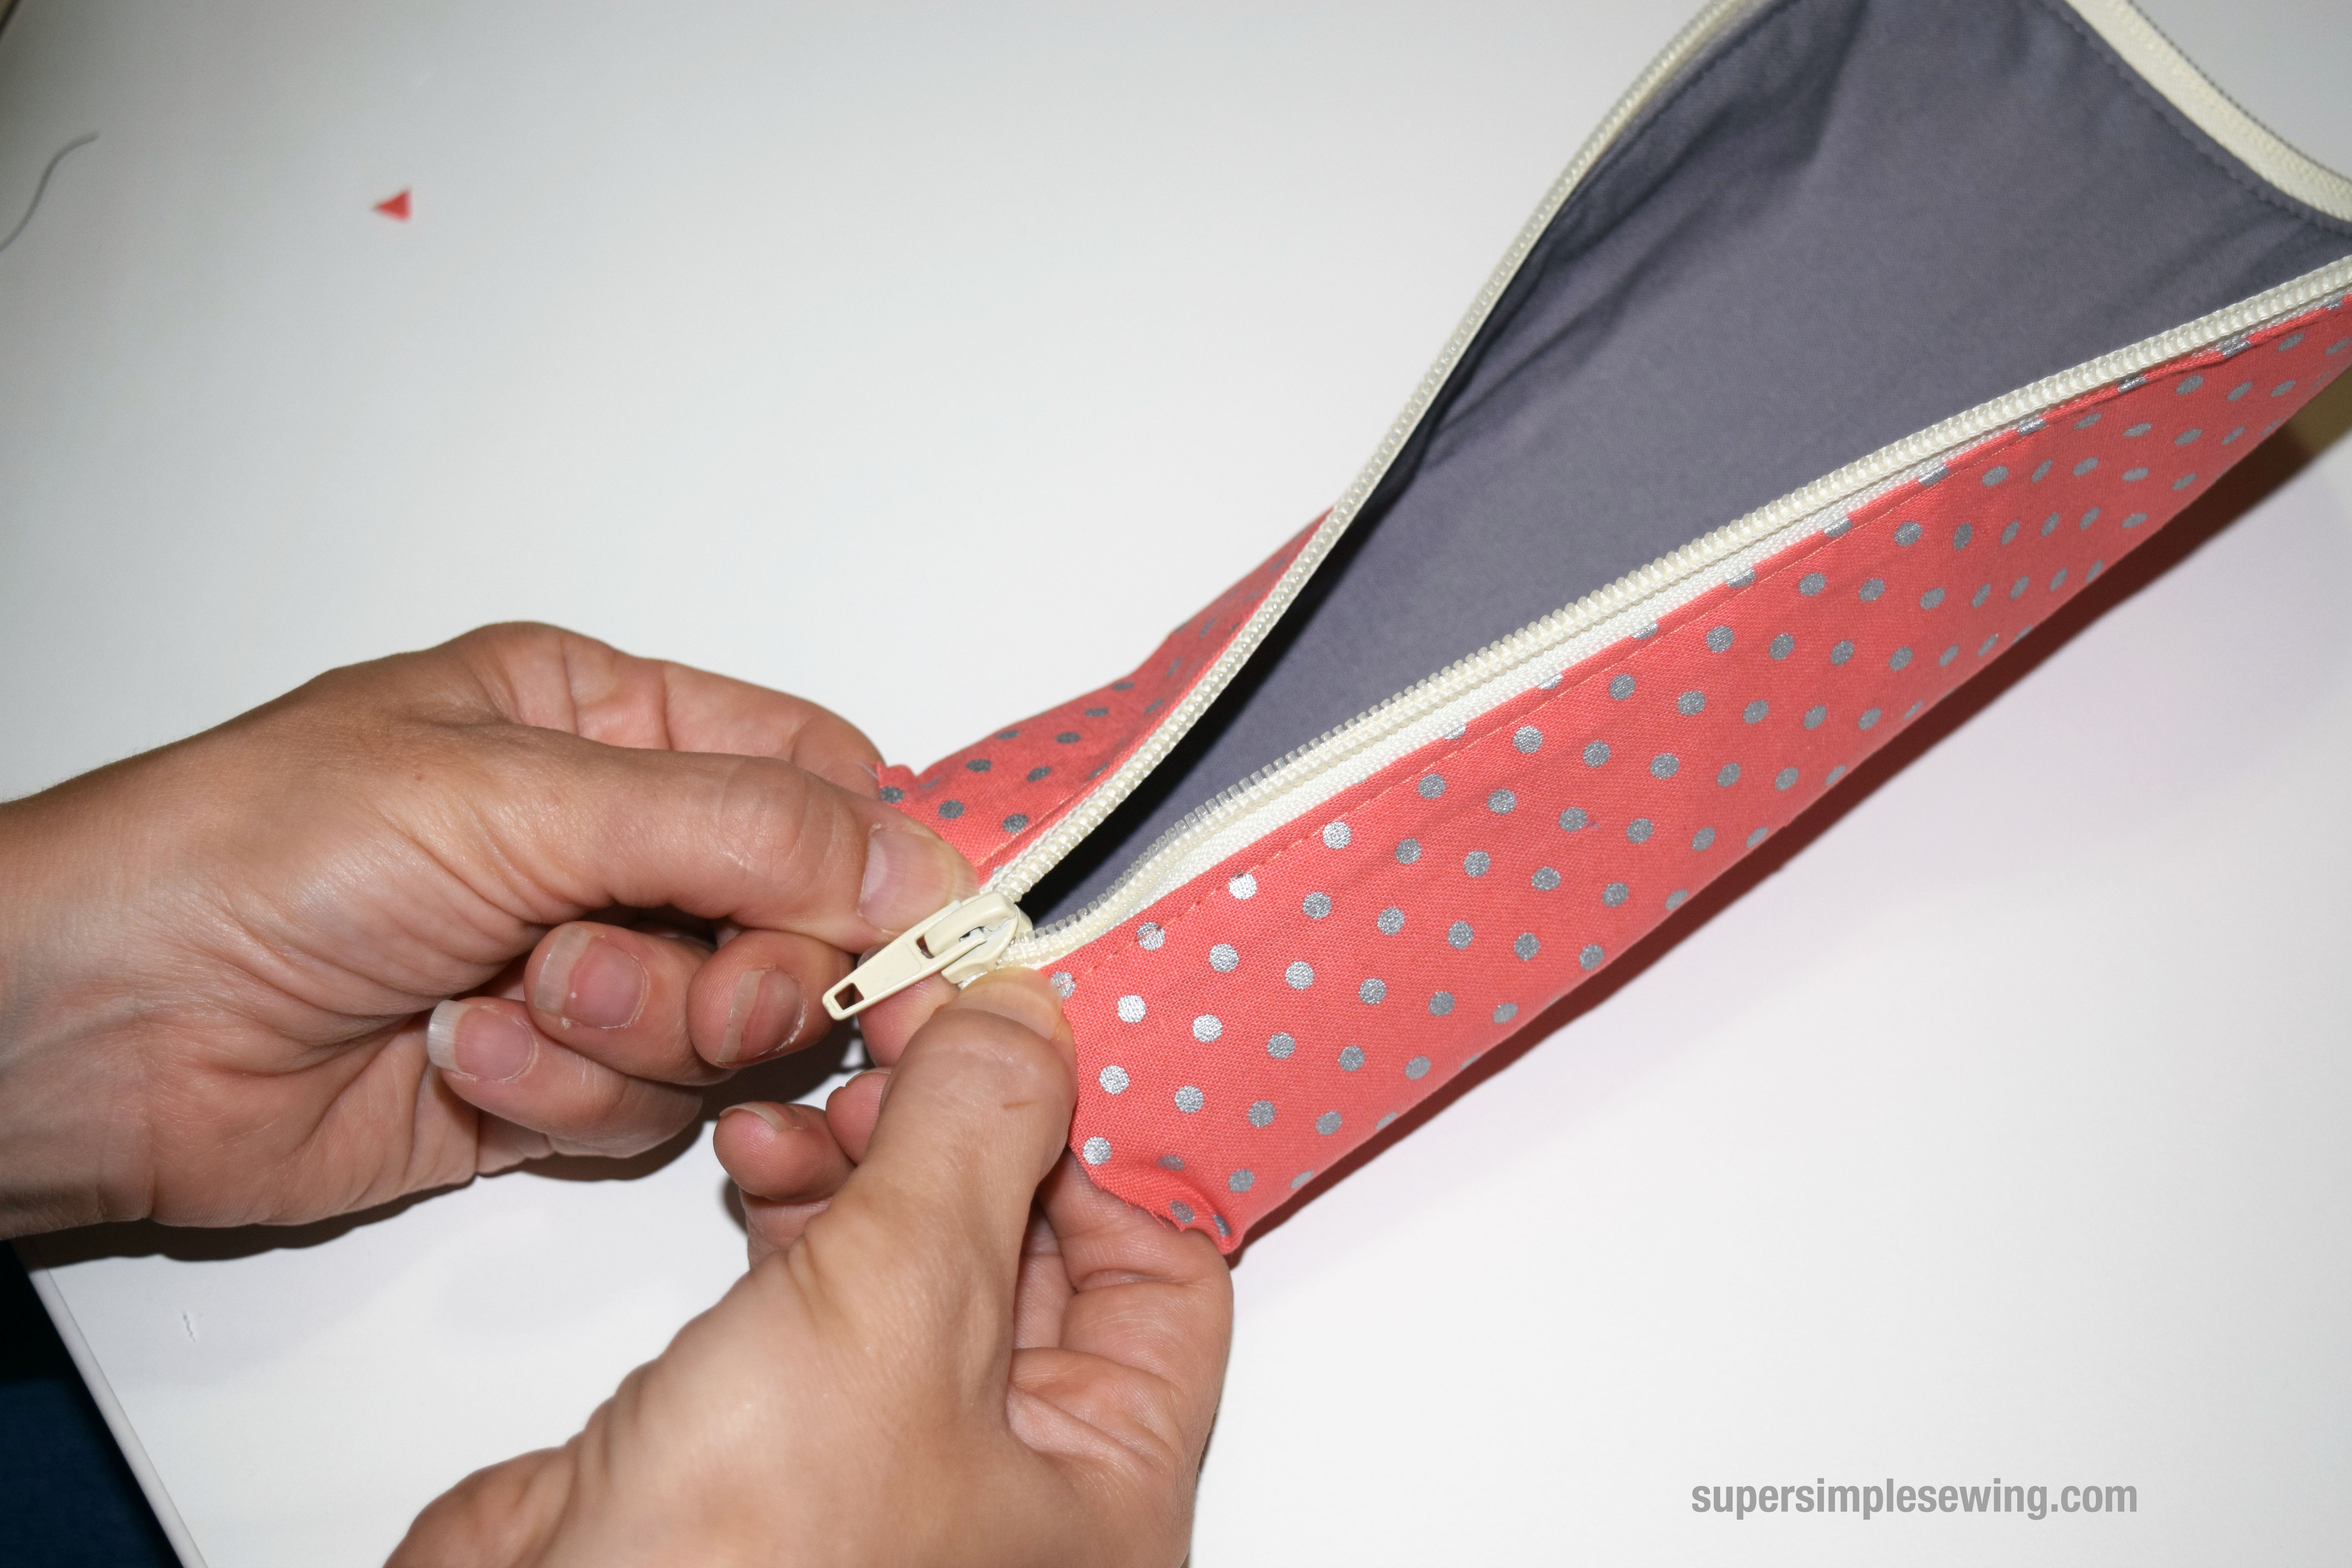
Work the pull onto the zipper. This is NOT EASY! It is worth it though. No trick just have to mess with it. 
As long as it is close the bottom does not have to be perfect.

Turn inside out .

Pin flat along the bottom.

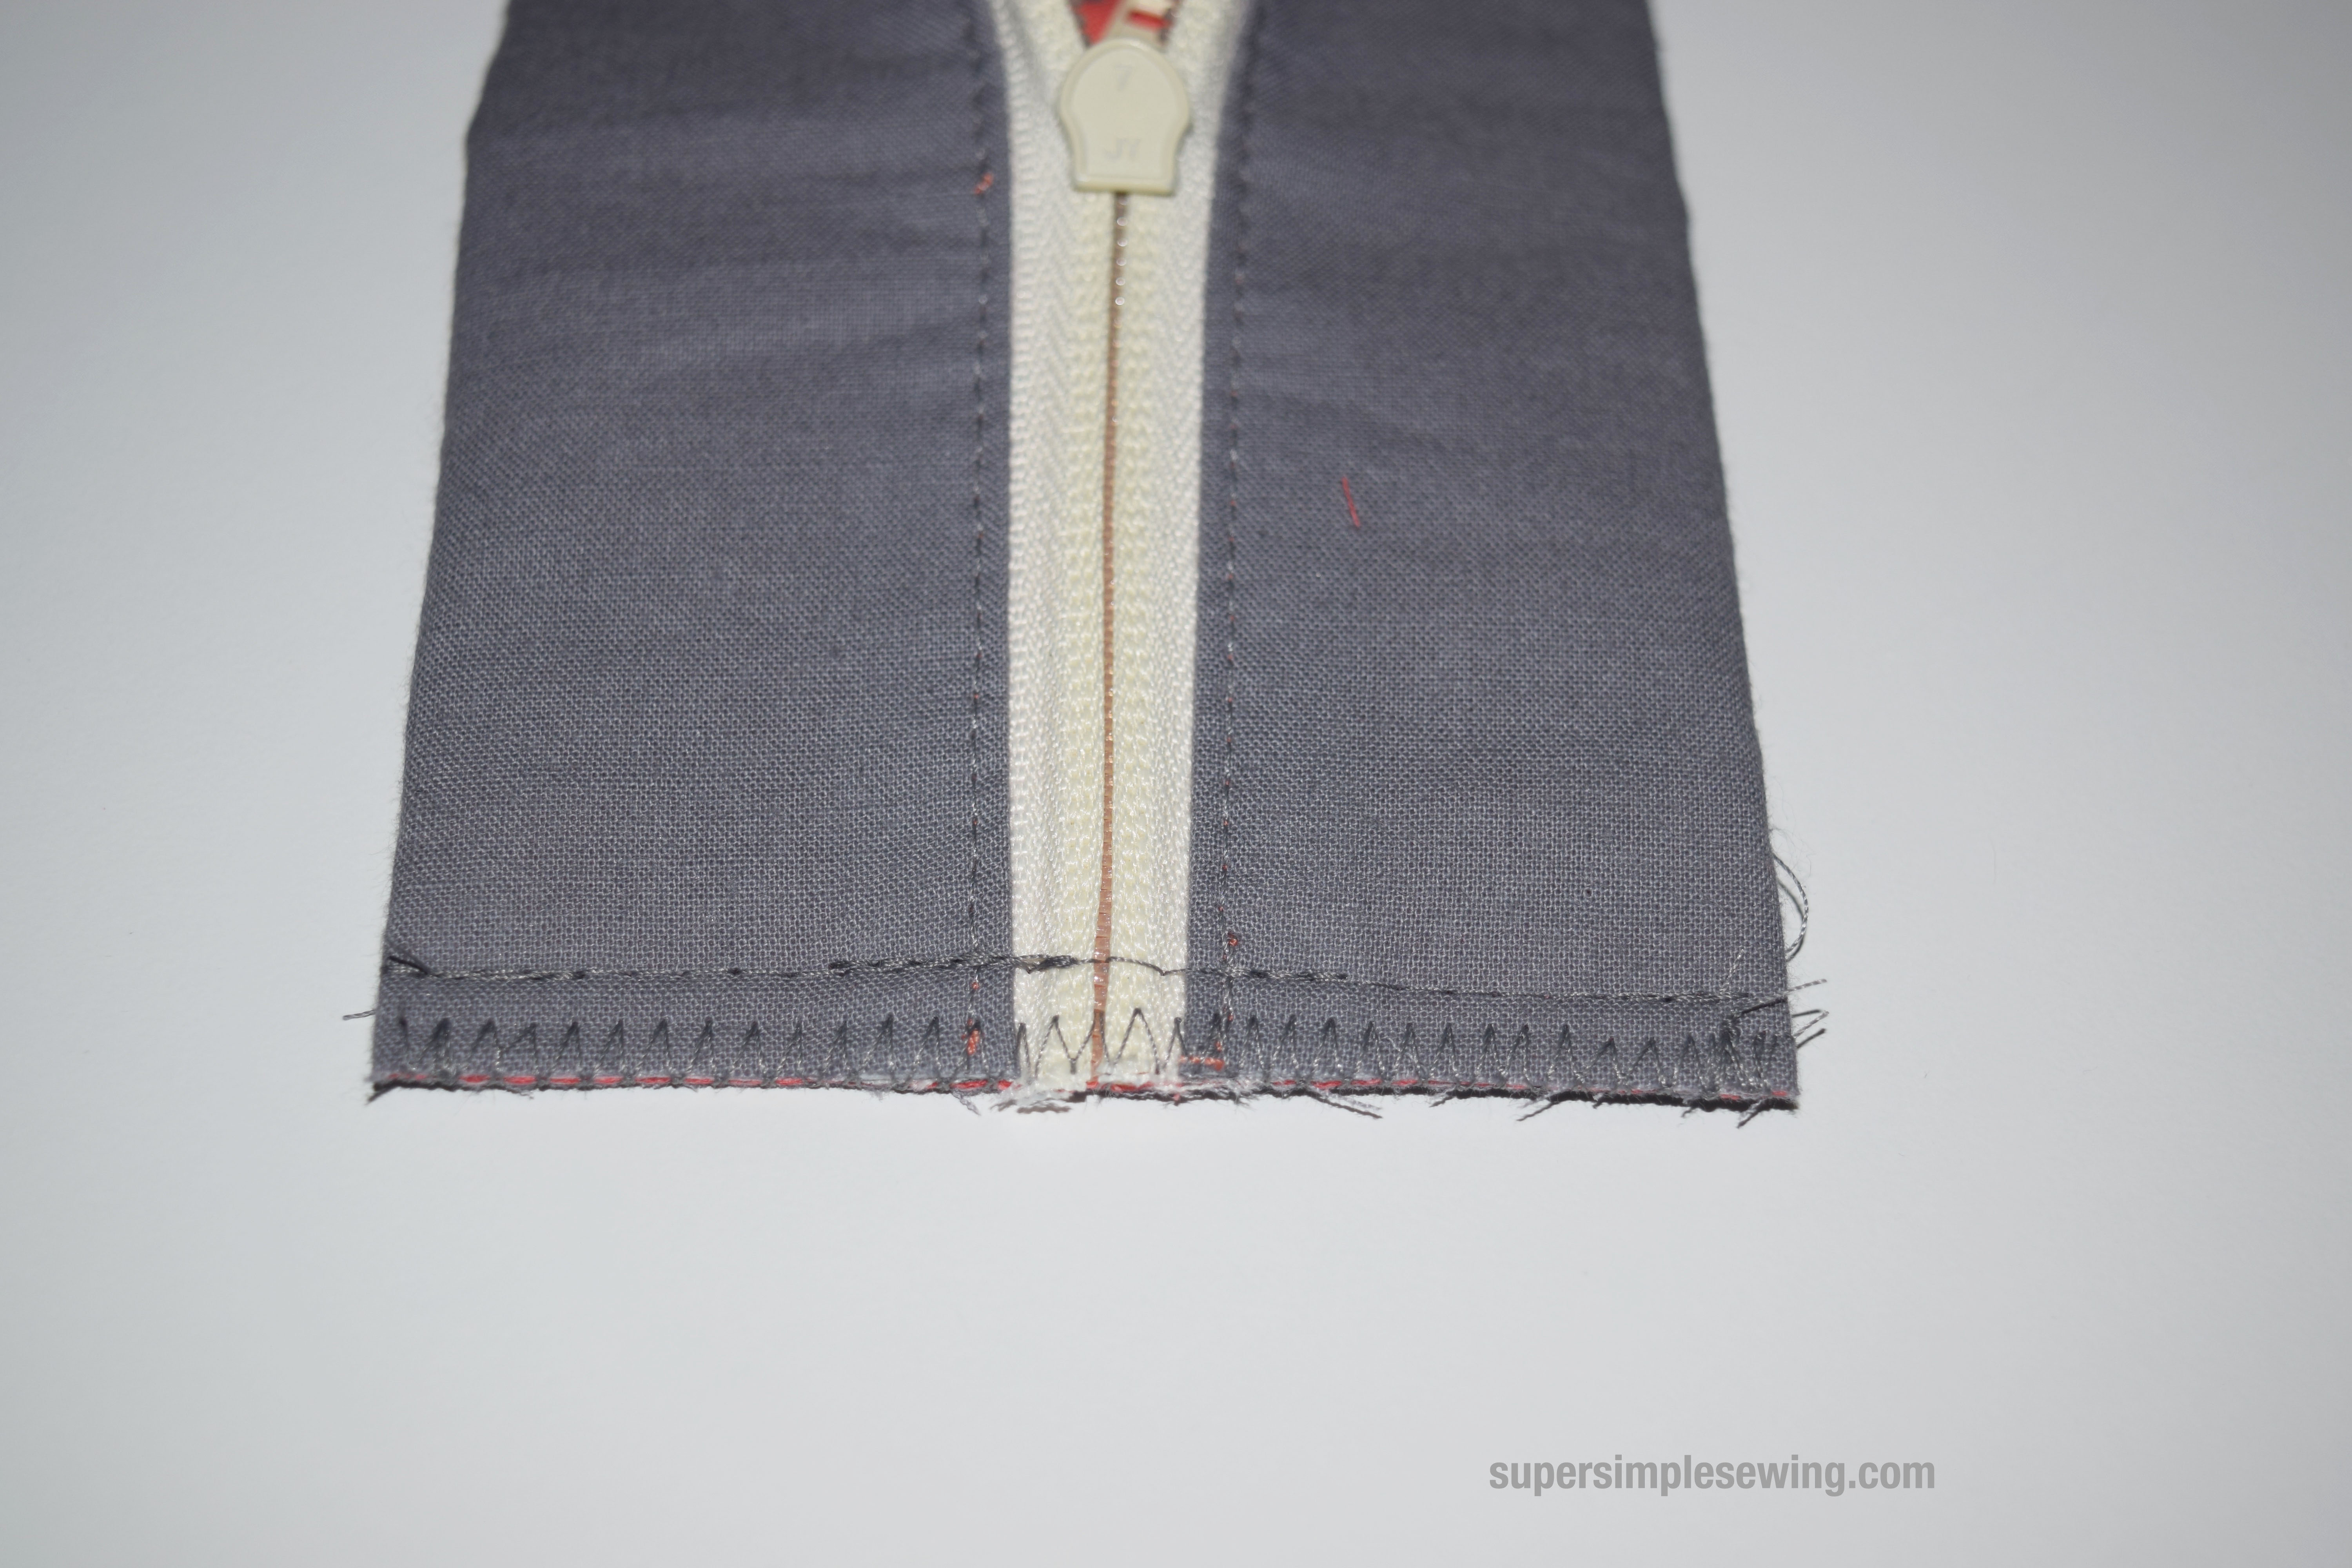
Sew straight across the bottom with 1/2″ seam allowance

Trim the bottom even.

Zig-Zag stitch over the cut edge.

The outside can fall off when you zigzag for a binding effect.
Looks Cleaned up.

Turn right side out and zip it up!
Pick what you are going to fill it with. 


